
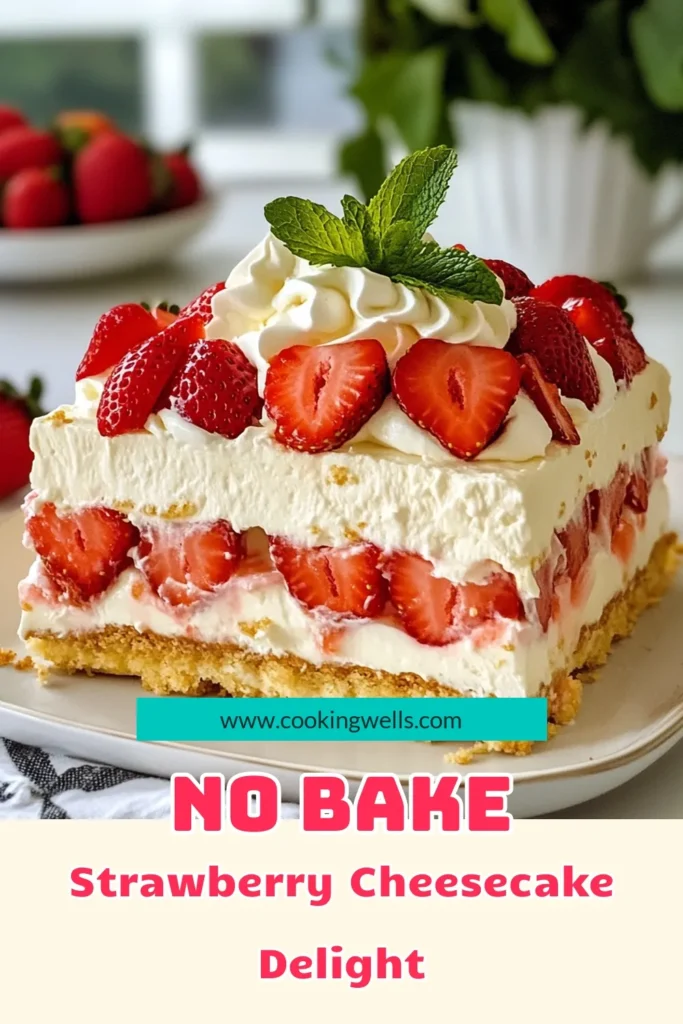
Are you ready to impress your family and friends with a dessert that’s easy and delicious? In this post, I’ll show you how to make a Strawberry Cheesecake Icebox Cake that’s perfect for any occasion. With layers of creamy filling and fresh strawberries, it’s a treat you can’t resist. Plus, I’ll share tips and tricks to make your cake shine. Let’s dive into this delightful dessert!
Why I Love This Recipe
- Refreshing Flavor: This Strawberry Cheesecake Icebox Cake is the perfect blend of sweet, creamy, and tart flavors that make it incredibly refreshing, especially during warm weather.
- No-Bake Delight: Since this recipe doesn’t require baking, it saves time and effort, making it an ideal dessert for busy days or spontaneous gatherings.
- Easy to Assemble: Layering the ingredients is simple and fun, allowing anyone to create a beautiful dessert without needing advanced baking skills.
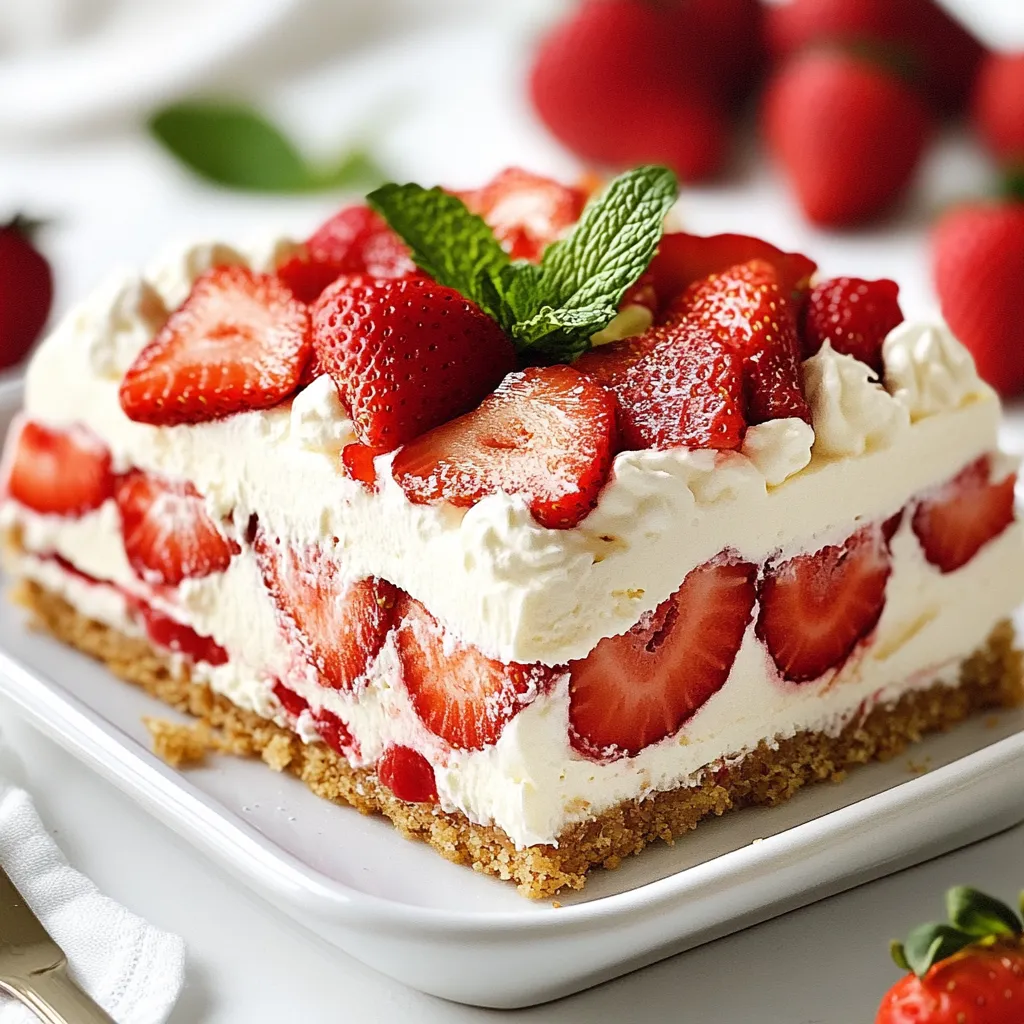
- Impressive Presentation: This cake looks stunning when served, with vibrant strawberries and a creamy filling, making it perfect for special occasions or summer parties.
Ingredients
Main Ingredients for Strawberry Cheesecake Icebox Cake
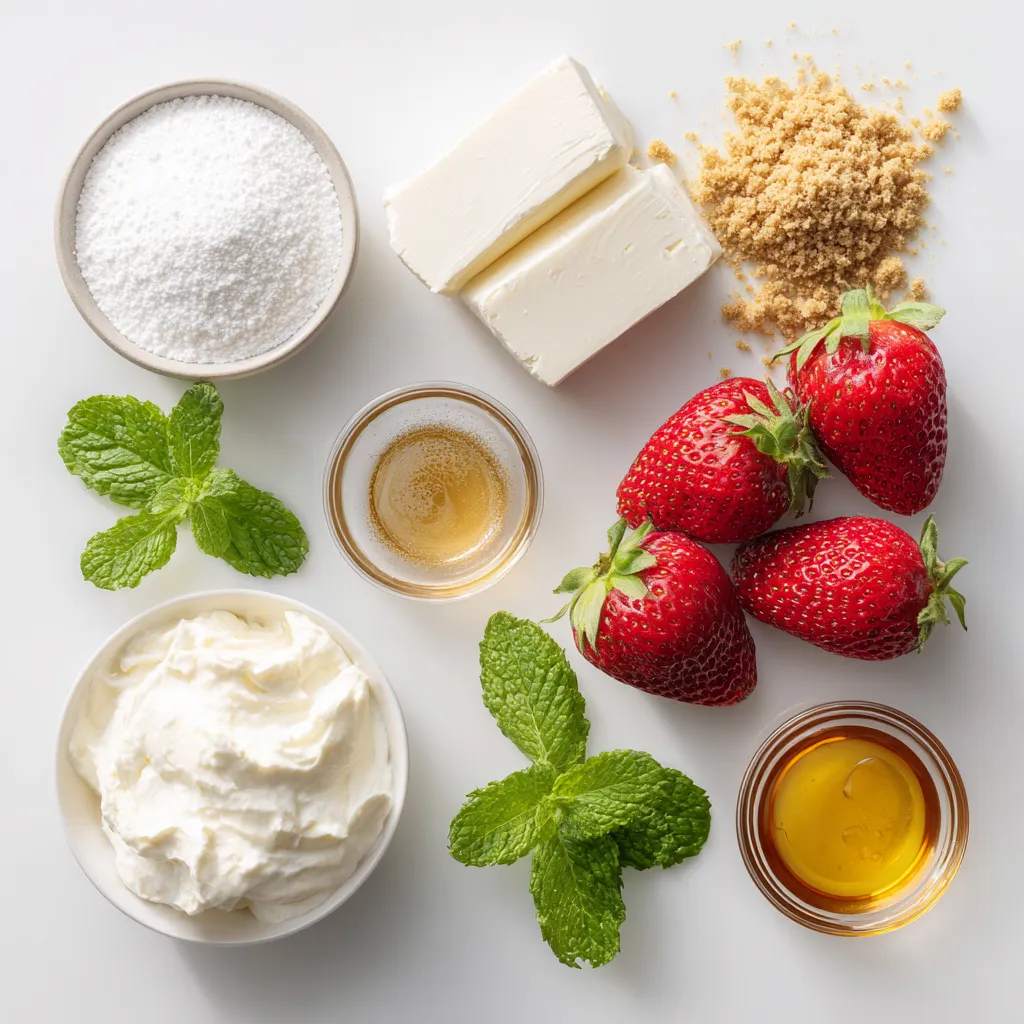
To make this easy and tasty dessert, you will need:
- 2 cups strawberries, hulled and sliced
- 1 cup heavy whipping cream
- 8 oz cream cheese, softened
- 1/2 cup powdered sugar
- 1 teaspoon vanilla extract
- 1 cup graham cracker crumbs
- 1/2 cup unsalted butter, melted
- A pinch of salt
These ingredients create a creamy filling and a crunchy base. The strawberries add a sweet and fruity touch.
Optional Garnishes
You can make your cake look even better with some garnishes. Here are a few ideas:
- Fresh mint leaves
- Extra whipped cream
- More sliced strawberries on top
These garnishes can make your dessert pop with color and flavor.
Suggested Substitutions
If you need to swap some ingredients, here are a few options:
- Use shortbread cookies instead of graham crackers for a different crust.
- Swap heavy cream with whipped topping if you want a lighter option.
- Try flavored cream cheese, like strawberry or vanilla, for extra taste.
These substitutions can help you customize your cake to fit your taste or dietary needs.
Step-by-Step Instructions
Preparing the Base with Graham Crackers
Start by gathering your graham cracker crumbs. In a bowl, mix 1 cup of crumbs with 1/2 cup of melted unsalted butter. Add a pinch of salt to balance the flavors. Stir the mixture until it looks like wet sand. This base gives your icebox cake a delicious crunch. Spread the mixture evenly in the bottom of your rectangular dish.
Making the Cream Cheese Filling
Next, take 8 oz of softened cream cheese and place it in a mixing bowl. Beat it with an electric mixer until smooth. Gradually add 1/2 cup of powdered sugar and 1 teaspoon of vanilla extract. Keep mixing until the filling is nice and fluffy. In a separate bowl, whip 1 cup of heavy cream until stiff peaks form. Gently fold this whipped cream into the cream cheese mixture. This makes the filling light and creamy.
Layering the Icebox Cake
Now it’s time to build your cake! Start with the graham cracker base in your dish. Add a layer of the cream cheese filling on top. Use a spatula to smooth it out. Next, place a layer of sliced strawberries over the filling. Repeat this process: add more graham cracker crumbs, then more cream cheese filling, and more strawberries. Keep going until you use all your ingredients. Finish with a layer of strawberries on top. Cover the dish with plastic wrap and refrigerate. Let it chill for at least 4 hours or overnight. This step helps the cake set and makes it easy to slice.
Tips & Tricks
Ensuring the Perfect Cream Cheese Consistency
To get the best cream cheese, start with soft cream cheese. Leave it out for about 30 minutes. This makes it easy to mix. Use an electric mixer on medium speed. Beat until smooth with no lumps. Mix in powdered sugar and vanilla. This will create a creamy filling that tastes great.
Whipping the Cream to Stiff Peaks
Whipping cream is simple but key to your cake’s texture. Chill your bowl and beaters first. This helps the cream whip faster. Pour the heavy cream into the cold bowl. Start on low speed, then increase to high. Whip until stiff peaks form. This means the cream holds its shape. Be gentle when folding the whipped cream into the cheese mix. You want to keep the air in for a light texture.
Best Practices for Layering
Layering is fun and easy with this cake. Start with graham cracker crumbs at the bottom. Press them down lightly to form a base. Follow with the cream cheese filling. Use a spatula to spread it evenly. Then, add a layer of sliced strawberries. Keep repeating these layers until you run out. Finish with strawberries on top for a pretty look. Cover the dish tightly and chill for at least 4 hours. This helps the layers blend and set nicely.
Pro Tips
- Use Fresh Strawberries: Opt for ripe, fresh strawberries as they add the best flavor and sweetness to your icebox cake. Avoid overripe or mushy berries for a more appealing texture.
- Chill the Cream Cheese: Ensure your cream cheese is softened but still slightly chilled; this helps achieve a smoother, creamier texture when mixing it with the whipped cream.
- Layering Technique: For even distribution of flavors, be sure to spread each layer evenly. Use an offset spatula to smooth out the cream cheese filling for a neat appearance.
- Let it Set Overnight: While 4 hours is sufficient, letting the cake set overnight in the fridge enhances the flavors and allows the layers to meld beautifully.
Variations
Adding Different Fruit Options
You can switch up the fruit to make this cake your own. Instead of strawberries, try raspberries or blueberries. They add a nice tartness. Peaches or mangoes can also work well. Just slice them thin and layer them like you do with strawberries. Each fruit brings its own flavor and color. Feel free to mix fruits for a fun twist!
Modifying for Gluten-Free Diets
If you need a gluten-free cake, use gluten-free graham crackers. You can also make your own crust using ground nuts or oats. Just ensure these are gluten-free. The flavor still shines through, and the cake remains just as tasty. This way, everyone can enjoy this dessert.
Incorporating Additional Flavors
Adding flavors can make this cake even better. You can mix in a bit of lemon juice or zest into the cream cheese filling. This gives a nice, fresh taste. You can also use chocolate crumbs instead of graham crackers for a chocolatey base. Experiment with your favorite flavors to create your own version!
Storage Info
How to Properly Store Leftovers
To keep your Strawberry Cheesecake Icebox Cake fresh, cover it tightly with plastic wrap. This helps keep it moist and protects it from other smells in the fridge. You can also use an airtight container. Store the cake in the fridge for up to three days.
Freezing the Icebox Cake: A How-To
You can freeze this icebox cake for later enjoyment. First, cut it into individual squares. Wrap each square in plastic wrap, then place them in a freezer-safe bag. This way, you can grab a slice whenever you want! The cake can stay in the freezer for up to three months. When you are ready to eat, thaw it in the fridge overnight.
Shelf Life and Serving Recommendations
Store your cake in the fridge for up to three days. If frozen, eat it within three months for the best taste. Serve the cake chilled for a refreshing dessert. Add extra whipped cream and mint leaves on top for a lovely look. Enjoy every bite of your tasty treat!
FAQs
How long does Strawberry Cheesecake Icebox Cake last in the fridge?
Strawberry Cheesecake Icebox Cake lasts about 3 to 5 days in the fridge. Keep it covered with plastic wrap to keep it fresh. The flavors meld nicely over time, making each bite even more delicious. Just make sure to check for any signs of spoilage before serving.
Can I use low-fat cream cheese?
Yes, you can use low-fat cream cheese. It will change the taste and texture a bit. The cake may not be as creamy, but it still tastes great. Many people enjoy a lighter version, and it can still be a hit at gatherings.
What other toppings can I add?
You can add many toppings to make your cake unique. Here are some great options:
- Sliced bananas
- Blueberries
- Chopped nuts
- Chocolate shavings
- Coconut flakes
Feel free to mix and match to suit your taste. These toppings add color and flavor, making each slice special.
In this article, I shared how to make a delicious Strawberry Cheesecake Icebox Cake. You learned about key ingredients, optional garnishes, and substitutes. I walked you through each step, from the graham cracker base to perfect layers. I offered tips for getting the cream cheese just right and shared variations for personal tastes. Storing and serving your cake is easy.
Enjoy making your own Icebox Cake and feel free to customize i
Strawberry Cheesecake Icebox Cake
Ingredients
- 2 cups strawberries, hulled and sliced
- 1 cup heavy whipping cream
- 8 oz cream cheese, softened
- 0.5 cup powdered sugar
- 1 teaspoon vanilla extract
- 1 cup graham cracker crumbs
- 0.5 cup unsalted butter, melted
- a pinch salt
- to taste fresh mint leaves for garnish (optional)
Instructions
- In a mixing bowl, combine the graham cracker crumbs, melted butter, and a pinch of salt. Mix until the crumbs are well-coated and resemble wet sand.
- In a separate bowl, beat the cream cheese until smooth using an electric mixer. Gradually add the powdered sugar and vanilla extract, continuing to beat until whipped and fluffy.
- In another bowl, whip the heavy cream until stiff peaks form. Gently fold the whipped cream into the cream cheese mixture until fully combined and smooth.
- In a rectangular dish, start layering the ingredients: begin with a layer of graham cracker crumbs at the bottom, spreading it evenly.
- Next, add a layer of the cream cheese filling on top of the crumbs, smoothing it out with a spatula.
- Add a layer of sliced strawberries over the cream cheese filling.
- Repeat layers (crumbs, cream cheese filling, strawberries) until all ingredients are used, finishing with a layer of strawberries on top.
- Cover the dish with plastic wrap and refrigerate for at least 4 hours or overnight to allow the cake to set.
- Once set, cut into squares and serve chilled.
