
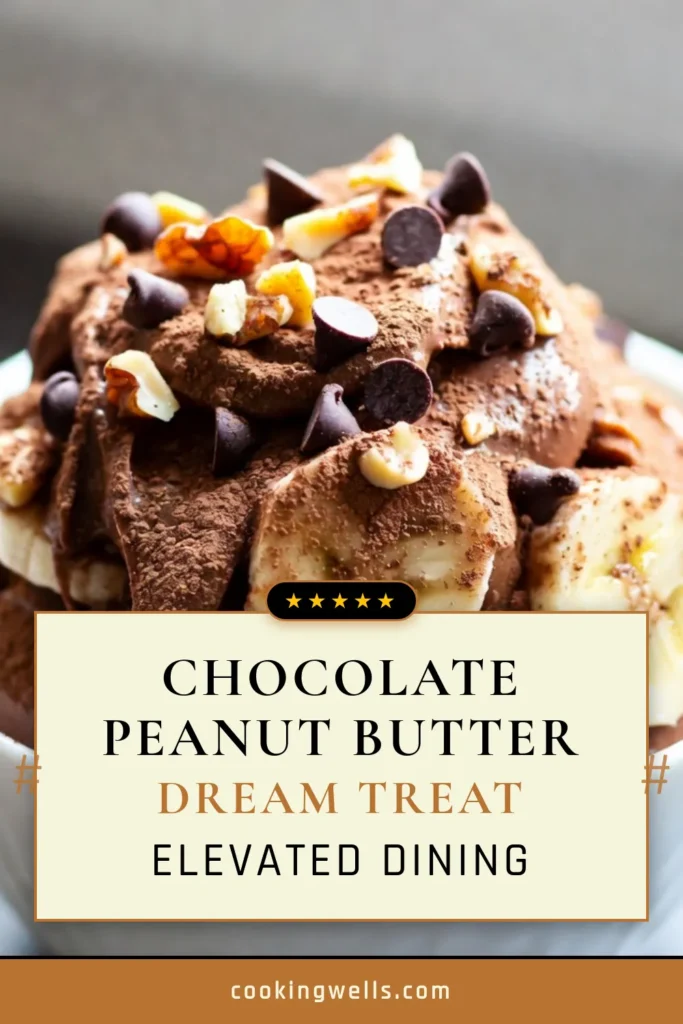
Are you ready to whip up a delicious treat that’s both healthy and easy? Chocolate Peanut Butter Banana Nice Cream is your new go-to dessert! This creamy delight strikes the perfect balance between rich chocolate, nutty peanut butter, and sweet banana flavors. In this post, I’ll guide you through simple steps, tips, and variations, so you can enjoy this guilt-free indulgence anytime you crave something sweet! Let’s dive in!
Why I Love This Recipe
- Deliciously Creamy: This nice cream is incredibly smooth and creamy, making it a delightful treat on a warm day.
- Healthy Indulgence: Made with just bananas, peanut butter, and cocoa, it’s a guilt-free dessert that satisfies sweet cravings.
- Quick and Easy: With only a few ingredients and minimal prep time, you can whip this up in no time.
- Customizable Toppings: Add your favorite nuts or chocolate chips for added texture and flavor to personalize your nice cream.
Ingredients
List of Required Ingredients
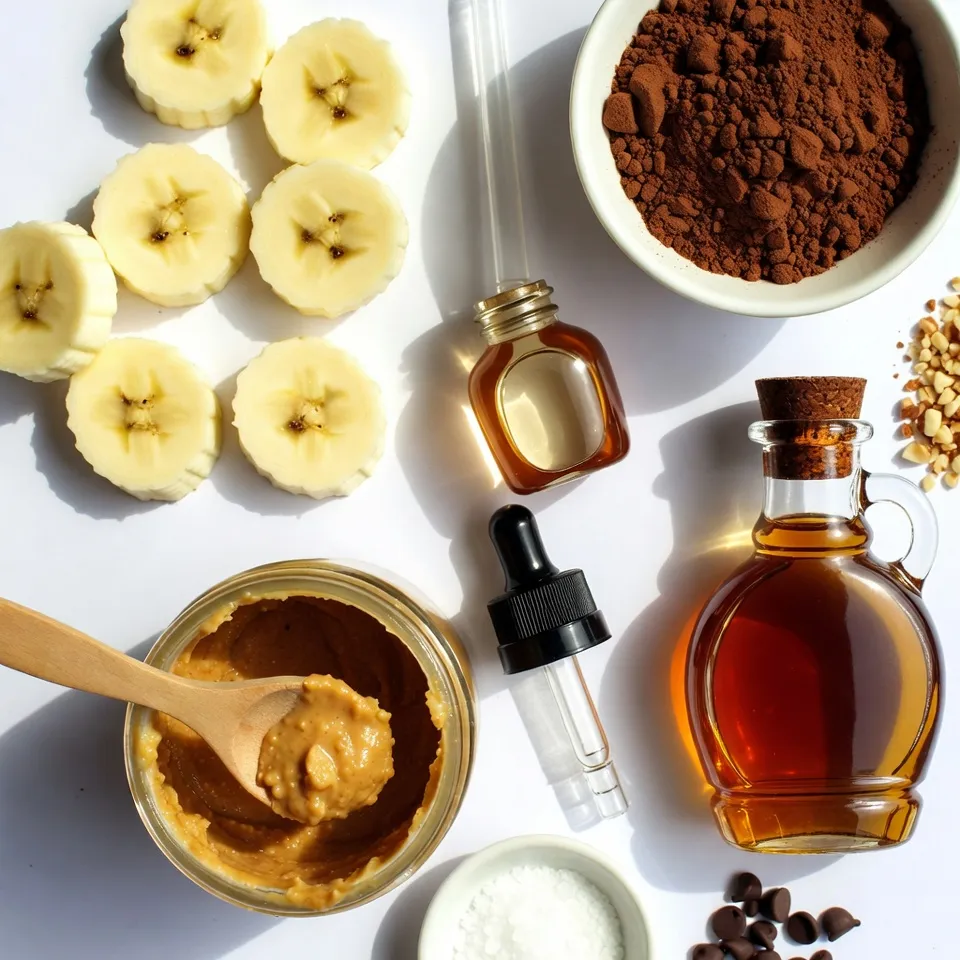
To make Chocolate Peanut Butter Banana Nice Cream, gather these key items:
- 3 ripe bananas, sliced and frozen
- 2 tablespoons natural peanut butter
- 2 tablespoons unsweetened cocoa powder
- 1 teaspoon vanilla extract
- Pinch of salt
These ingredients create a rich, creamy base. The frozen bananas give the nice cream its smooth texture. Peanut butter adds a nutty taste that pairs well with chocolate.
Optional Ingredients for Sweetness
If you want a sweeter treat, consider adding:
- 1 tablespoon maple syrup (optional)
Maple syrup can enhance the flavor. You can always adjust how much you add based on your taste.
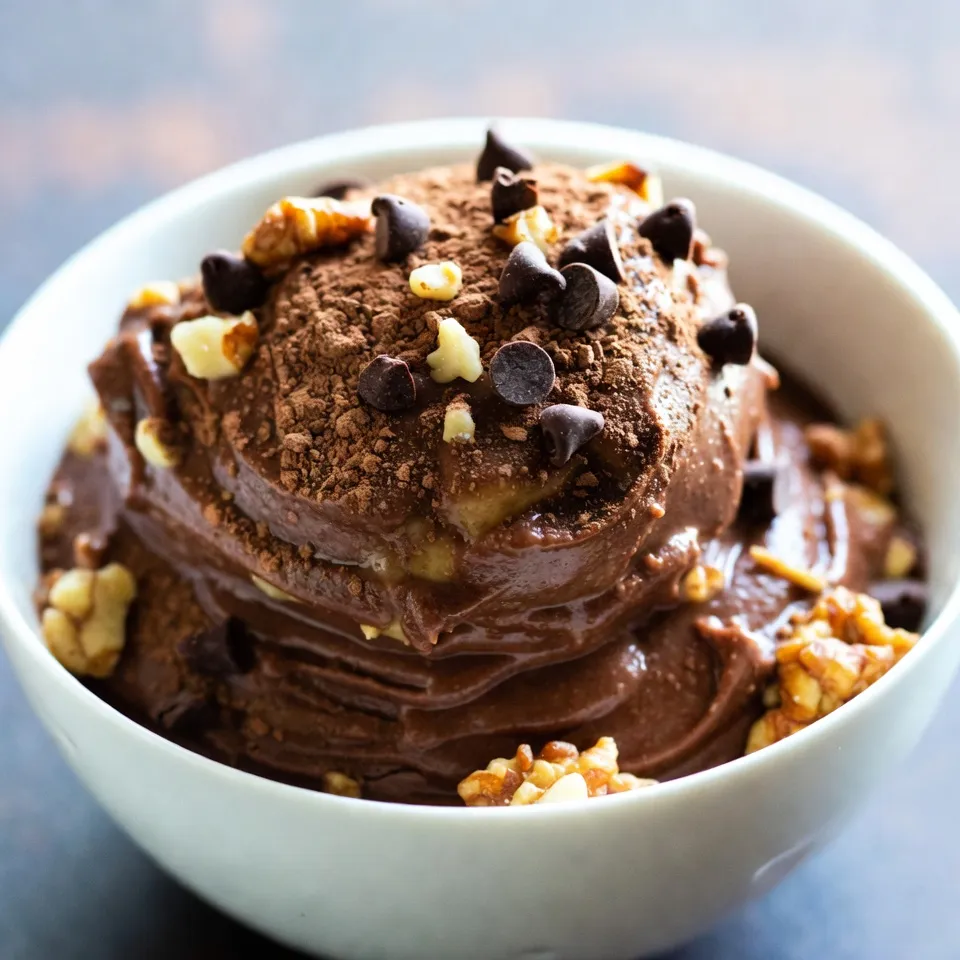
Garnishing Options
For a fun touch, try these garnishes:
- Chopped nuts
- Chocolate chips
These toppings give your nice cream extra crunch and flavor. They also make your dessert look even more appealing. Enjoy customizing your nice cream!
Step-by-Step Instructions
Preparing the Banana Base
To start, grab three ripe bananas. Slice them into small pieces. Lay the slices on a tray and freeze them for a few hours. This helps create a creamy base for your nice cream. Use ripe bananas for a sweeter taste. The frozen bananas make everything smooth and cold.
Combining Ingredients in the Blender
Once your bananas are frozen, place them in a food processor or a high-speed blender. Blend them on high speed. Pause to scrape down the sides when needed. Keep blending until the bananas are creamy. This might take a few minutes, so be patient.
Next, add two tablespoons of natural peanut butter. Then, mix in two tablespoons of unsweetened cocoa powder. If you want it sweeter, add one tablespoon of maple syrup. Don’t forget to add one teaspoon of vanilla extract and a pinch of salt.
Blending and Adjusting Consistency
Now, pulse the blender until all the ingredients are fully mixed. The nice cream should be thick and creamy. Taste it and see if you need more sweetness. If you do, you can add more maple syrup.
After blending, you can serve the nice cream right away for a softer texture. If you want it firmer, transfer it to a resealable container and freeze it for one hour. Enjoy your tasty treat!
Tips & Tricks
Choosing the Right Bananas
Use ripe bananas for the best flavor. Look for bananas with brown spots. They should be soft but not mushy. Overripe bananas add sweetness and depth to your nice cream.
How to Achieve a Creamy Texture
Start with frozen banana slices. The colder they are, the creamier the nice cream will be. Blend on high speed and scrape down the sides often. This helps mix well and creates a smooth texture.
Sweetness Level Adjustments
Taste your nice cream before serving. If it needs more sweetness, add maple syrup. Start with a little and blend again. Adjust until you find the flavor you enjoy.
Pro Tips
- Use Ripe Bananas: The riper the bananas, the sweeter and creamier your nice cream will be. Look for bananas with plenty of brown spots for the best flavor.
- Experiment with Flavors: Feel free to add other ingredients like cinnamon, or even a scoop of protein powder for an extra nutritional boost.
- Blend in Stages: If your food processor or blender struggles, blend the bananas in stages, adding a splash of milk (dairy or non-dairy) to help it along.
- Serve Immediately for Soft Texture: If you prefer a softer texture, serve the nice cream right after blending. For a firmer texture, freeze for an hour before serving.
Variations
Alternative Nut Butters
You can switch nut butters for this nice cream. Almond butter adds a light taste. Cashew butter gives a creamy texture. Sunflower seed butter works well for nut-free diets. Each option brings a new twist to the flavor. Feel free to experiment!
Adding Different Flavors (Mint, Coffee, etc.)
You can boost flavors with simple additions. A few drops of mint extract create a fresh taste. For coffee lovers, add a teaspoon of instant coffee or espresso. This little tweak makes the nice cream perfect for dessert or a morning treat. Each flavor can change the whole experience.
Combining with Additional Fruits
Mixing in other fruits can enhance the taste. Try adding strawberries for a fruity twist. Raspberries give a tart flavor that pairs well. You could also add a handful of spinach for a healthy green option. This keeps the nice cream vibrant and fun. Just blend them in with the bananas!
Storage Info
Freezing Tips for Optimal Texture
To keep your nice cream creamy, freeze it properly. Place the nice cream in a shallow container. This helps it freeze evenly. Leave some space at the top to allow for expansion. If you want it softer, freeze for less time. You can also serve it right away for a soft treat.
How to Store Leftovers
Store any leftovers in an airtight container. This keeps the nice cream fresh. It can last for up to one week in the freezer. To serve, let it sit at room temperature for a few minutes. This will make it easier to scoop. If it becomes too hard, blend it again for a smooth texture.
Re-purposing Leftover Nice Cream
If you have extra nice cream, get creative! Use it in smoothies for added flavor. You can make nice cream sandwiches with cookies or waffles. Try adding it to your morning oatmeal for a sweet kick. The possibilities are endless, and you won’t waste a bit!
FAQs
Can I make this nice cream without a blender?
No, you cannot make this nice cream without a blender. A food processor or high-speed blender is key. These tools help blend the frozen bananas into a creamy texture. Without them, you won’t achieve the nice cream consistency. If you try to mash by hand, you may end up with a chunky mix. That won’t taste as good or feel as smooth.
How long does Chocolate Peanut Butter Banana Nice Cream last in the freezer?
Chocolate Peanut Butter Banana Nice Cream can last about one month in the freezer. However, for the best taste and texture, eat it within two weeks. Over time, it may get icy or lose creaminess. To keep it fresh, store it in a sealed container. Press plastic wrap against the surface to prevent ice crystals from forming.
Can I use fresh bananas instead of frozen?
Yes, you can use fresh bananas, but they won’t create the same texture. The frozen bananas give a thick, creamy feel. If you use fresh ones, blend them until smooth, then freeze the nice cream for a while. This method will help you get a similar texture. But for the best results, I recommend using frozen bananas whenever possible.
This blog post covered how to make tasty Chocolate Peanut Butter Banana Nice Cream. We explored key ingredients, step-by-step instructions, and tips for a creamy treat. You learned about variations and smart storage tips to keep it fresh.
Nice cream is fun to make and share. With your own flair, you can create delicious flavors. I hope you enjoy making this treat as much as I d
Chocolate Peanut Butter Banana Nice Cream
Ingredients
- 3 pieces ripe bananas, sliced and frozen
- 2 tablespoons natural peanut butter
- 2 tablespoons unsweetened cocoa powder
- 1 tablespoon maple syrup (optional, for added sweetness)
- 1 teaspoon vanilla extract
- 1 pinch salt
- 1 serving chopped nuts or chocolate chips for garnish (optional)
Instructions
- Place the frozen banana slices in a food processor or high-speed blender.
- Blend on high speed until the bananas are smooth and creamy, pausing to scrape down the sides as needed. This might take a few minutes.
- Once the bananas are smooth, add the peanut butter, cocoa powder, maple syrup (if using), vanilla extract, and a pinch of salt.
- Pulse the mixture until all ingredients are combined and the nice cream is well blended. The texture should be thick and creamy.
- Taste the mixture and adjust sweetness if necessary, adding more maple syrup if desired.
- Transfer the chocolate peanut butter nice cream to a resealable container and freeze for about 1 hour to firm up, or serve immediately for a softer texture.
