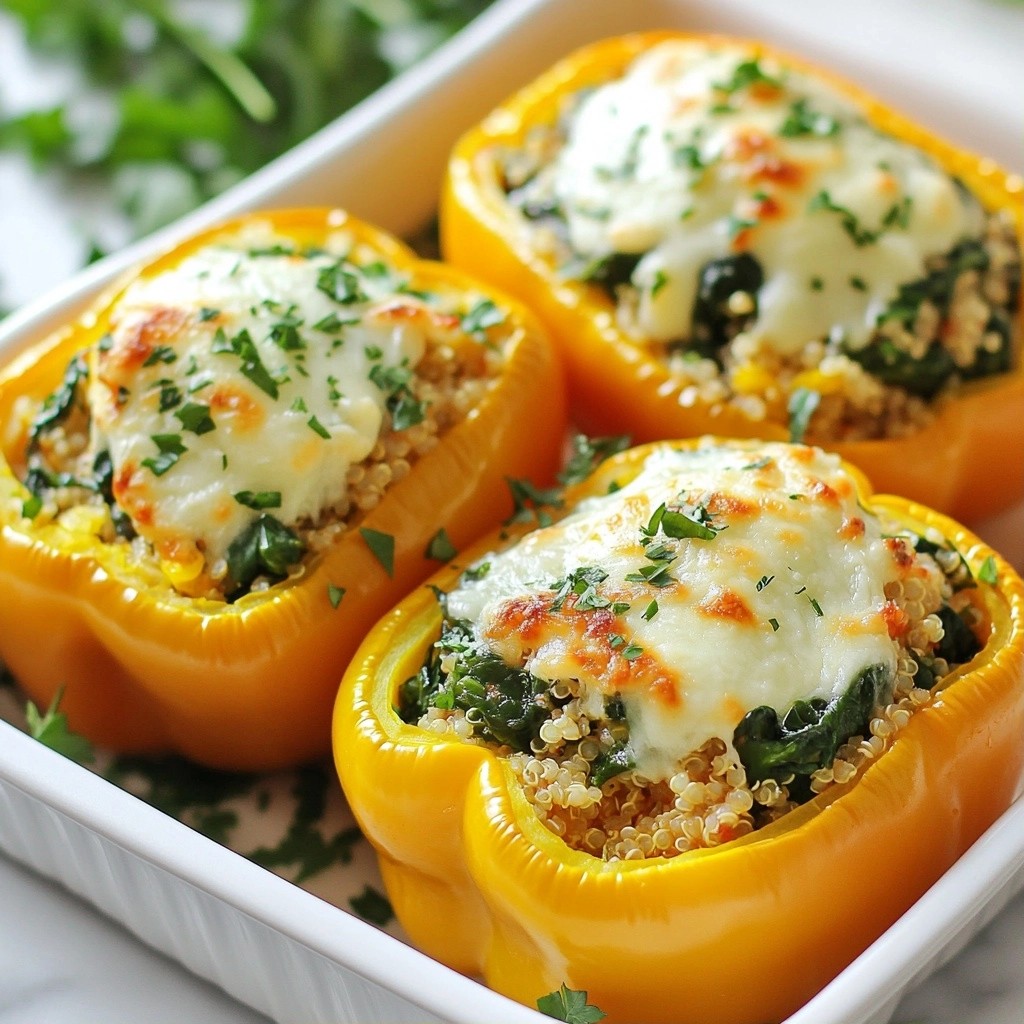
Looking for a quick and tasty meal? You’ve found it! My Cheesy Freezer-Friendly Broccoli Rice Cups are perfect for busy days. These cups are easy to make, filled with flavor, and freeze well for later. Whether you need a quick lunch or a simple dinner side, this recipe has you covered. Let’s dive in and see how you can whip up these delicious treats!
Why I Love This Recipe
- Healthy Ingredients: These broccoli rice cups are packed with nutritious ingredients like brown rice and broccoli, making them a wholesome option for any meal.
- Freezer-Friendly: Perfect for meal prep, these cups can be made in advance and stored in the freezer for quick and easy meals on busy days.
- Cheesy Goodness: With both cheddar and Parmesan cheese, these cups are deliciously cheesy, satisfying cravings without being overly indulgent.
- Versatile: These cups can be enjoyed as a snack, side dish, or even a main course, making them a versatile addition to your meal rotation.
Ingredients
Full list of ingredients
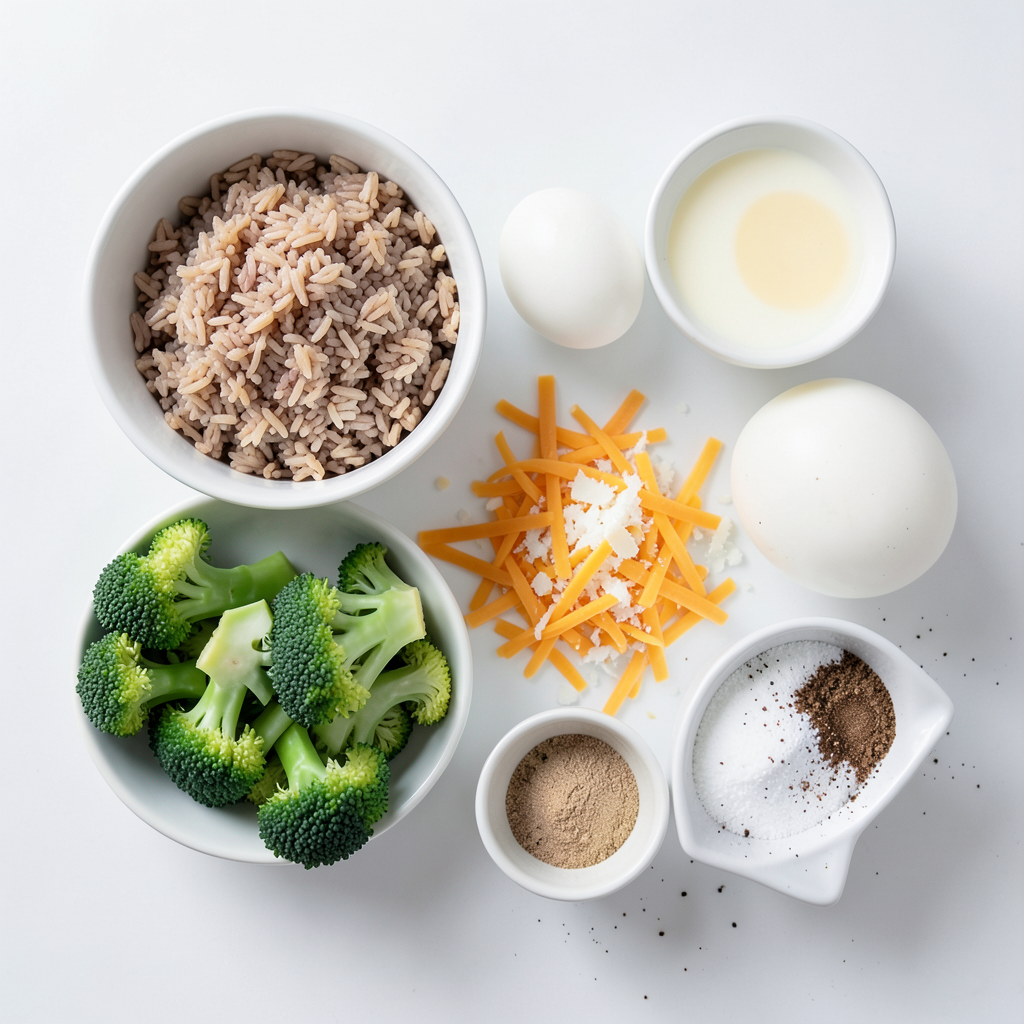
Here are the ingredients you need for Cheesy Freezer-Friendly Broccoli Rice Cups:
- 2 cups cooked brown rice
- 2 cups broccoli florets, steamed and chopped
- 1 cup shredded cheddar cheese
- 1/2 cup grated Parmesan cheese
- 2 large eggs
- 1/4 cup milk (dairy or non-dairy)
- 1/4 teaspoon garlic powder
- 1/4 teaspoon onion powder
- Salt and pepper to taste
- Cooking spray or oil for greasing muffin tin
Ingredient substitutions
You can swap some ingredients for your taste or needs. Here are a few ideas:
- Use quinoa or cauliflower rice instead of brown rice for a lighter option.
- If you want a different cheese flavor, try mozzarella or Swiss.
- Use any green veggie you like, such as spinach or peas, instead of broccoli.
- For a vegan option, replace eggs with flax eggs and use plant-based cheese.
Nutritional information per serving
Each serving of these broccoli rice cups is packed with nutrients. Here’s a rough breakdown:
- Calories: 150-200
- Protein: 7-10 grams
- Carbohydrates: 20-25 grams
- Fat: 5-8 grams
- Fiber: 2-3 grams
These cups are a great source of protein and fiber. They fit well into a balanced diet.
Step-by-Step Instructions
Prepping the oven and muffin tin
First, set your oven to 350°F (175°C). This helps the cups bake evenly. While the oven heats, grab a muffin tin. Spray it lightly with cooking spray or brush it with oil. This keeps the cups from sticking. Make sure to get every cup so they come out easily!
Mixing ingredients
In a big bowl, add 2 cups of cooked brown rice and 2 cups of chopped broccoli. Mix them well. You want them to blend together nicely. In another bowl, crack 2 large eggs and add 1/4 cup of milk. Whisk them until smooth. Then, sprinkle in 1/4 teaspoon each of garlic powder and onion powder. Add salt and pepper to taste. Pour this egg mix into the rice and broccoli bowl. Stir it all up until everything is coated. Finally, fold in 1 cup of shredded cheddar cheese and 1/2 cup of grated Parmesan cheese. Make sure the cheese is mixed in well.
Baking and cooling the cups
Now, take the mixture and spoon it into your prepared muffin tin. Fill each cup about three-quarters full. This leaves room for the cups to rise. Put the muffin tin in the oven and bake for 20-25 minutes. You’ll know they are done when the tops are golden and the centers feel firm. When the time is up, take the tin out and let it cool for a few minutes. This makes it easier to remove the cups. Use a spoon to gently lift each cup out of the tin. Enjoy them warm or save for later!
Tips & Tricks
Best practices for cooking rice
To make perfect rice, rinse the brown rice first. This removes excess starch. Use two cups of water for every cup of rice. Bring the water to a boil, then reduce heat. Simmer until the rice absorbs all the water. This usually takes about 40-45 minutes. Let the rice sit covered for 10 minutes after cooking. Fluff it with a fork for the best texture.
How to perfectly steam and chop broccoli
Start with fresh broccoli florets. Cut them into small, even pieces. Boil water in a pot, then place a steamer basket over it. Add the broccoli to the basket and cover. Steam for 3-5 minutes until the broccoli turns bright green and is tender. Remove it from heat and cool it quickly under cold water. This keeps the color and crunch. After cooling, chop the broccoli into small bits for easier mixing.
Adjusting flavors and spice levels
Feel free to play with the flavors in your cups. If you want more garlic flavor, add a bit more garlic powder. For a spicy kick, mix in some red pepper flakes or cayenne pepper. You can also add herbs like oregano or thyme for extra taste. Always taste your mixture before baking. Adjust the salt and pepper to suit your preference.
Pro Tips
- Freezing Instructions: Allow the cups to cool completely before transferring them to an airtight container or freezer bag. They can be frozen for up to 3 months.
- Ingredient Variations: Feel free to customize these cups by adding cooked chicken, bacon, or different vegetables like bell peppers or spinach for added flavor and nutrition.
- Serving Suggestions: These broccoli rice cups pair wonderfully with a side salad or a dipping sauce like ranch or sriracha for an extra kick.
- Storage Tips: Store any leftovers in the refrigerator in an airtight container for up to 4 days. Reheat in the microwave or oven before serving.
Variations
Adding proteins (chicken, tofu)
You can boost the protein in your broccoli rice cups. Adding cooked chicken or tofu works well. If you use chicken, shred or chop it into small pieces. For tofu, press it first and then cube it. Stir in about one cup of your chosen protein with the rice and broccoli. This adds flavor and makes the cups more filling.
Different cheese combinations (Swiss, mozzarella)
Cheese is key for taste and texture. While cheddar is great, you can switch it up. Try Swiss or mozzarella for a milder flavor. Mix one cup of your cheese choice into the rice and vegetable mix. You can also blend different cheeses for a unique taste. This way, you can customize each batch to your liking.
Choosing different vegetables (spinach, bell peppers)
Feel free to mix in other veggies, too. Spinach and bell peppers are good options. Chop them small so they blend well. You can use about one cup of any veggies you like. This not only adds color but also boosts nutrients. Experimenting with different vegetables can keep your meals exciting and tasty.
Storage Info
Freezing the broccoli rice cups
To freeze the broccoli rice cups, let them cool completely after baking. Use a muffin tin for best results. Once cool, gently pop each cup out of the tin. Place them on a baking sheet in a single layer. This prevents them from sticking together. Freeze for about one hour. After they are firm, transfer the cups to a freezer bag or airtight container. Label it with the date for easy tracking.
Reheating instructions
When you're ready to eat, pull out the desired number of cups. You can reheat them using either the oven or microwave. For the oven, preheat it to 350°F (175°C). Place the cups on a baking sheet and heat for about 15-20 minutes. They should be heated through and slightly crispy on the outside. If you use the microwave, heat them on a microwave-safe plate for 1-2 minutes. Check if they are warm enough. If needed, add more time in short bursts.
Shelf life and best practices for storage
These broccoli rice cups last up to three months in the freezer. For best taste and quality, use them within that time. If stored in the fridge, eat them within 4-5 days. Keep them in an airtight container to maintain freshness. Label your containers with the date to avoid confusion.
FAQs
Can I make these cups in advance?
Yes, you can make these cups in advance. I often prepare a batch when I have extra time. Once baked, let them cool completely. Then, store them in an airtight container or freeze them. This way, you have a quick meal ready to go. Just reheat them when you need a tasty snack or side dish.
How do I know when they are fully cooked?
These cups are done when they look golden on top. The centers should feel firm to the touch. You can also use a toothpick to check. If it comes out clean, they are ready. Bake them for 20-25 minutes for the best results. If they need a bit more time, keep an eye on them to avoid burning.
Can I use leftover rice for this recipe?
Absolutely! Leftover rice works great in this recipe. Just make sure it is cooked and cooled. If the rice is too sticky, it may affect the texture. You can also use any type of cooked rice you have on hand. This makes the recipe flexible and easy to customize.
You learned how to make tasty broccoli rice cups with simple steps. We covered ingredients, cooking methods, and helpful tips. Remember, using different veggies or proteins can change up the flavor. Store them well for later and enjoy reheating. Making these cups in advance saves time. With practice, you’ll get them just right every time. Enjoy your cooking adventure!