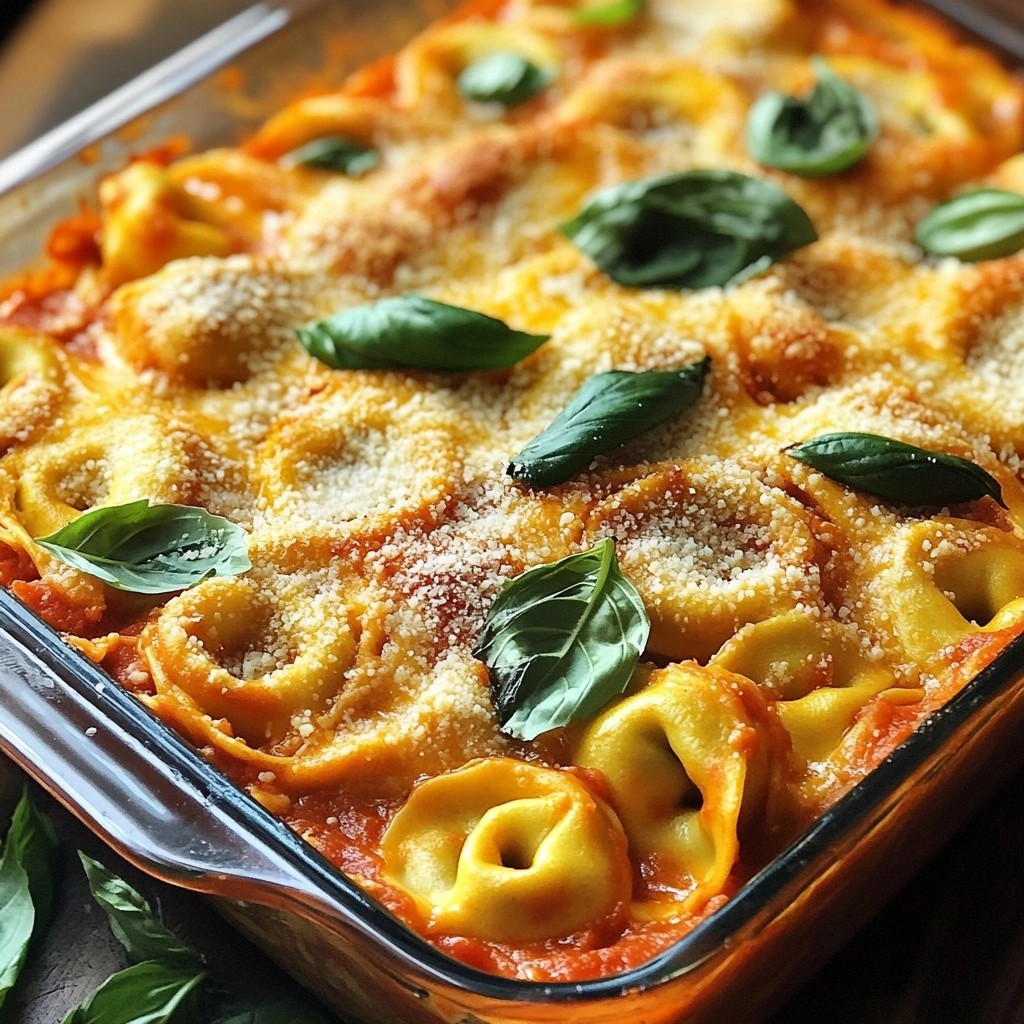
Craving a comforting meal that’s easy to prepare and perfect for the freezer? My Cheesy Freezer-Friendly Spinach Tortellini Bake is just what you need! With creamy cheeses and wholesome spinach, this dish is packed with flavor and is a hit for any occasion. I’ll walk you through the simple steps to make it, freeze it, and reheat it, so you can enjoy tasty leftovers whenever you want. Let’s get cooking!
Why I Love This Recipe
- Comforting and Hearty: This Cheesy Spinach Tortellini Bake is the ultimate comfort food that warms you up on a chilly evening.
- Quick and Easy: With a prep time of just 20 minutes, this dish comes together quickly, making it perfect for busy weeknights.
- Flavorful Layers: The combination of ricotta, mozzarella, and Parmesan cheeses, along with the marinara, creates an irresistible flavor profile.
- Healthy Spinach Boost: Loaded with fresh spinach, this recipe adds a nutritious element to your meal without sacrificing taste.
Ingredients
Main Ingredients
- 1 package (12 oz) fresh or frozen spinach tortellini
- 2 cups fresh spinach, chopped
- 1 cup ricotta cheese
- 1 cup shredded mozzarella cheese
- 1 cup grated Parmesan cheese
- 2 cups marinara sauce
- 1 teaspoon garlic powder
- 1 teaspoon Italian seasoning
- 1/2 teaspoon red pepper flakes (optional)
- Salt and pepper to taste
- Fresh basil leaves for garnishing
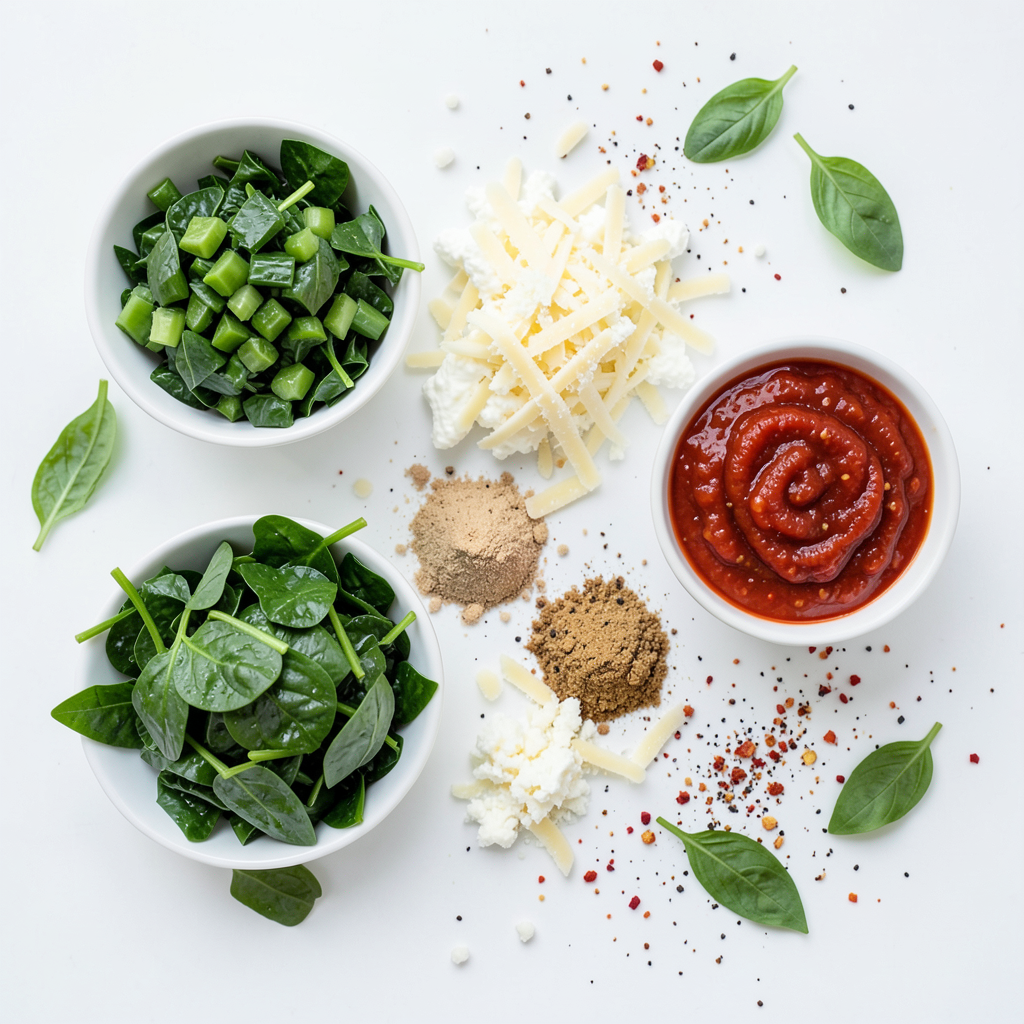
To make the Cheesy Freezer-Friendly Spinach Tortellini Bake, you need a few key ingredients. First, the tortellini is the star. You can use fresh or frozen spinach tortellini. Both work well, but fresh gives a nice texture.
Next, we have the cheeses. Ricotta adds creaminess, while mozzarella brings melty goodness. Parmesan adds a sharp flavor that ties it all together. These three cheeses create a rich and delicious dish.
Then, we have the vegetables. Fresh spinach really boosts the nutrition. It adds some color and taste. Marinara sauce is the base. It gives the dish moisture and flavor.
Seasonings like garlic powder and Italian seasoning enhance the taste. A pinch of salt and pepper balances everything. If you like heat, add red pepper flakes for a kick.
Gather these ingredients to create a comforting meal that everyone will love. Enjoy the cooking process, and feel free to experiment with your favorite flavors!
Step-by-Step Instructions
Preparation Steps
1. Cooking tortellini and prepping spinach
First, fill a large pot with water. Add salt and bring it to a boil. Add the tortellini and cook them until they are al dente, as per package instructions. It usually takes about 3-5 minutes. Drain the tortellini and set them aside. In a bowl, chop the fresh spinach. You want pieces that are easy to mix and layer.
2. Combining cheese and seasoning mixture
Take a mixing bowl and add ricotta cheese, half of the mozzarella cheese, and the chopped spinach. Sprinkle in the garlic powder, Italian seasoning, salt, and pepper. If you like a little heat, add red pepper flakes. Mix everything until it is well combined. This mix adds a creamy texture and flavor to your bake.
3. Layering ingredients in baking dish
Grab a greased 9x13-inch baking dish. Spread a thin layer of marinara sauce at the bottom. Place half of the cooked tortellini on top of the sauce. Then, add half of the chopped spinach. Use a spoon to place half of the ricotta mixture over the spinach. Repeat this process with the remaining tortellini, spinach, and ricotta mix. Finish by adding the rest of the marinara sauce. Top this layer with the remaining mozzarella and all of the Parmesan cheese.
Baking Process
1. Initial baking covered with foil
Preheat your oven to 375°F (190°C). Cover the baking dish with aluminum foil. This keeps the dish moist while it bakes. Place it in the oven and bake for 25 minutes.
2. Final baking for optimal cheese melt
After 25 minutes, carefully remove the foil. This lets the cheese get bubbly and golden. Bake for another 15 minutes. Keep an eye on it during this time. When the cheese is nice and melted, it's ready. Let it cool for 5-10 minutes before serving. Garnish with fresh basil leaves for a pop of color and flavor!
Tips & Tricks
Recipe Success Tips
To get the best cheese melt, use fresh mozzarella. Fresh cheese melts better than pre-shredded. When you add it on top, make sure to cover the dish with foil. This helps keep the heat in. After 25 minutes, remove the foil. Let the cheese bubble and brown for 15 more minutes.
For cooking the tortellini, follow the package instructions closely. Most fresh tortellini cooks in about 3-5 minutes. Frozen tortellini can take a bit longer. Aim for the tortellini to be al dente. It will cook more in the oven.
Freezing and Reheating
When freezing the bake, let it cool completely first. Cover it tightly with plastic wrap or aluminum foil. This helps prevent freezer burn. You can also freeze it in individual portions for easy meals later.
To reheat, place the frozen bake in the oven at 350°F (175°C). Cover it with foil to keep it moist. Bake for 30-40 minutes or until heated through. You can also microwave individual portions if you’re in a hurry. Just make sure to stir halfway for even heating.
Pro Tips
- Make it Creamy: For an extra creamy texture, you can mix in a bit of heavy cream with the ricotta cheese.
- Layer Wisely: Ensure that you evenly distribute the ingredients in each layer for balanced flavors in every bite.
- Customize Your Cheese: Feel free to experiment with different cheeses such as goat cheese or fontina for unique flavors.
- Let it Rest: Allow the dish to rest for a few minutes after baking; this helps the layers set and makes serving easier.
Variations
Ingredient Swaps
You can easily change this dish to fit your taste. For cheese, try using goat cheese or cream cheese instead of ricotta. Both add a rich flavor. You can also switch mozzarella for provolone for a sharper taste.
If you want a different sauce, try alfredo or pesto. Both can give your bake a new twist.
Want to add protein? Cooked chicken or Italian sausage works great. Just chop it up and mix it in with the cheese blend. You can even use ground turkey for a lighter option.
Dietary Modifications
If you need gluten-free options, use gluten-free tortellini. Many brands offer tasty choices that fit this need.
For a vegan version, swap all dairy for plant-based options. Use cashew cheese or tofu for the ricotta. Nutritional yeast can give you a cheesy flavor without dairy.
With these swaps and modifications, you can make this dish your own. Enjoy the freedom to mix and match!
Storage Info
Storing Leftovers
To keep your cheesy spinach tortellini bake fresh, use airtight containers. Glass or plastic containers work well. They help prevent freezer burn. If you don't have these, freezer bags are fine too. Just remove as much air as possible. For refrigerator storage, place the leftovers in a container. Use it within three days for the best taste.
Shelf Life
In the fridge, this dish lasts about three to four days. In the freezer, it can stay good for up to three months. Make sure to label and date your containers. This way, you know when to eat it. When you are ready to enjoy your leftovers, thaw them in the fridge overnight for the best results.
FAQs
Can I use frozen spinach tortellini?
Yes, you can use frozen spinach tortellini. Just cook it straight from the freezer. Follow the package instructions for boiling time. This saves time and works great in the dish.
What can I substitute for ricotta cheese?
If you need a ricotta cheese substitute, try cottage cheese or cream cheese. Both options give a similar creamy texture. You can also blend tofu for a dairy-free choice.
Is this dish suitable for meal prep?
Yes, this dish is perfect for meal prep. You can make it ahead and freeze it. Just bake, cool, and store it in a freezer-safe container. It reheats well, making it a great weeknight meal.
How do I know when the bake is done?
The bake is done when the cheese is bubbly and golden. You can also check if the dish is hot all the way through. Let it cool for a few minutes before serving for the best taste.
This blog post covered how to create a delicious tortellini bake. You learned about the main ingredients, cooking steps, and baking tips. We discussed ways to modify the recipe and how to store leftovers properly.
In closing, you can make this dish your own. With easy swaps and helpful tips, you can enjoy a tasty meal any day. Happy cooking!