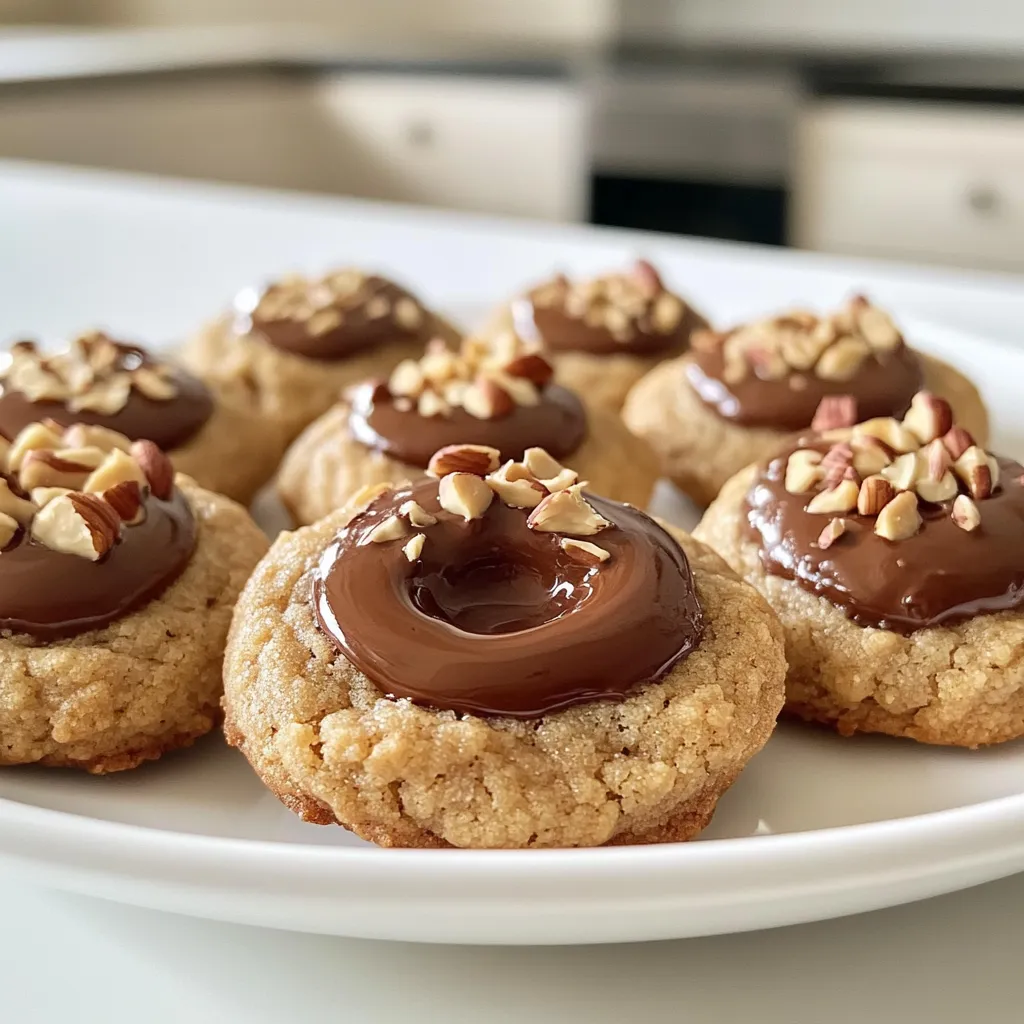
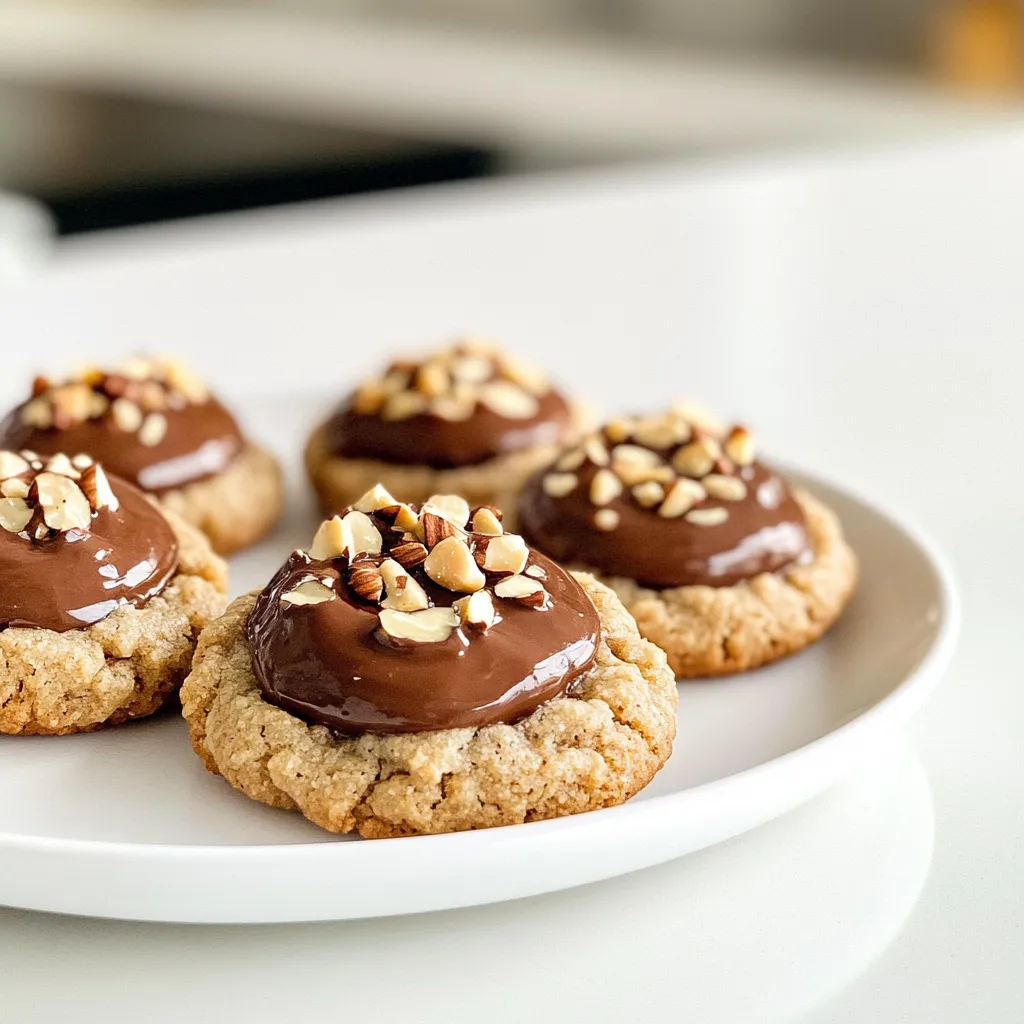
If you love cookies, you are in for a treat! Chocolate Hazelnut Thumbprint Cookies are a tasty mix of rich chocolate and creamy hazelnut. They are easy to make and perfect for any occasion. In this post, I’ll guide you through the simple steps to whip up these delightful cookies. Plus, I’ll share tips, tricks, and fun variations that will take your baking to the next level. Let’s dive in!
Ingredients
List of Ingredients
– 1 cup all-purpose flour
– 1/2 cup ground hazelnuts
– 1/2 teaspoon baking powder
– 1/4 teaspoon salt
– 1/2 cup unsalted butter, softened
– 1/2 cup brown sugar, packed
– 1 large egg yolk
– 1 teaspoon vanilla extract
– 1/2 cup chocolate hazelnut spread (like Nutella)
– Chopped hazelnuts for garnish
These ingredients come together to create a rich, nutty cookie. The all-purpose flour provides the base. Ground hazelnuts add flavor and texture. Baking powder helps the cookies rise, while salt balances the sweetness. Softened butter and brown sugar give the cookies a chewy texture. The egg yolk adds richness, and vanilla extract enhances the overall taste. Finally, the chocolate hazelnut spread makes the cookies special.
Optional Garnishes
– Chopped hazelnuts
– Powdered sugar for dusting
– Extra chocolate hazelnut spread for dipping
Garnishes are a fun way to customize your cookies. Chopped hazelnuts add crunch and a nice visual touch. Dusting with powdered sugar gives a sweet finish. Providing extra chocolate hazelnut spread for dipping makes your treat even more enjoyable.
Suggested Tools for Preparation
– Mixing bowls
– Whisk
– Baking sheet
– Parchment paper
– Spoon or small scoop
– Wire rack for cooling
Having the right tools helps make cooking easier. Mixing bowls are needed for combining the ingredients. A whisk helps mix dry and wet items well. Lining a baking sheet with parchment paper keeps cookies from sticking. A spoon or small scoop helps shape the dough into balls. A wire rack cools the cookies properly after baking.
Step-by-Step Instructions
Preparing the Dough
To start, preheat your oven to 350°F (175°C). This step warms your oven for baking. Next, take a medium bowl and whisk together these dry ingredients:
– 1 cup all-purpose flour
– 1/2 cup ground hazelnuts
– 1/2 teaspoon baking powder
– 1/4 teaspoon salt
Set this bowl aside. In a large mixing bowl, beat together the softened butter and brown sugar. This mix should feel light and fluffy after about 2-3 minutes. Now, add one large egg yolk and 1 teaspoon of vanilla extract to the butter mix. Stir until it looks well blended.
Gradually mix in your dry ingredients. Be careful here; mix just until combined. Overmixing can make the cookies tough.
Forming the Cookies
Once your dough is ready, scoop out tablespoon-sized portions. Roll each portion into a ball. Place these dough balls on a baking sheet lined with parchment paper. Space them about 2 inches apart to give them room to spread.
Now, create an indentation in the center of each ball using your thumb or the back of a small spoon. This step is key for holding the chocolate hazelnut spread.
Fill each thumbprint with about 1 teaspoon of chocolate hazelnut spread. Don’t be shy—this is where the flavor shines!
For a crunchy touch, sprinkle chopped hazelnuts around the edges of each thumbprint. This adds texture and looks lovely, too.
Baking the Cookies
Now it’s time to bake! Place your baking sheet in the preheated oven. Bake the cookies for about 12-15 minutes. Watch for the edges to turn slightly golden.
When done, let the cookies cool on the baking sheet for 5 minutes. Then, move them to a wire rack to cool completely. Enjoy the delightful aroma wafting from your kitchen while they cool!
Tips & Tricks
Perfectly Soft Cookies
To make soft cookies, use room-temperature butter. This helps mix air into the dough. Beat the butter and brown sugar until fluffy. This step adds lightness. Do not skip this part.
Avoiding Overmixing
Mix the dough just until it comes together. Overmixing can make cookies tough. The dough should be slightly sticky but not wet. This keeps the cookies soft. Stop mixing once you don’t see dry flour.
Achieving the Ideal Thumbprint
For a perfect thumbprint, press gently with your thumb. Make sure not to press too hard. Aim for a deep enough indent to hold the filling. You can also use the back of a small spoon. This gives you control over the shape. Fill each thumbprint with just a teaspoon of chocolate hazelnut spread. Add chopped hazelnuts around the edge for crunch.
Variations
Nut-Free Alternative
If you want a nut-free version, use sunflower seed flour instead of ground hazelnuts. It mimics the texture well. You can also swap the chocolate hazelnut spread for sunbutter. This keeps the flavor rich and creamy. Always check for nut allergies with guests.
Flavor Enhancements
You can add a dash of cinnamon or espresso powder to the dough. This gives your cookies a warm, rich flavor. You might also try using almond extract instead of vanilla for a twist. Each addition can change the taste and make the cookies even more special.
Alternative Fillings
While chocolate hazelnut spread is a classic, you can get creative with fillings! Try fruit jams like raspberry or apricot for a fresh taste. Cream cheese frosting also works great if you want something rich. Each filling brings its own unique flavor to your cookies, making them fun and exciting.
Storage Info
Best Storage Practices
To keep your chocolate hazelnut thumbprint cookies fresh, store them in an airtight container. This method keeps them soft and chewy. Place parchment paper between layers to avoid sticking. Keep the container in a cool, dry place. Avoid storing them in the fridge, as this can make them hard.
Freezing Instructions
You can freeze these cookies for later enjoyment. First, let the cookies cool completely. Then, place them on a baking sheet in a single layer. Freeze them for about an hour. Once frozen, transfer the cookies to a freezer bag. Remove as much air as possible to prevent freezer burn. They can last up to three months in the freezer.
Shelf Life of Cookies
When stored properly, these cookies last for about one week at room temperature. If you freeze them, they can last much longer. Remember to thaw them at room temperature for the best flavor. Enjoy them fresh for the best taste!
FAQs
Can I use a different type of nut flour?
Yes, you can use other nut flours. Almond flour works well in this recipe. It adds a nice flavor and texture. You can also try pecan or walnut flour. Just remember, each nut has a unique taste. So, be ready for slight changes in flavor. If you are nut-free, consider using sunflower seed flour. It gives a similar texture without nuts.
How do I prevent cookies from spreading too much?
To stop cookies from spreading, chill the dough first. After mixing, wrap it in plastic wrap and place it in the fridge for about 30 minutes. This helps keep the shape during baking. Also, make sure to use enough flour and nut flour. The right balance helps the cookies hold their shape. Lastly, avoid overmixing the dough, as this can make cookies spread more.
Can I make these cookies vegan?
Yes, you can make these cookies vegan with a few easy swaps. Replace the egg yolk with a flax egg. To make a flax egg, mix one tablespoon of ground flaxseed with three tablespoons of water. Let it sit for five minutes until it thickens. For the butter, use a vegan butter substitute. Use your favorite chocolate hazelnut spread that is dairy-free. These easy swaps keep the cookies tasty and vegan-friendly!
This article covered key aspects of cookie making, from ingredients to storage. You learned about the best tools, dough preparation, and baking tips for soft cookies. I also shared variations for flavor and fillings. With proper storage, your cookies can last longer. Remember, experimenting adds fun to baking. Follow these steps to create delicious treats. Enjoy your cookie journey!