Looking for a healthy snack that satisfies your sweet tooth? This Chocolate Peanut Butter Granola recipe is your answer! Packed with wholesome ingredients, it’s easy to make and perfect for on-the-go munching. You’ll love the rich chocolate flavor combined with creamy peanut butter. Read on for a step-by-step guide to whip up this delicious treat that not only tastes great but also fuels your day!
Why I Love This Recipe
- Irresistible Flavor: This granola combines the rich taste of chocolate with the creamy texture of peanut butter, creating a deliciously indulgent snack.
- Healthy Ingredients: Made with wholesome oats and nuts, this recipe is packed with fiber and protein, making it a nutritious choice for breakfast or snacking.
- Customizable: You can easily modify this recipe by adding your favorite nuts, seeds, or dried fruits to suit your taste.
- Quick and Easy: With just a few simple steps, you can whip up a batch of this granola in no time, perfect for busy mornings or quick snacks!
Ingredients
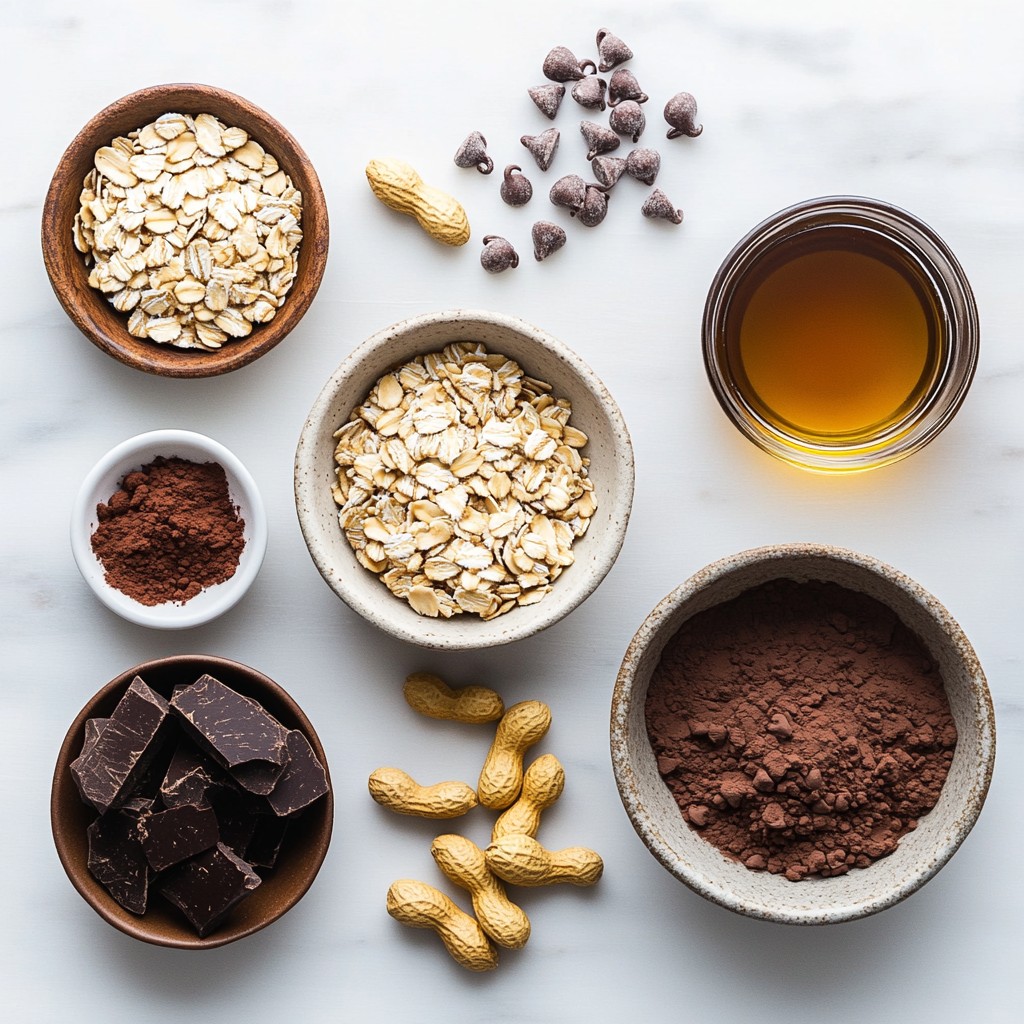
List of Ingredients
- 2 cups rolled oats
- 1 cup unsalted peanuts, roughly chopped
- 1/2 cup unsweetened cocoa powder
- 1/2 cup peanut butter (smooth or crunchy)
- 1/2 cup maple syrup or honey
- 1/4 cup coconut oil, melted
- 1/2 teaspoon vanilla extract
- 1/2 teaspoon salt
- 1/2 cup dark chocolate chips (optional)
For this chocolate peanut butter granola, I use simple, wholesome ingredients. Each one plays a key role in flavor and texture.
First, I choose rolled oats as the base. They give the granola a chewy texture. Next, I add unsalted peanuts for crunch. They also add protein, making this snack more filling.
Unsweetened cocoa powder brings a rich chocolate taste without added sugar. Peanut butter is the star here, adding creaminess and a nutty flavor. You can choose smooth or crunchy, depending on your taste.
For sweetness, I use maple syrup or honey. Both options work well to bind the granola. Coconut oil adds healthy fats and helps with browning.
I always include vanilla extract for warmth in flavor. A pinch of salt enhances all the tastes. If you love chocolate, sprinkle in dark chocolate chips at the end for extra indulgence.
These ingredients come together to create a tasty and healthy snack. Each bite is packed with flavor and nutrition!
Step-by-Step Instructions
Preparing the Oven and Baking Sheet
First, you need to preheat your oven to 350°F (175°C). This step helps the granola bake evenly. While the oven heats, line a large baking sheet with parchment paper. This keeps the granola from sticking and makes cleanup easy.
Mixing Dry Ingredients
In a large mixing bowl, combine the rolled oats, chopped peanuts, cocoa powder, and salt. Use a spatula or spoon to mix these ingredients well. You want the dry ingredients to blend evenly for great flavor.
Mixing Wet Ingredients
Next, grab a separate bowl. Whisk together the peanut butter, maple syrup (or honey), melted coconut oil, and vanilla extract. Mix until smooth and creamy. This mixture will add sweetness and richness to your granola.
Combining Wet and Dry Mixtures
Now, pour the wet mixture over the dry ingredients. Stir well to make sure every oat is coated. An even coating ensures that every bite is full of flavor.
Baking Instructions
Spread the granola mixture in an even layer on the lined baking sheet. Bake it in the preheated oven for 20-25 minutes. Stir the granola once halfway through, so it cooks evenly. You’ll know it’s ready when it turns golden brown and smells amazing.
Cooling and Storing
After baking, take the sheet out and let the granola cool completely. As it cools, it will become crisp. If you want, sprinkle dark chocolate chips over the warm granola. Gently mix them in for a delightful touch. Once cooled, break the granola into clusters and store it in an airtight container. Enjoy your tasty snack!
Tips & Tricks
Perfecting Granola Texture
To get the right crunchiness, focus on the baking time. Bake at 350°F for 20-25 minutes. Stir halfway to ensure even baking. If it’s golden brown and fragrant, it’s done! Let it cool completely on the sheet. This step is key. The granola will become crisp as it cools.
Flavor Tips
You can switch up the nut butter for a new taste. Almond butter or cashew butter works great too. Try different sweeteners like agave or brown sugar. Each will add its unique flavor. Feel free to mix in spices like cinnamon for warmth.
Serving Suggestions
I love serving this granola with yogurt and fresh fruit. You can also eat it as a snack straight from the jar. For a fun twist, sprinkle it on ice cream. It’s delicious! Try these options to enjoy your chocolate peanut butter granola even more.
Pro Tips
- Use Fresh Ingredients: Always opt for fresh rolled oats and quality cocoa powder for the best flavor and texture in your granola.
- Customize Your Nuts: Feel free to experiment with different nuts like almonds or cashews for a unique twist on the classic granola.
- Storage Matters: Store your granola in an airtight container to keep it fresh and crunchy for up to two weeks.
- Mix-In Ideas: Add dried fruits or seeds after baking for extra texture and flavor, making your granola even more nutritious.
Variations
Nut-Free Option
If you want a nut-free granola, you can swap peanuts for seeds. Use sunflower seeds or pumpkin seeds. These seeds give a nice crunch and are packed with nutrients. You can also use nut butter alternatives like sunflower seed butter. This makes your granola safe for schools and nut-free diets.
Add-ins for Extra Flavor
Feel free to get creative with add-ins! You can add dried fruits like raisins or cranberries. These fruits add sweetness and chewiness. You might also try adding seeds like chia or flaxseed for extra nutrition. Another option is to use coconut flakes for a tropical twist. Just remember to adjust the baking time if you add extra wet ingredients.
Altering Sweetness
You can adjust the sweetness to fit your taste. If you like it sweeter, add more maple syrup or honey. You can also try using agave syrup or brown sugar. If you want less sweetness, reduce the sweetener. Just keep in mind that it may change the texture. A less sweet granola can still taste great, especially with dark chocolate chips mixed in.
Storage Info
Best Storage Practices
To keep your chocolate peanut butter granola fresh, use an airtight container. Glass jars work well, but plastic containers are fine too. Store it in a cool, dry place away from sunlight. This helps prevent the granola from becoming soggy or stale.
Shelf Life
When stored properly, your granola lasts about two weeks. If you notice any changes in smell or texture, it’s best to toss it. Check for any signs of moisture, which can lead to spoilage.
Freezing Granola
You can freeze granola for longer storage. Place it in a freezer-safe bag or container. Make sure to squeeze out any extra air. When you want to eat it, thaw it in the fridge overnight. You can also warm it in the oven for a few minutes. This will help bring back its crunch.
FAQs
Can I use other types of oats?
Yes, you can use other oats, but they change the texture.
- Rolled oats: These are the best choice for granola. They bake well and stay chewy.
- Quick oats: These cook faster but can make granola too soft.
- Instant oats: These are not ideal. They may turn mushy and lose crunch.
How do I make it gluten-free?
You can make this granola gluten-free easily. Just choose gluten-free oats.
- Oats: Look for certified gluten-free rolled oats.
- Sweeteners: Maple syrup and honey are gluten-free.
- Peanuts and other nuts: Always check packaging for cross-contamination.
Is this recipe customizable?
Yes! You can change it to fit your taste. Here are some ideas:
- Nut butter: Try almond or cashew butter for a different flavor.
- Sweetness: Adjust maple syrup or honey to your liking.
- Add-ins: Toss in your favorite nuts, seeds, or dried fruit. This makes it fun!
In this blog post, I shared a tasty granola recipe with ingredients like oats, peanuts, and cocoa. I explained how to prepare, mix, bake, and store your granola to keep it fresh. Tips were offered for texture, flavor, and serving suggestions. I also included variations for nut-free options and ways to adjust sweetness. Enjoy making your granola! It’s easy, fun, and a great snack. With a little practice, you can create a mix perfect for your taste.
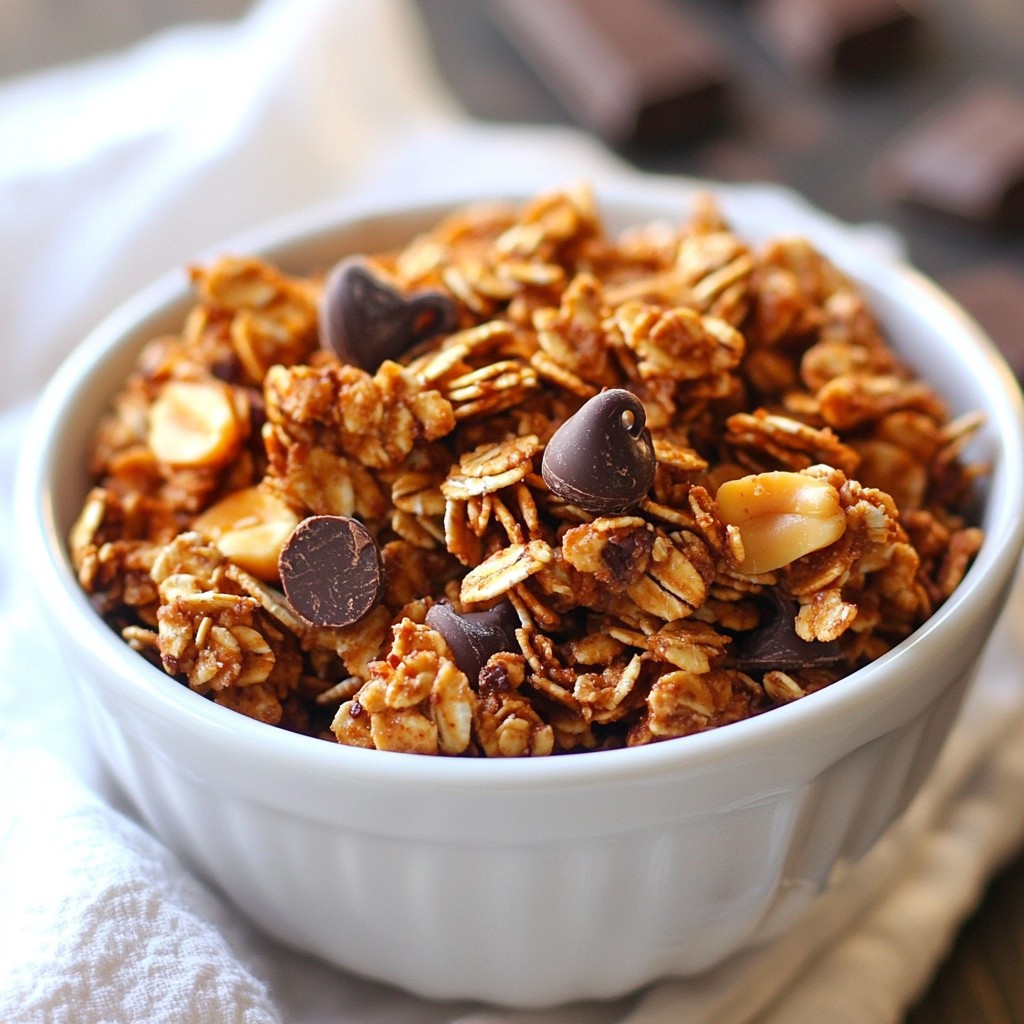
Chocolate Peanut Butter Granola
A delicious and crunchy granola made with chocolate and peanut butter, perfect for breakfast or a snack.
Ingredients
Instructions
- 1
Preheat your oven to 350°F (175°C) and line a large baking sheet with parchment paper.
- 2
In a large mixing bowl, combine the rolled oats, chopped peanuts, cocoa powder, and salt. Mix well.
- 3
In a separate bowl, whisk together the peanut butter, maple syrup (or honey), melted coconut oil, and vanilla extract until smooth and well-combined.
- 4
Pour the wet ingredients over the dry mixture and stir until all the oats are coated evenly.
- 5
Spread the granola mixture out onto the prepared baking sheet in an even layer.
- 6
Bake in the preheated oven for 20-25 minutes, stirring once halfway through, until the granola is golden brown and fragrant.
- 7
Once out of the oven, allow the granola to cool completely on the baking sheet – it will become crisp as it cools.
- 8
If using, sprinkle the dark chocolate chips over the warm granola while it’s still slightly warm for melting; gently mix them in.
- 9
Once cooled, break the granola into clusters and store in an airtight container.
Chef's Notes
Serve in a bowl topped with yogurt and fresh fruits or enjoy as a snack straight from the container!