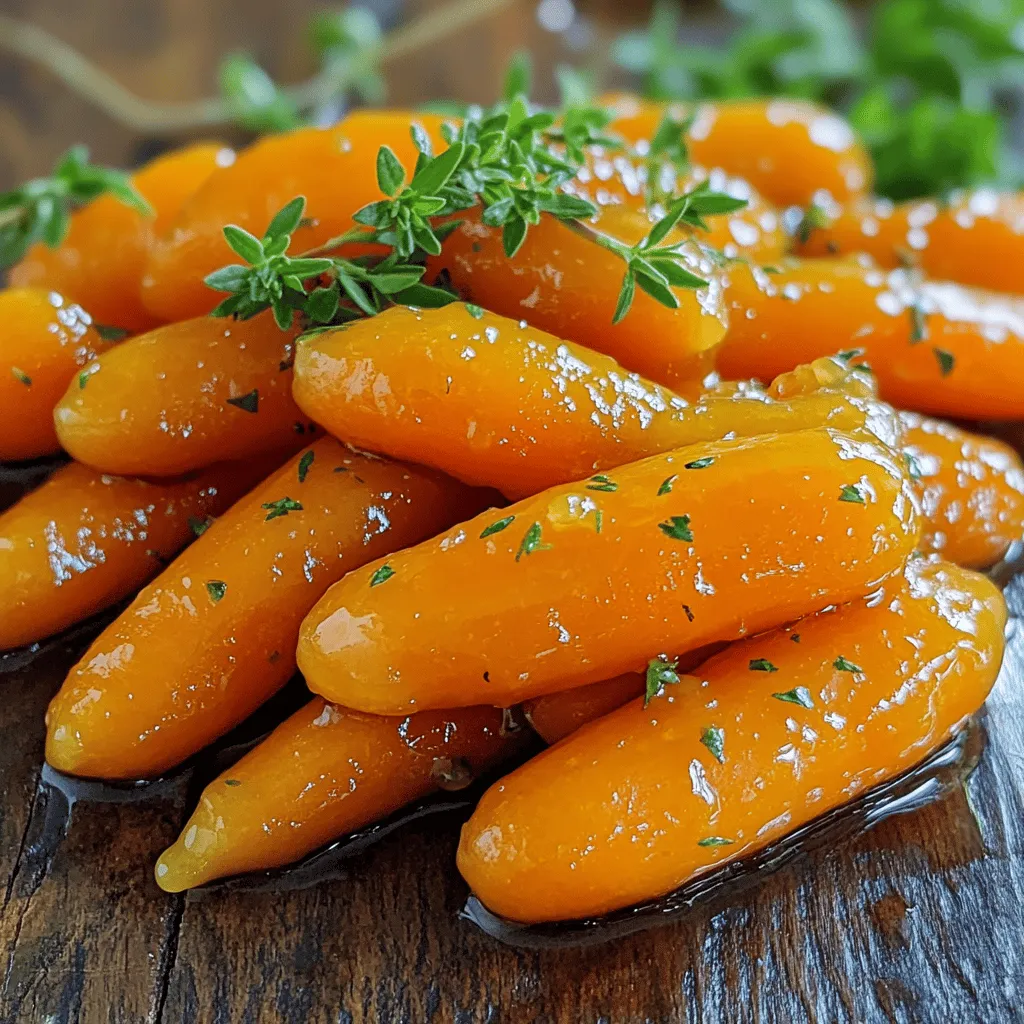
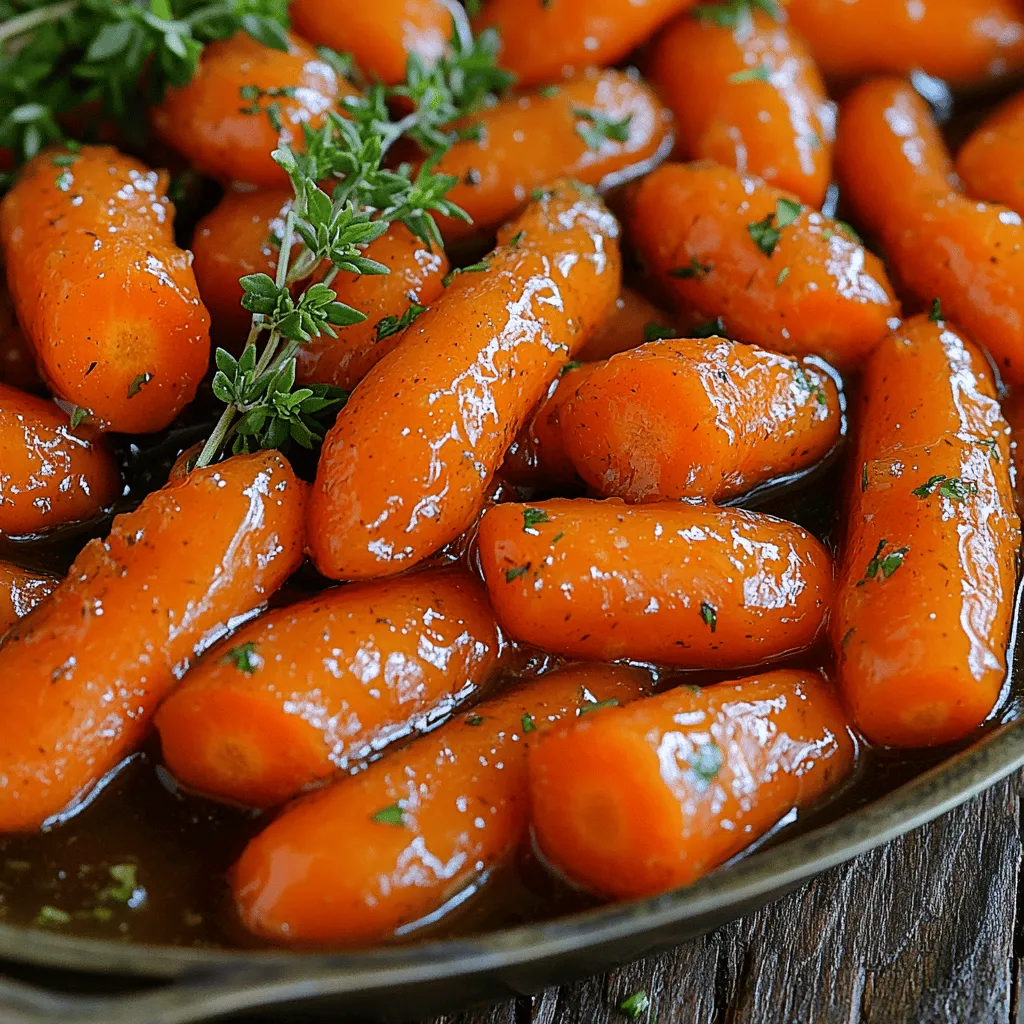
Looking for a simple side dish that packs a punch? Honey Glazed Carrots are a must-try! These sweet, tender veggies are quick to make and bursting with flavor. Whether you use fresh or frozen carrots, this recipe will impress your family or guests. I’ll walk you through each step, share tips, and explore tasty variations. Get ready to enhance your meals with this delightful dish!
Ingredients
Complete List of Ingredients
To make honey glazed carrots, you need simple and fresh ingredients. Here’s what you need:
– 1 pound baby carrots (or regular carrots, peeled and cut into sticks)
– 3 tablespoons honey
– 2 tablespoons butter
– 1 teaspoon fresh thyme leaves (or ½ teaspoon dried thyme)
– Salt and pepper to taste
– 1 tablespoon lemon juice
– 1 tablespoon chopped fresh parsley (for garnish)
These ingredients work together to create a sweet and savory dish.
Fresh vs. Frozen Carrots
Should you use fresh or frozen carrots? I always prefer fresh carrots for this recipe. They have a better texture and flavor. Fresh carrots are crisp and sweet. They can soak up the honey glaze well. If you only have frozen carrots, you can still use them. Just make sure to thaw them first. They may not be as crunchy, but they’ll still taste good.
Alternative Sweeteners
What if you want to change the sweetness? You can try different sweeteners. Maple syrup is a great choice. It has a rich flavor that pairs well with carrots. Agave nectar is another option. It’s light and sweet. You can also use brown sugar if you want a caramel-like taste. Just keep in mind that each sweetener will change the flavor a bit. Try them to see what you like best.
Step-by-Step Instructions
Preparation of Carrots
Start by washing your baby carrots well. If you use regular carrots, peel them first. Then cut them into sticks. This helps them cook evenly. You want pieces that are about the same size. It makes sure they all get tender at the same time. Keep them ready for cooking.
Cooking Process Overview
Heat a large skillet over medium heat. Add the butter and let it melt. Once melted, add your carrots to the skillet. Stir them every few minutes. Cook for about 5 minutes. You want them to soften a bit. Then drizzle the honey over the carrots. Stir well to coat them evenly. Add fresh thyme, salt, and pepper. Cook for another 5 to 7 minutes. This allows the honey to turn sticky and caramelize. Make sure to stir often to prevent burning.
Final Touches for Serving
When the carrots are tender, remove the skillet from the heat. Squeeze in some lemon juice for a bright taste. Mix it all well. Now, transfer the honey-glazed carrots to a serving dish. Sprinkle fresh parsley on top for a nice color. Your dish is ready to enjoy.
Tips & Tricks
How to Achieve Perfect Glaze
To get the best glaze on your carrots, follow these steps. First, use fresh carrots for great flavor. Cut them evenly to ensure they cook at the same rate. Start with melted butter in your skillet and let it coat the carrots well. Add honey after the carrots soften a bit. This timing helps the honey stick and caramelize nicely. Stir often to prevent burning and get that beautiful, shiny glaze.
Adjusting Sweetness and Flavors
You can tweak the sweetness to fit your taste. If you find the dish too sweet, add a bit more lemon juice. This will brighten the flavor and balance the sweetness. For extra depth, try adding a pinch of salt or a dash of pepper. Fresh herbs like thyme add a savory note, while honey provides sweetness. Experiment to find your perfect mix!
Common Mistakes to Avoid
Avoid overcooking the carrots. They should be tender yet crisp when done. If you cook them too long, they’ll become mushy. Also, watch the heat closely. Cooking on high can burn the honey, making it bitter. Lastly, don’t skip the lemon juice. It lifts the dish and makes the flavors pop. Follow these tips, and you’ll create a dish everyone loves.
Variations
Adding Spices and Herbs
You can change the flavor of honey glazed carrots by adding spices and herbs. For a warm taste, try cinnamon or ginger. Just a pinch can make a big difference. If you like a bit of heat, add a dash of cayenne pepper. Fresh herbs like rosemary or dill can also enhance the flavor. Mix and match to find your favorite blend!
Different Vegetable Combinations
Honey glazed carrots pair well with other veggies. You can add baby potatoes for heartiness. Roasted parsnips also work great with the glaze. Try mixing in some green beans or snap peas for a colorful dish. Each vegetable brings its own unique taste to the mix. This adds depth and makes the dish more exciting.
Making It Vegan
If you want a vegan version, it’s easy to swap out the butter. Use coconut oil or olive oil instead. The honey can be replaced with maple syrup or agave nectar for sweetness. The taste will still be rich and delicious. You’ll still enjoy that lovely glaze without any animal products.
Storage Info
Best Practices for Storing Leftovers
After enjoying your honey glazed carrots, let them cool. Place them in an airtight container. This keeps them fresh for up to three days. Make sure to store them in the fridge. For best taste, eat them within two days.
Reheating Instructions
To reheat, use the stove or a microwave. In a skillet, add a splash of water. Heat on low until warm. Stir often to avoid burning. In the microwave, place in a bowl. Cover it with a damp paper towel. Heat in short bursts until warm. This keeps the carrots tender.
Freezing Honey Glazed Carrots
You can freeze honey glazed carrots, but they may lose some texture. Let them cool completely. Place them in a freezer-safe bag. Squeeze out the air before sealing. They can last up to three months in the freezer. When ready to eat, thaw in the fridge overnight. Reheat as mentioned above for the best results.
FAQs
What are the best carrots to use?
I recommend using baby carrots for their sweetness and tenderness. They cook quickly and add nice color to your dish. If you prefer regular carrots, choose firm ones. Peel and cut them into sticks for even cooking. Both options work well for honey glazed carrots.
Can I make Honey Glazed Carrots in advance?
Yes, you can make honey glazed carrots ahead of time. Cook them as stated in the recipe, then let them cool. Store them in an airtight container in the fridge for up to three days. When ready to serve, reheat them on the stove or in the microwave.
How to make honey-glazed carrots less sweet?
To reduce the sweetness, use less honey. You can also add more lemon juice for a tangy flavor. Mixing in some garlic or onion can balance the sweetness too. Adjust the flavors in small steps to find your perfect mix. Enjoy your honey glazed carrots just the way you like!
In this blog post, we covered how to make perfect honey-glazed carrots. We looked at key ingredients, like fresh versus frozen carrots and alternative sweeteners. I shared simple steps for preparation, cooking, and serving. You learned tips for achieving the right glaze and avoiding common mistakes. We also explored variations, such as adding spices or making it vegan. Finally, I discussed the best ways to store and reheat leftovers. Enjoy making this dish your own, and remember, small changes can lead to big flavors.
