Are you ready to whip up a treat so good, you can’t resist? This Peanut Butter Chocolate Swirl Fudge is easy to make and deliciously creamy. You only need a few simple ingredients to create a dessert that will impress family and friends. In this post, I’ll guide you through each step to make this sweet delight. Let’s get started on a treat you’ll love!
Why I Love This Recipe
- Easy to Make: This recipe requires minimal ingredients and simple steps, making it perfect for both novice and experienced bakers.
- Decadent Flavor: The combination of creamy peanut butter and rich chocolate creates an indulgent treat that satisfies any sweet tooth.
- Versatile Treat: You can customize this fudge with your favorite nuts or extra chocolate chips for added texture and flavor.
- Perfect for Sharing: This recipe yields 16 pieces, making it a great option for parties, gifts, or just to enjoy with friends and family.
Ingredients
List of Ingredients
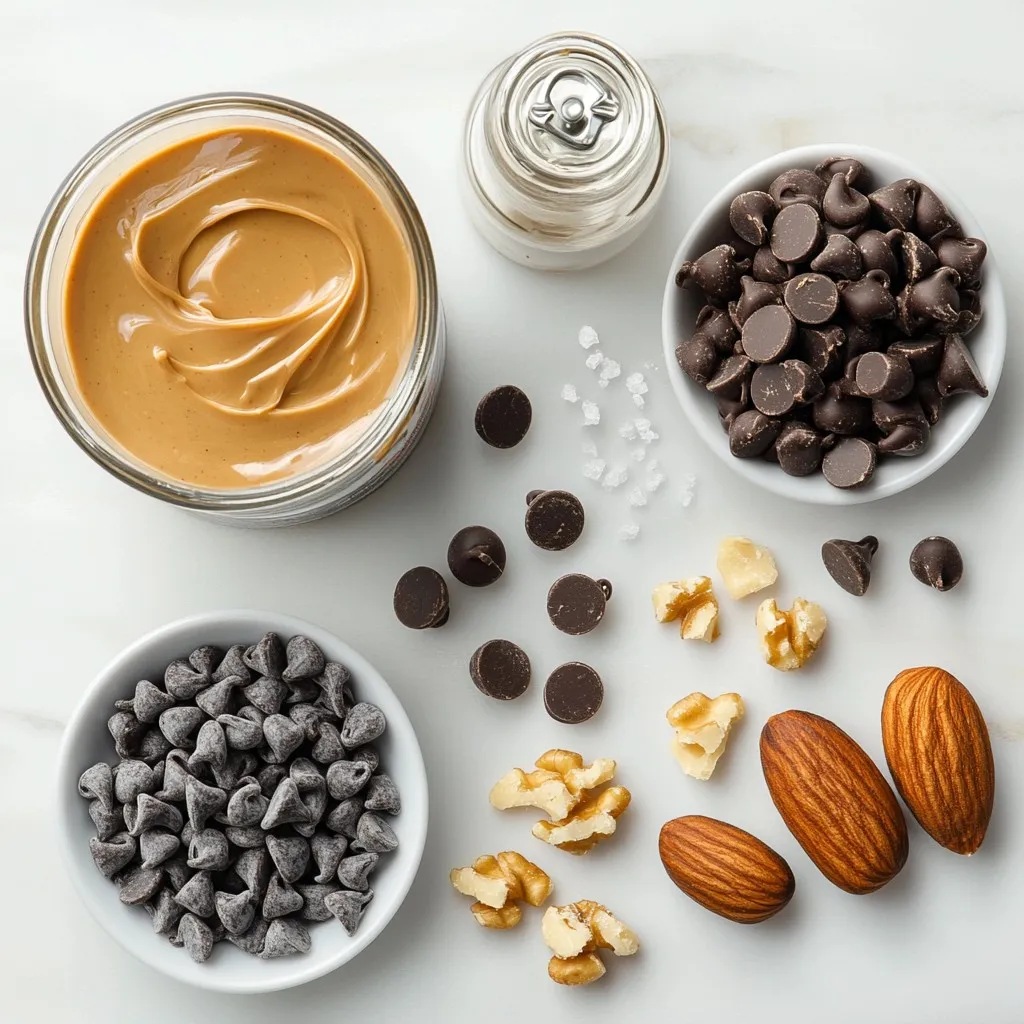
To make Peanut Butter Chocolate Swirl Fudge, gather these simple ingredients:
– 1 cup creamy peanut butter
– 1 cup semi-sweet chocolate chips
– 1 cup sweetened condensed milk
– 1 teaspoon vanilla extract
– 1/4 teaspoon salt
– 1/2 cup chopped nuts (walnuts or almonds) – optional
– Additional chocolate chips or swirl for topping (optional)
Optional Ingredients for Variation
You can switch things up with these optional ingredients:
– Different nuts like pecans or hazelnuts
– White chocolate instead of semi-sweet chocolate
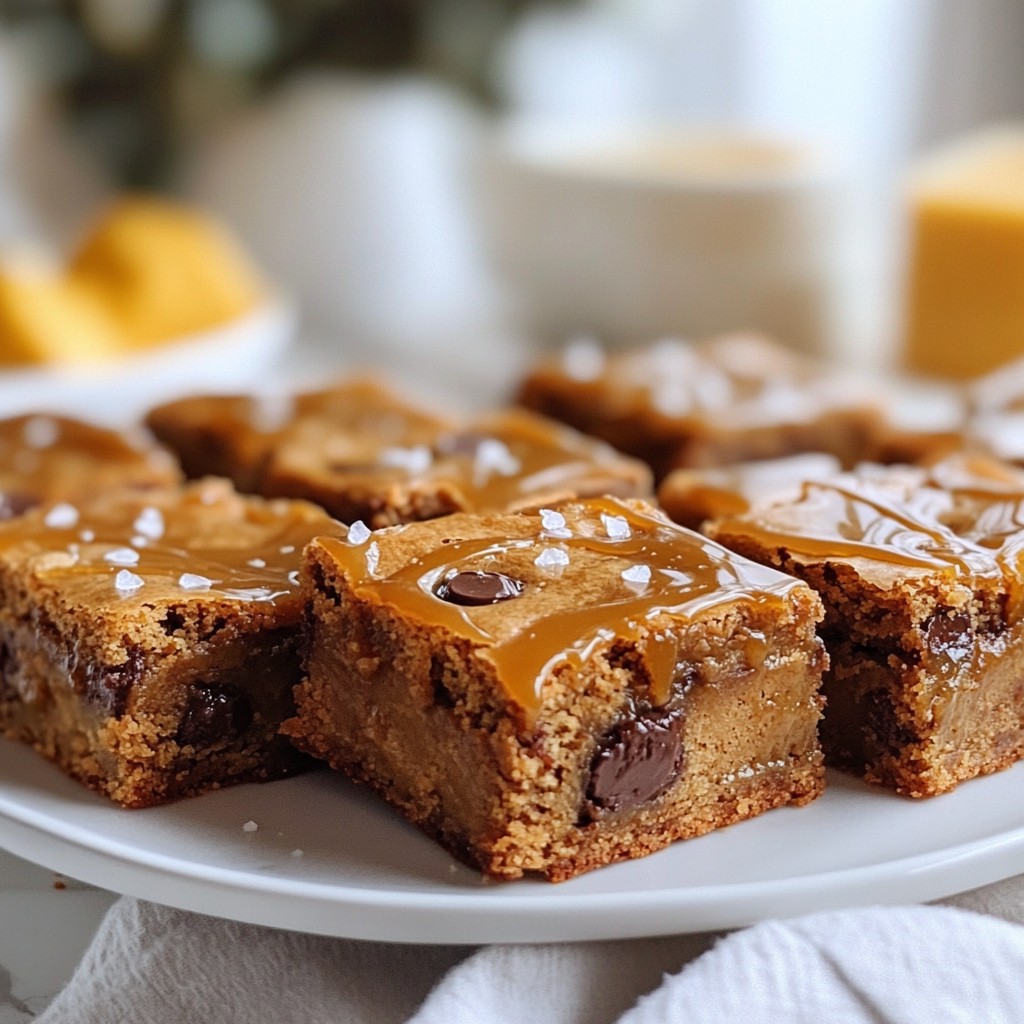
– Sea salt flakes for a sweet and salty touch
– Dried fruits like cranberries or raisins for a fruity twist
Equipment Needed
To prepare this fudge, you will need:
– An 8-inch square baking dish
– Parchment paper
– Medium saucepan
– Mixing bowls
– Stirring spoon or spatula
– Toothpick or skewer for swirling
These ingredients and tools make it easy to create this delicious treat. You will enjoy the rich taste and smooth texture of the fudge. Plus, you can customize it to fit your taste!
Step-by-Step Instructions
Preparation of the Baking Pan
Start by lining an 8-inch square baking dish with parchment paper. Leave some paper hanging over the edges. This makes it easy to lift the fudge out later. It also helps with clean-up.
Melting the Chocolate
In a medium saucepan, add the semi-sweet chocolate chips and half of the sweetened condensed milk. Use low heat and stir often until the chocolate is melted and smooth. This should take just a few minutes. When done, take it off the heat. Stir in half a teaspoon of vanilla extract and a pinch of salt. This adds great flavor.
Preparing the Peanut Butter Mixture
In a separate bowl, mix the remaining creamy peanut butter with the other half of the sweetened condensed milk. Add another half teaspoon of vanilla and a pinch of salt. Stir until this mixture is creamy and well combined.
Layering the Fudge
Pour half of the melted chocolate into the lined baking dish. Spread it evenly across the bottom. Next, add the peanut butter mixture on top, spreading it evenly as well. Finally, dollop the rest of the chocolate mixture over the peanut butter layer.
Swirling the Layers Together
Take a toothpick or a skewer and gently swirl the layers together. Move it in a circular motion to create a marbled look. Be careful not to mix too deeply. You want to see the separate layers.
Chilling the Fudge
Now, place the dish in the refrigerator. Chill the fudge for at least 3 hours, or until it sets completely. This helps to firm it up and make it sliceable.
Cutting and Serving the Fudge
Once the fudge is set, lift it out of the pan using the parchment paper overhang. Place it on a cutting board and cut it into squares or rectangles as you like. Enjoy your tasty treat!
Tips & Tricks
Achieving the Perfect Swirl
To get a nice swirl, stop mixing too soon. After layering the fudge, use a toothpick. Gently swirl it through the layers. You want to see the dark and light colors. This gives a beautiful design. Don’t mix all the way down. Keep some layers intact for the best look.
Keeping the Fudge Creamy
The key to creamy fudge is low heat. Melt your chocolate slowly. Stir constantly to prevent burning. Mixing sweetened condensed milk with peanut butter keeps it smooth. Avoid letting the mixture sit too long at room temperature. This keeps it from becoming hard.
Best Storage Practices
Store your fudge in an airtight container. Keep it in the fridge for freshness. If you want to freeze it, wrap it well. Use plastic wrap and then foil. This keeps out air and prevents freezer burn. The fudge will last up to three months in the freezer.
Pro Tips
- Perfect Texture: Ensure the fudge is completely chilled before cutting to achieve clean, neat squares.
- Flavor Variations: Experiment with different nut butters like almond or cashew for a unique twist on the classic recipe.
- Storage Tips: Store the fudge in an airtight container in the fridge for up to two weeks to maintain freshness.
- Presentation Matters: For a stunning presentation, drizzle melted chocolate or peanut butter over the top before serving.
Variations
Adding Flavor with Different Nuts
You can add different nuts to your fudge. Walnuts and almonds give great crunch. You might also try pecans or cashews. Each nut adds a new taste. Chop them finely for even mixing. Sprinkle them on top for a fun look. Get creative and find your favorite!
Using Different Types of Chocolate
Switching chocolate can change the flavor. Dark chocolate gives a rich taste. Milk chocolate makes it sweeter and creamier. You can even use white chocolate for a twist. Mix and match for fun results. Use your favorite chocolate type for the best taste.
Other Swirling Options
Swirls don’t have to be just chocolate. You can use caramel or butterscotch too. These add a sweet layer to your fudge. Try adding fruit purees for a fresh flavor. Raspberry or strawberry can brighten up your treat. Experiment with different options for a unique fudge every time!
Storage Info
How to Store Leftover Fudge
To keep your fudge fresh, wrap it well. Use plastic wrap or foil. You can also place it in an airtight container. This prevents it from drying out. Store it in the fridge for the best results. The cool air helps keep the fudge smooth and tasty.
Freezing Peanut Butter Chocolate Swirl Fudge
You can freeze your fudge if you have extra. Cut it into squares first. Wrap each piece in plastic wrap to avoid freezer burn. Then, place the wrapped fudge in a freezer bag. It can last for up to three months in the freezer. When you want to eat it, let it thaw in the fridge overnight.
Shelf Life and Best Practices
The fudge stays good for about two weeks in the fridge. Keep an eye on it for any changes in texture or smell. If it looks dry or crumbly, it’s time to toss it. To enjoy the best flavor, eat your fudge within the first week. Remember to avoid warm places; heat can spoil your treat.
FAQs
Can I use natural peanut butter?
Yes, you can use natural peanut butter. Natural peanut butter gives a richer flavor. However, it may change the texture. The fudge might be a bit less creamy. If you want a smoother fudge, stick with creamy peanut butter.
How do I make the fudge firmer?
To make the fudge firmer, you can add more chocolate chips. You can also let it chill longer. The fridge helps it set well. If your fudge is too soft, try using less sweetened condensed milk next time.
Is it possible to make this fudge dairy-free?
Yes, you can make this fudge dairy-free. Use dairy-free chocolate chips and coconut milk. This keeps the fudge creamy without dairy. Check labels to ensure all ingredients fit your diet.
What can I serve with peanut butter chocolate swirl fudge?
You can serve this fudge with whipped cream or ice cream. Fresh fruit like strawberries or bananas pairs well too. A sprinkle of sea salt on top can enhance the flavor. Enjoy experimenting with your favorite treats!
In this article, we covered how to make delicious peanut butter chocolate swirl fudge. We discussed the key ingredients, equipment, and easy steps to make it. I also shared tips for perfecting your fudge and ideas for tasty variations. Remember, you can customize it to your taste! Store it properly to enjoy each bite. Enjoy your baking adventure and share this sweet treat with friends and famil