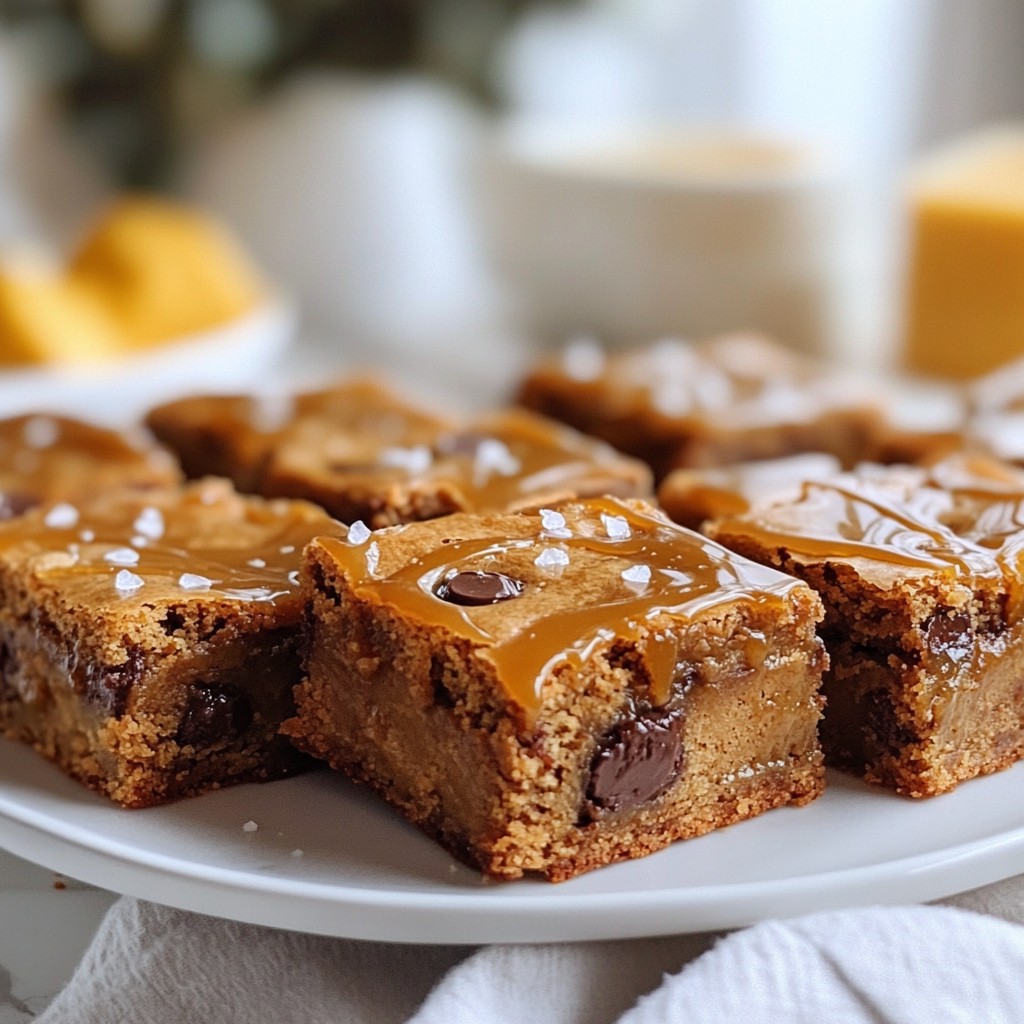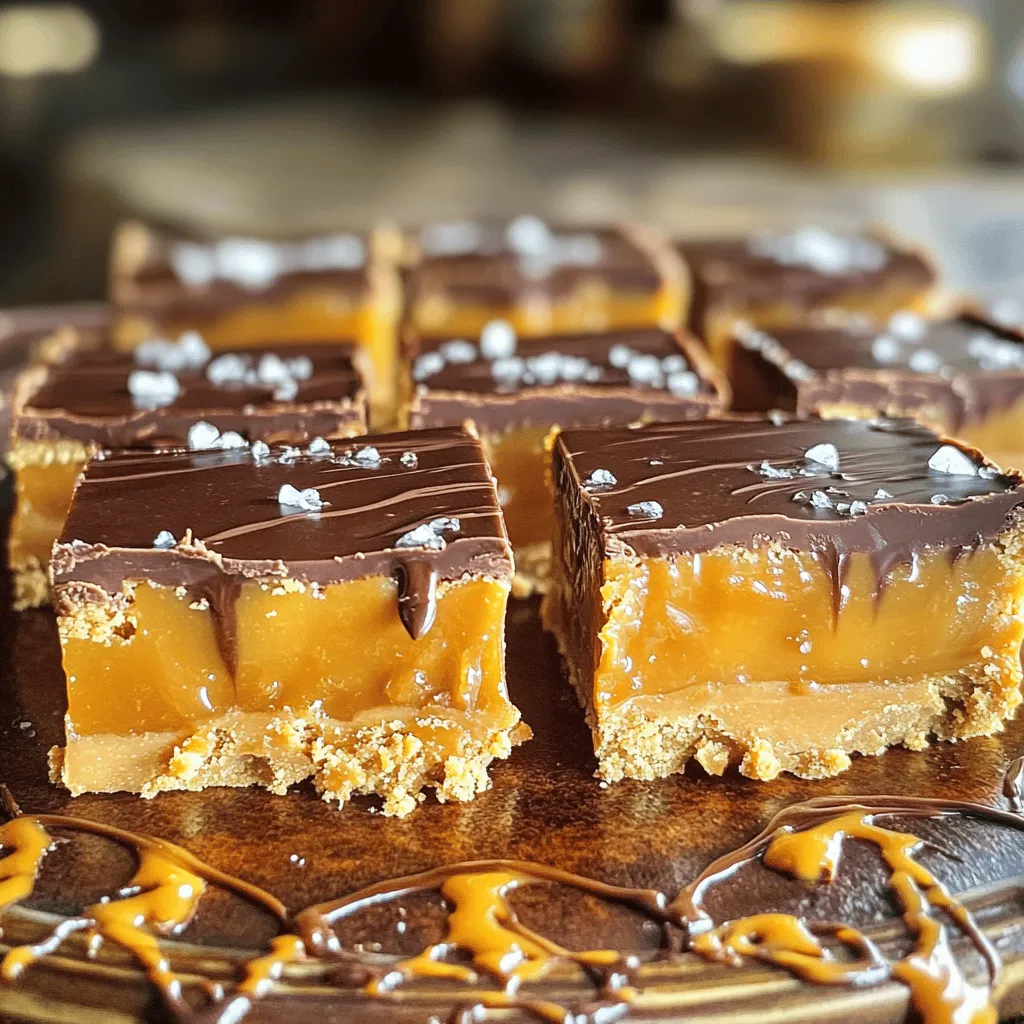
Get ready to indulge in a delightful treat! Salted Caramel Peanut Butter Bars combine rich flavors that will satisfy your sweet tooth. In this guide, I’ll walk you through the simple steps to make these bars. You’ll also find tips on storage, variations, and common mistakes to avoid. Trust me, once you try this recipe, it’ll become a favorite! Let’s get baking!
Ingredients
Comprehensive List of Ingredients
– 1 cup creamy peanut butter
– 1/2 cup unsalted butter, melted
– 1/2 cup brown sugar
– 1/2 cup granulated sugar
– 1 teaspoon vanilla extract
– 1 1/2 cups graham cracker crumbs
– 1/8 teaspoon salt
– 1/2 cup salted caramel sauce (store-bought or homemade)
– 1/2 cup semi-sweet chocolate chips
– Sea salt for sprinkling
Explanation of Key Ingredients
Each ingredient plays a vital role in making these bars great. The creamy peanut butter gives a rich flavor and smooth texture. The unsalted butter adds moisture and helps bind everything together. Brown sugar adds a hint of caramel flavor, while granulated sugar provides sweetness.
Vanilla extract enhances the flavor of the peanut butter. The graham cracker crumbs provide a crunchy base. The salt balances the sweetness. Our salted caramel sauce adds a sweet and salty twist. Finally, semi-sweet chocolate chips create a delicious topping, and the sea salt enhances all the flavors.
Substitute Options for Dietary Preferences
If you want to make changes, here are some options. For a nut-free version, use sun butter instead of peanut butter. You can use coconut oil instead of unsalted butter for a dairy-free option. If you want less sugar, try using a sugar substitute like stevia. For a gluten-free version, use gluten-free graham cracker crumbs. These swaps keep the taste while meeting different diets.
Step-by-Step Instructions
Detailed Preparation Steps
1. Preheat your oven to 350°F (175°C). Grease an 8×8 inch baking pan. You can also line it with parchment paper for easy removal.
2. In a large bowl, mix the melted unsalted butter and creamy peanut butter. Add the brown sugar, granulated sugar, and vanilla extract. Stir until everything is smooth.
3. Gradually add the graham cracker crumbs and salt. Mix well until a thick mixture forms.
4. Pour half of this mixture into the prepared pan. Press it down evenly.
5. Drizzle half of the salted caramel sauce over this layer. Use a spatula to spread it gently.
6. Add the rest of the peanut butter mixture on top. Press it down again to keep it even.
7. Pour the remaining salted caramel sauce over the top. Spread it out evenly.
8. In a microwave-safe bowl, melt the semi-sweet chocolate chips. Heat them in 30-second intervals. Stir in between until smooth.
9. Drizzle the melted chocolate over the bars. You can create a marbled look if you wish.
10. Sprinkle sea salt over the chocolate layer. This adds a nice touch.
Baking Guidelines
1. Place the pan in the oven and bake for 25-30 minutes. Look for the edges to turn golden brown. The center should be set but soft.
2. Keep an eye on the bars to avoid overbaking.
Cooling and Serving Instructions
1. Once baked, remove the pan from the oven. Let it cool completely in the pan.
2. After cooling, slice the bars into squares.
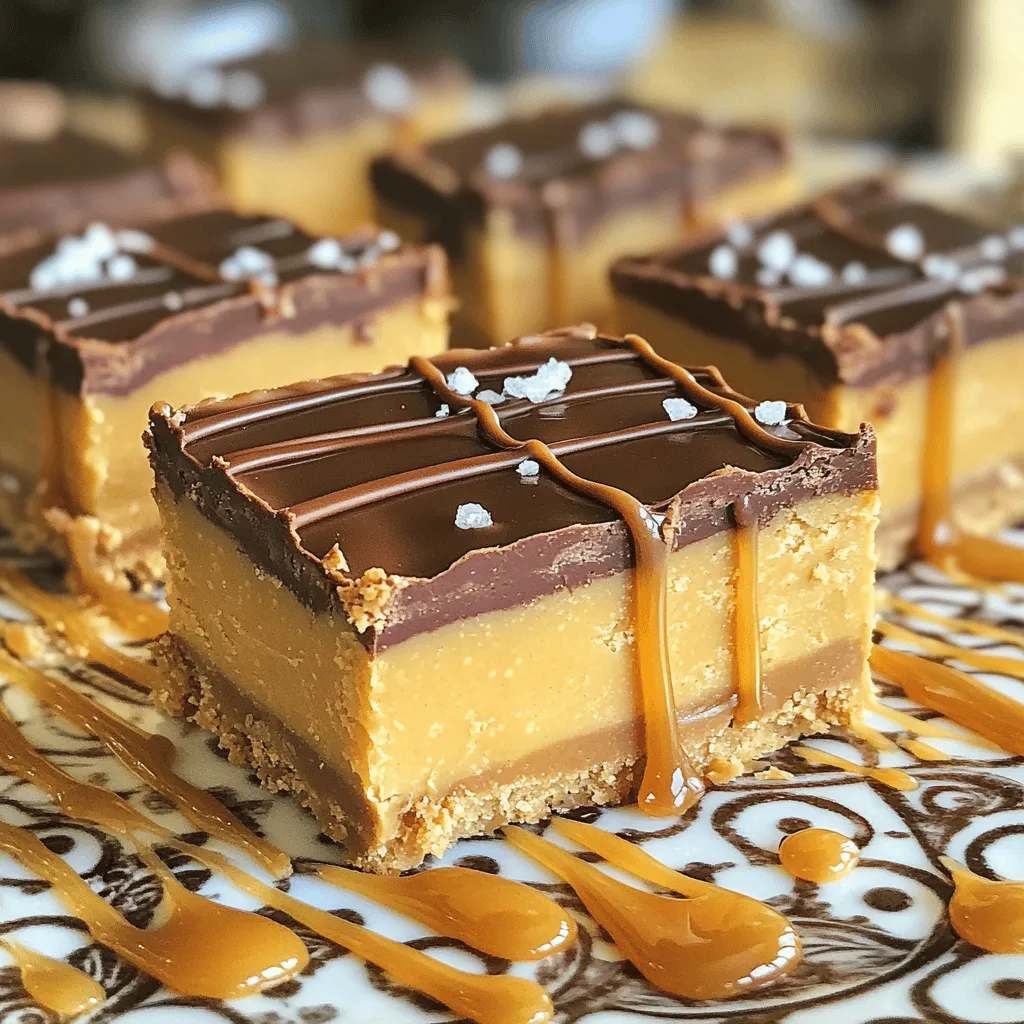
3. For a nice touch, drizzle extra caramel and chocolate sauce on top. You can also add chopped peanuts for crunch. Serve on a decorative platter.
Tips & Tricks
Storage Tips for Freshness
To keep your salted caramel peanut butter bars fresh, store them in an airtight container. Place parchment paper between layers for easy serving. They stay fresh for about a week at room temperature. If you want them to last longer, refrigerate them. They will keep well for two weeks in the fridge. For added crunch, you can freeze them. Just wrap each bar tightly in plastic wrap before placing them in a freezer-safe bag. They can last up to three months in the freezer.
Tips for Achieving the Best Flavor
For the best flavor, use high-quality peanut butter. Creamy peanut butter gives a rich taste. Choose salted caramel sauce that you love; it makes a big difference. If you prefer to make your own, use equal parts sugar and cream. Heat until the sugar dissolves, and then let it cool. Adding a pinch of sea salt on top enhances the sweet and salty balance. Also, ensure you melt the chocolate chips slowly. Stir often to keep it smooth.
Common Mistakes to Avoid
One common mistake is overmixing the peanut butter mixture. Mix until just combined; this keeps the bars light. Another mistake is not pressing the mixture down firmly enough. This makes the bars crumbly. Also, don’t skip the sea salt on top. It adds a nice contrast to the sweetness. Finally, avoid cutting the bars too soon. Let them cool completely for the best texture.
Variations
Alternative Flavor Combinations
You can change the flavor of these bars in fun ways. Try adding crushed nuts, like almonds or walnuts, for crunch. Swap the semi-sweet chocolate chips for white chocolate chips. You can also use dark chocolate for a richer taste. If you love coconut, add shredded coconut to the peanut butter mix. Each twist brings a new taste to enjoy!
Gluten-Free Options
Making gluten-free bars is easy! Use gluten-free graham crackers or almond flour instead of regular crumbs. Check that your caramel sauce and chocolate chips are gluten-free too. This way, everyone can enjoy these tasty treats without worry.
Vegan Adaptations
You can also make these bars vegan! Replace the unsalted butter with coconut oil or vegan butter. Use maple syrup instead of brown sugar for sweetness. Choose dairy-free chocolate chips and a vegan caramel sauce. These changes keep the flavor while making it plant-based.
Storage Info
Best Practices for Storing
To keep your salted caramel peanut butter bars fresh, store them in an airtight container. Place parchment paper between layers to avoid sticking. Keep them at room temperature for up to five days. For longer shelf life, you can store them in the fridge. Just remember, they taste best when they are at room temperature.
How to Freeze for Longer Shelf Life
Freezing these bars is super easy! First, cut them into squares. Wrap each piece in plastic wrap. Then, place them in a freezer-safe bag or container. Be sure to label the bag with the date. They can last up to three months in the freezer. When you’re ready to enjoy, let them thaw in the fridge or on the counter for a few hours.
Reheating Instructions
If you want to warm up your bars, it’s simple. Place a square in the microwave for about 10-15 seconds. This will make the caramel gooey again. Just watch it closely to avoid overheating. You can also enjoy them cold, as the flavors are rich and delightful even when chilled.
FAQs
What can I use instead of graham cracker crumbs?
If you don’t have graham cracker crumbs, use crushed cookies. Vanilla wafers or digestive biscuits work well. You can also try using ground oats or almond flour for a different texture. Each option brings its own flavor to the bars.
Can I make these bars without caramel?
Yes, you can skip the caramel if you prefer. The bars will still taste great with just peanut butter and chocolate. You could also add a layer of jam or honey for sweetness. This change gives a new twist to the recipe.
How long do these bars last at room temperature?
These bars stay fresh for about four days at room temperature. Store them in an airtight container to keep them soft. If you want them to last longer, consider refrigerating them. They can last up to a week that way.
In this article, we explored the key ingredients and step-by-step process for making delicious bars. We discussed preparation, baking, and cooling tips to ensure success. I shared storage methods to keep your treats fresh and various options for different diets.
These insights will help you create great bars while avoiding common pitfalls. Enjoy experimenting with different flavors and methods. Happy baking!