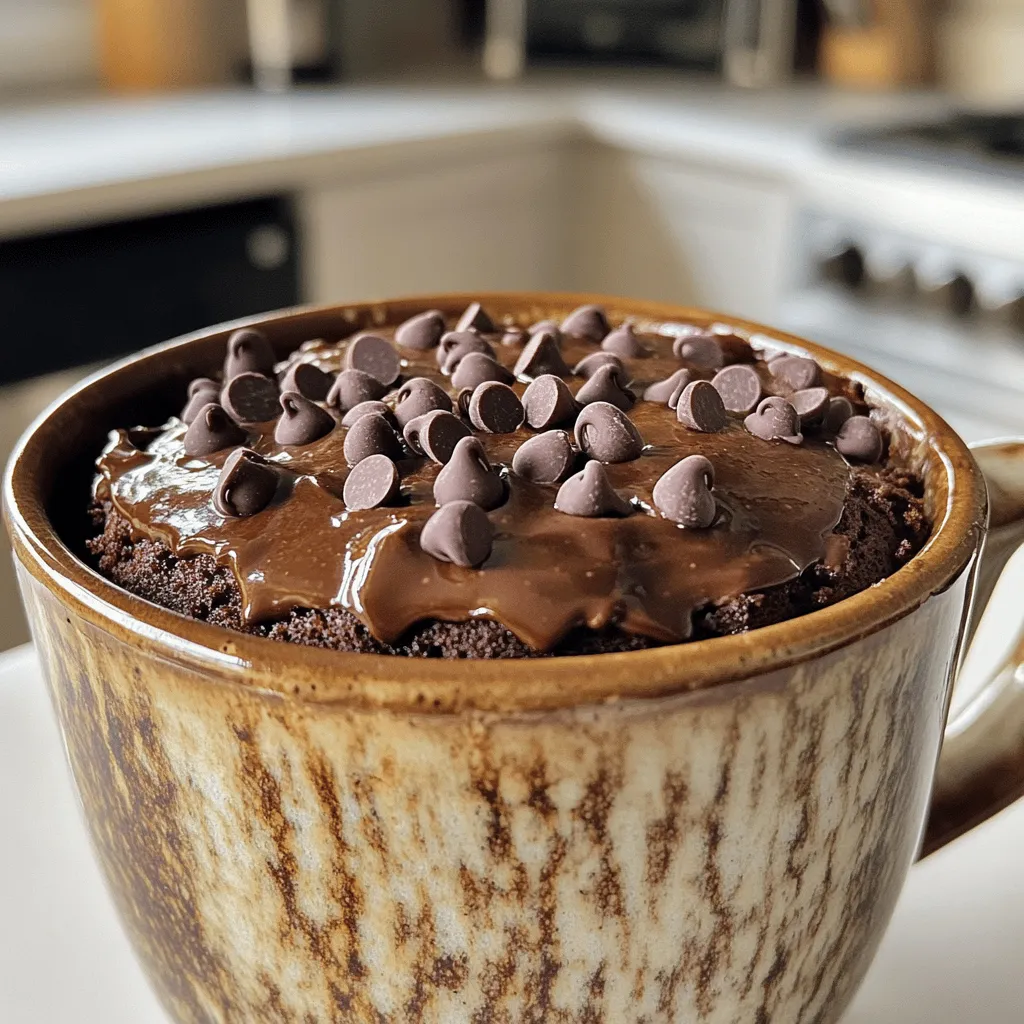
Craving a sweet treat that’s quick and easy? This Vegan Chocolate Mug Cake is your answer! In just moments, you can enjoy a rich, chocolatey delight, perfect for a fast dessert or snack. With simple ingredients and simple steps, you’ll make a satisfying cake that keeps you on track with your plant-based diet. Let’s dive into this quick and tasty recipe you’ll want to make again and again!
Ingredients
To make a delicious vegan chocolate mug cake, you need some simple ingredients. Here’s what you’ll need:
– 4 tablespoons all-purpose flour
– 2 tablespoons unsweetened cocoa powder
– 3 tablespoons coconut sugar (or any granulated sugar)
– 1/8 teaspoon baking powder
– 1/8 teaspoon salt
– 4 tablespoons almond milk (or any plant-based milk)
– 1 tablespoon vegetable oil (or melted coconut oil)
– 1/4 teaspoon vanilla extract
– Vegan chocolate chips (optional, for extra indulgence)
Each ingredient plays a key role. The flour gives it structure, while cocoa powder adds rich flavor. Coconut sugar provides sweetness without being too intense. Baking powder helps the cake rise, and salt balances all the flavors. Almond milk keeps it moist, and oil adds richness. Vanilla extract gives a warm, sweet aroma. If you love chocolate, vegan chocolate chips are a must!
Step-by-Step Instructions
Prepare the Dry Ingredients
Start by getting a large microwave-safe mug. Add the dry ingredients into the mug. Use these:
– 4 tablespoons all-purpose flour
– 2 tablespoons unsweetened cocoa powder
– 3 tablespoons coconut sugar
– 1/8 teaspoon baking powder
– 1/8 teaspoon salt
Mix these well with a fork. This step helps to break up any lumps.
Combine Wet Ingredients
Next, it’s time to add the wet ingredients. Pour in:
– 4 tablespoons almond milk
– 1 tablespoon vegetable oil
– 1/4 teaspoon vanilla extract
Stir these into the dry mix. Keep stirring until you have a smooth batter. Make sure no dry bits are left. If you want more chocolate, fold in some vegan chocolate chips.
Microwave the Cake
Now, place your mug in the microwave. Cook it for about 1 minute to 1 minute and 30 seconds. Keep an eye on it. The cake should rise and look set. Once done, let it cool for a minute.
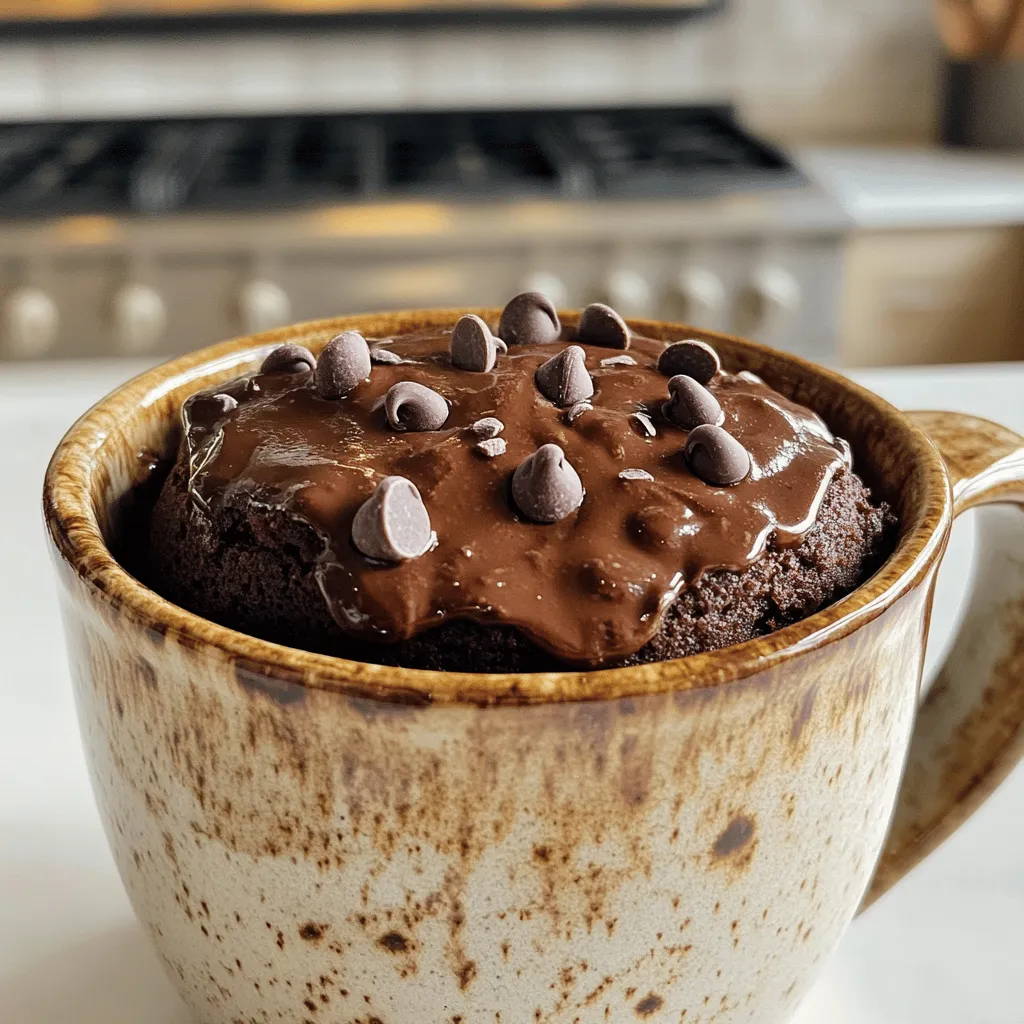
You can top it with vegan yogurt or dairy-free ice cream for a special treat. Enjoy your Vegan Chocolate Mug Cake!
Tips & Tricks
How to Avoid a Dry Cake
To keep your vegan chocolate mug cake moist, watch your mix. Blend the wet and dry ingredients well. If you see dry bits, stir more. You can also add a bit more almond milk if the batter is too thick. Too much flour can dry the cake, so measure carefully.
Perfecting the Microwave Time
Microwave times can vary. Start with one minute, then check your cake. If it looks wet, microwave in ten-second bursts. Each microwave is different, so keep an eye on it. You want a soft, fluffy cake, not a rubbery one.
Suggested Toppings for Your Mug Cake
Toppings can make your mug cake even better! Try vegan yogurt for creaminess. A scoop of dairy-free ice cream adds a nice chill. You can also sprinkle extra chocolate chips on top. Fresh berries give a fruity twist. Whipped coconut cream is a great choice too!
Variations
Gluten-Free Option
You can make this vegan chocolate mug cake gluten-free. Just swap all-purpose flour with a gluten-free flour blend. Look for one that works well in baking. This change keeps the cake soft and tasty. Many blends can be found at local stores.
Flavor Enhancements
Want to add a twist? Try mixing in different flavors! You can add a dash of espresso powder for a rich taste. A pinch of cinnamon gives a warm feel. You could also use flavored extracts like almond or mint. These small tweaks make each bite exciting.
Add-ins and Mix-Ins
Feel free to get creative with add-ins! You can fold in vegan chocolate chips for more chocolate joy. Nuts like walnuts or pecans add crunch and flavor. Dried fruits like cherries or blueberries bring a sweet surprise. You can also add a spoonful of peanut butter or almond butter for creaminess. Each mix-in creates a new experience.
Storage Info
Can You Store Leftovers?
You can store any leftover vegan chocolate mug cake. However, this treat is best enjoyed fresh. If you have some left, cover the mug with plastic wrap or a lid. Place it in the fridge for up to two days. The cake may lose some of its fluffy texture, but it will still taste good.
Reheating Instructions
To reheat your mug cake, simply pop it in the microwave. Heat it in 10-15 second intervals until warm. Be careful not to overheat it. This can dry out the cake. You can add a splash of almond milk before reheating to keep it moist.
How to Make Ahead for Meal Prep
You can prepare the dry ingredients in advance. Mix the flour, cocoa powder, coconut sugar, baking powder, and salt in a bowl. Store this mix in an airtight container. When you crave a mug cake, add the wet ingredients, and microwave. This way, you save time and enjoy your treat faster.
FAQs
Is this Vegan Chocolate Mug Cake Nut-Free?
Yes, this Vegan Chocolate Mug Cake can be nut-free. Use oat milk or soy milk instead of almond milk. Both options work well in this recipe. Always check labels to ensure products are nut-free. If you have nut allergies, it’s best to be safe.
Can I Use a Different Type of Milk?
Absolutely! You can swap almond milk for any plant-based milk. Soy milk, oat milk, or coconut milk are great choices. Each type of milk gives a slightly different flavor and texture. Feel free to experiment with what you like best.
How Can I Make It Sweeter?
To make your mug cake sweeter, add more coconut sugar or use maple syrup. Start with an extra teaspoon of sugar and taste the batter. Remember, the cake can bake sweeter than it tastes raw. You can also top it with a sweet vegan yogurt or dairy-free ice cream for added sweetness.
This blog post laid out a simple recipe for a vegan chocolate mug cake. You learned about the key ingredients and how to mix them. I shared tips to make your cake moist and delicious. You also discovered fun variations and storage tips.
Enjoy your cake fresh or save some for later. Remember, with just a few small changes, you can make this recipe fit your taste. Have fun experimenting and savoring every bite!