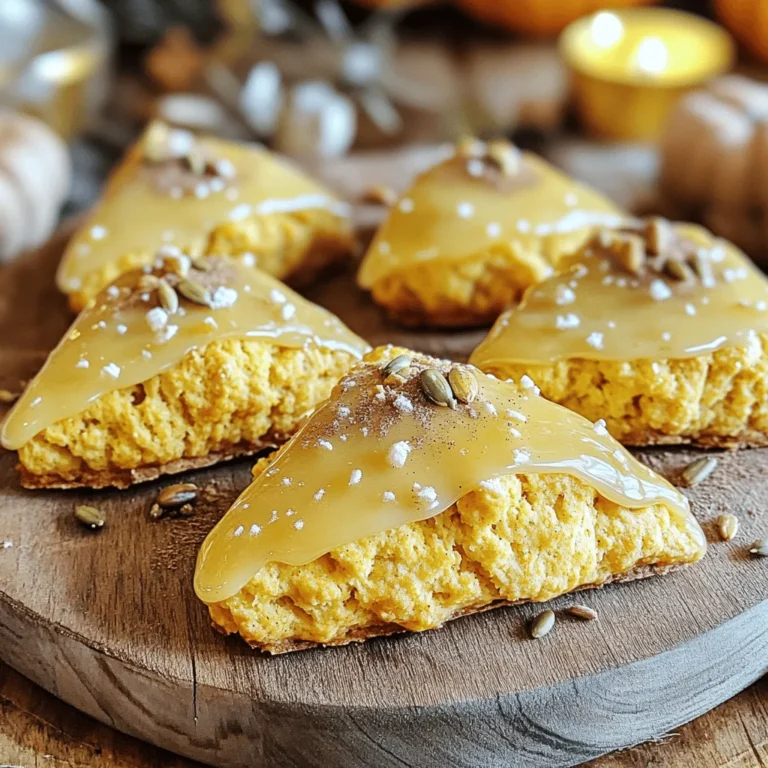
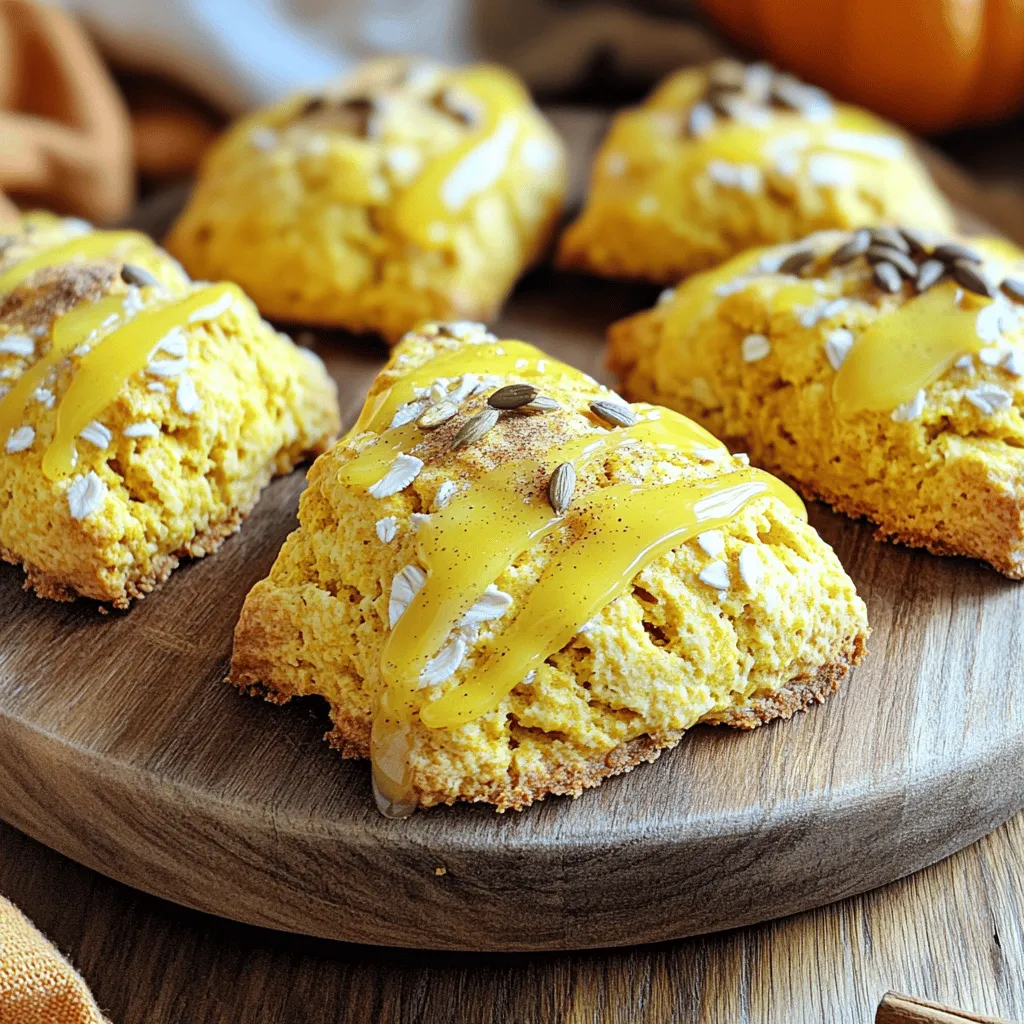
Fall is here, and it’s time to bake something special! Grab your apron and let’s make maple glazed pumpkin scones. These delightful treats blend the warm flavors of pumpkin and maple syrup, perfect for cozy mornings or festive gatherings. I’ll guide you through simple steps and tips to achieve scones that are both soft and flavorful. Ready to fill your kitchen with fall aromas? Let’s dive in!
Ingredients
List of Ingredients
- 2 cups all-purpose flour
- 1/2 cup brown sugar
- 1 tablespoon baking powder
- 1/2 teaspoon baking soda
- 1/2 teaspoon salt
- 1 teaspoon ground cinnamon
- 1/2 teaspoon ground ginger
- 1/4 teaspoon ground nutmeg
- 1/2 cup unsalted butter, cold and cubed
- 1/2 cup canned pumpkin puree
- 1/4 cup heavy cream
- 1 large egg
- 1 teaspoon vanilla extract
- 1 cup powdered sugar (for glaze)
- 2 tablespoons maple syrup
These ingredients create a rich, warm flavor in the scones. Fresh spices like cinnamon and nutmeg make the scones smell amazing. The pumpkin puree keeps them moist and adds a soft texture.
Optional Ingredients for Added Flavor
- 1/2 cup chopped nuts (like pecans or walnuts)
- 1/2 cup chocolate chips
- 1/2 teaspoon allspice
Adding nuts gives a nice crunch. Chocolate chips add sweetness. Allspice can deepen the flavor profile. You can mix and match these extras to suit your taste.
Step-by-Step Instructions
Preparing the Dough
Mixing Dry Ingredients
Start by whisking together the dry ingredients. In a large bowl, combine 2 cups of all-purpose flour, 1/2 cup of brown sugar, 1 tablespoon of baking powder, 1/2 teaspoon of baking soda, and 1/2 teaspoon of salt. Add in 1 teaspoon of ground cinnamon, 1/2 teaspoon of ground ginger, and 1/4 teaspoon of ground nutmeg. Mix until everything is well blended.
Incorporating Cold Butter
Next, it’s time to add the butter. Take 1/2 cup of cold, unsalted butter and cut it into small cubes. Use a pastry cutter or your fingers to blend the butter into the flour mixture. You want it to look like coarse crumbs. This step adds a nice flakiness to your scones.
Combining Wet Ingredients
In a separate bowl, mix your wet ingredients. Combine 1/2 cup of canned pumpkin puree, 1/4 cup of heavy cream, 1 large egg, and 1 teaspoon of vanilla extract. Whisk these together until smooth. Then, pour this mixture into the dry ingredients. Gently stir until just moistened. Be careful not to overmix.
Shaping the Scones
Forming the Dough
Once your dough is ready, turn it out onto a floured surface. Shape it into a disc about 1 inch thick. This thickness is key to get the right texture.
Cutting into Wedges or Rounds
Now it’s time to cut the scones. You can cut the disc into wedges, like a pizza, or use a biscuit cutter for round scones. Make sure to keep the cuts clean to help them rise evenly.
Baking Instructions
Preheating the Oven
Before you bake, preheat your oven to 400°F (200°C). Prepare a baking sheet by lining it with parchment paper. This helps prevent sticking and ensures even baking.
Baking Time and Temperature
Place the scones on the prepared baking sheet. Bake them for 15-18 minutes. They should be lightly golden when done. Keep an eye on them to avoid over-baking.Enjoy your baking!
Tips & Tricks
Perfecting Your Scones
Avoiding Overmixing
Mixing the dough too much can ruin your scones. It leads to tough scones. When you combine the wet and dry ingredients, mix gently. Stop as soon as you see no dry flour. This keeps your scones soft and fluffy.
Ensuring Proper Thickness
Shape your dough into a disc about 1 inch thick. If it’s too thin, your scones might bake too fast and burn. If it’s too thick, they won’t cook evenly. Use a ruler or your hands to check. Aim for that perfect thickness for great results.
Presentation Tips
Serving Suggestions
Serve your scones warm for the best flavor. Place them on a rustic wooden board. This adds charm. Drizzle a little extra maple syrup around them for a sweet touch. You can also serve them with butter or cream on the side.
Decorative Ideas for Serving
Sprinkle some cinnamon on top for a pop of color. Add pumpkin seeds for crunch. You can also use fresh herbs like thyme for a fun contrast. These little details make your scones look gourmet and inviting.
Variations
Flavor Enhancements
You can make your maple glazed pumpkin scones even better. One way is to add nuts or chocolate chips. Walnuts or pecans give a nice crunch and flavor. If you prefer chocolate, try semi-sweet or dark chips. Just fold them into the dough before shaping the scones.
Another way to enhance flavor is by using different spices. Besides cinnamon, ginger, and nutmeg, you can try allspice or cardamom. These spices add warmth and depth. Just use a little to keep the pumpkin flavor strong.
Dietary Modifications
If you need gluten-free scones, swap all-purpose flour with a gluten-free blend. Look for one that works well for baking. You may need to adjust the liquid amounts slightly. Start with the same measurements and see if the dough feels right.
For a vegan version, replace the butter with coconut oil or vegan butter. Use a flax egg instead of a regular egg. Mix one tablespoon of ground flaxseed with three tablespoons of water. Let it sit for a few minutes until it thickens. This will help bind your dough.
Try these variations to make your maple glazed pumpkin scones fit your taste or dietary needs. Enjoy creating your perfect scone!
Storage Info
Storing Scones
To keep your maple glazed pumpkin scones fresh, follow these best practices:
- Cool Completely: Let the scones cool on a wire rack. This step stops steam from making them soggy.
- Airtight Container: Place the scones in an airtight container. This keeps them moist and flavorful.
- Room Temperature: Store at room temperature for up to 3 days. If you need more time, consider freezing them.
When stored correctly, these scones remain soft and tasty. They make a great snack or breakfast treat!
Reheating Tips
You can reheat your scones using either the oven or microwave. Here’s how:
- Oven Method: Preheat the oven to 350°F (175°C). Place the scones on a baking sheet. Heat for about 5-10 minutes. This method keeps them crispy outside and soft inside.
- Microwave Method: Place one scone on a plate. Heat for 10-15 seconds. This method is quick but may make them a bit soft.
Choose the method that works best for you. Enjoy your warm, delicious scones again!
FAQs
How do I make the scones extra fluffy?
To make your scones extra fluffy, avoid overmixing the dough. Mix just until the ingredients come together. Also, use cold butter and add baking powder. This helps in creating air pockets, making the scones light.
Common Mistakes to Avoid:
- Overmixing the dough can lead to tough scones.
- Using warm butter prevents proper rising.
- Skipping the baking powder can affect texture.
Can I freeze the dough?
Yes, you can freeze the dough before baking. Shape the scones and place them on a baking sheet. Freeze them until firm, then transfer to a freezer bag. This way, you can enjoy fresh scones anytime.
Freezing Instructions and Storage Duration:
- Freeze unbaked scones for up to three months.
- Label the bag with the date for easy tracking.
- When ready to bake, no need to thaw, just add a few extra minutes to bake time.
What can I substitute for heavy cream?
You can use whole milk or a non-dairy milk like almond or soy milk. However, these options may change the texture. Heavy cream adds rich flavor and helps with moisture.
Alternatives and Their Impact on Texture:
- Whole milk gives a lighter scone.
- Almond milk may make them less rich but still tasty.
- Avoid low-fat milk for best results.
How long do scones stay fresh?
Scones are best enjoyed fresh. They can stay fresh for about two days at room temperature. Store them in an airtight container.
Shelf Life and Signs of Spoilage:
- Check for dryness or hard texture.
- Look for any mold or off smells.
- Refrigerate for up to a week if needed, but they may become dense.
You learned how to make delicious scones from scratch. We covered the ingredients, step-by-step instructions, and helpful tips. You now know how to shape, bake, and store your scones. You can also explore fun flavor variations or make dietary adjustments. Remember, practice helps you make perfect scones. Enjoy sharing your fresh-baked treats!

