Are you ready to indulge in a chocolate dream? This No Bake Nutella Cheesecake is an easy treat you can whip up in no time. With creamy Nutella blended into a rich filling, it’s perfect for any occasion. I’ll guide you through simple steps to create this decadent delight. Get your ingredients ready, and let’s make a cheesecake that will wow your friends and family!
Ingredients
List of Ingredients
To make a No Bake Nutella Cheesecake, gather these ingredients:
– 1 ½ cups graham cracker crumbs
– 6 tablespoons unsalted butter, melted
– 2 cups cream cheese, softened
– 1 cup Nutella
– ½ cup powdered sugar
– 1 teaspoon vanilla extract
– 1 cup heavy whipping cream
– Chocolate shavings, for garnish
– Chopped hazelnuts, for garnish
Measurements and Substitutions
I love using graham cracker crumbs for the crust. You can swap them with Oreo crumbs for a richer flavor. If you want a dairy-free option, use vegan cream cheese and coconut cream. This keeps the cheesecake creamy without the dairy. Melted coconut oil can replace butter if you’re looking for a dairy-free crust.
Optional Garnishes
Garnishes add a nice touch to your cheesecake. I recommend chocolate shavings for extra sweetness. Chopped hazelnuts give a nice crunch and pair well with Nutella. You can also drizzle warm Nutella on top before serving. A sprig of mint can brighten your plate and make it look fancy.
Step-by-Step Instructions
Preparing the Crust
To start, grab a medium bowl. Mix 1 ½ cups of graham cracker crumbs with 6 tablespoons of melted unsalted butter. Stir until the crumbs look wet. Next, press this mixture into the bottom of a 9-inch springform pan. Use the back of a measuring cup to make it flat. Make sure the crust is tight and even. This crust will hold your cheesecake perfectly.
Making the Cheesecake Filling
In a fresh mixing bowl, beat 2 cups of softened cream cheese with an electric mixer. Mix for about 2 minutes until it’s smooth. Add 1 cup of Nutella, ½ cup of powdered sugar, and 1 teaspoon of vanilla extract. Blend until it’s creamy and well mixed. In another bowl, whip 1 cup of heavy cream until it forms soft peaks. Gently fold the whipped cream into the Nutella mix. Be careful; you want it light and airy.
Assembling the Cheesecake
Now, pour the Nutella cheesecake filling over the crust. Use a spatula to smooth the top. Cover the cheesecake with plastic wrap and place it in the fridge. Let it chill for at least 4 hours, or overnight for the best results. When it’s set, carefully remove the springform pan. Top your cheesecake with chocolate shavings and chopped hazelnuts for a nice look. Serve it up and enjoy!
Tips & Tricks
Best Practices for Mixing
When you mix your cheesecake, always start with room temperature cream cheese. This helps the cream cheese blend smoothly. Use an electric mixer on medium speed. Beat it for about two minutes until it’s creamy. Next, when you add Nutella, powdered sugar, and vanilla, keep mixing until everything is well combined. Lastly, whip your heavy cream to soft peaks. Gently fold it into the Nutella mix. This keeps the mixture light and fluffy.
How to Avoid Common Mistakes
One common mistake is over-mixing the whipped cream. If you mix too much, it can turn into butter. Just fold it in gently until you see no streaks. Also, make sure your crust is pressed firmly into the pan. This keeps the crust from crumbling when you slice the cheesecake. Lastly, let it chill long enough. Refrigerate for at least four hours. Overnight is best for great texture.
Serving Suggestions
When serving, slice the cheesecake into pieces with a sharp knife. To make it look fancy, drizzle some melted Nutella on top. You can also sprinkle chocolate shavings and chopped hazelnuts for some crunch. For an extra touch, add a sprig of mint on each plate. This makes the dessert pop and adds a fresh flavor.

Variations
Adding Different Flavors
You can twist this recipe by adding different flavors. For a fruity touch, mix in some raspberry or strawberry puree with the Nutella. This gives the cheesecake a fresh burst of taste. If you love coffee, try adding a shot of espresso to the mixture. It pairs well with Nutella and adds depth. You can also use white chocolate instead of Nutella. Just melt it, and mix it into the cream cheese for a rich flavor. These small changes can make a big difference!
Gluten-Free Alternatives
If you need a gluten-free option, it’s easy! Swap the graham cracker crumbs for gluten-free cookies or almond flour. Both work well for the crust. You can also use gluten-free chocolate cookies for a unique flavor. Just make sure to check the labels to confirm they are gluten-free. The rest of the ingredients in this recipe are typically gluten-free, so you are mostly safe here!
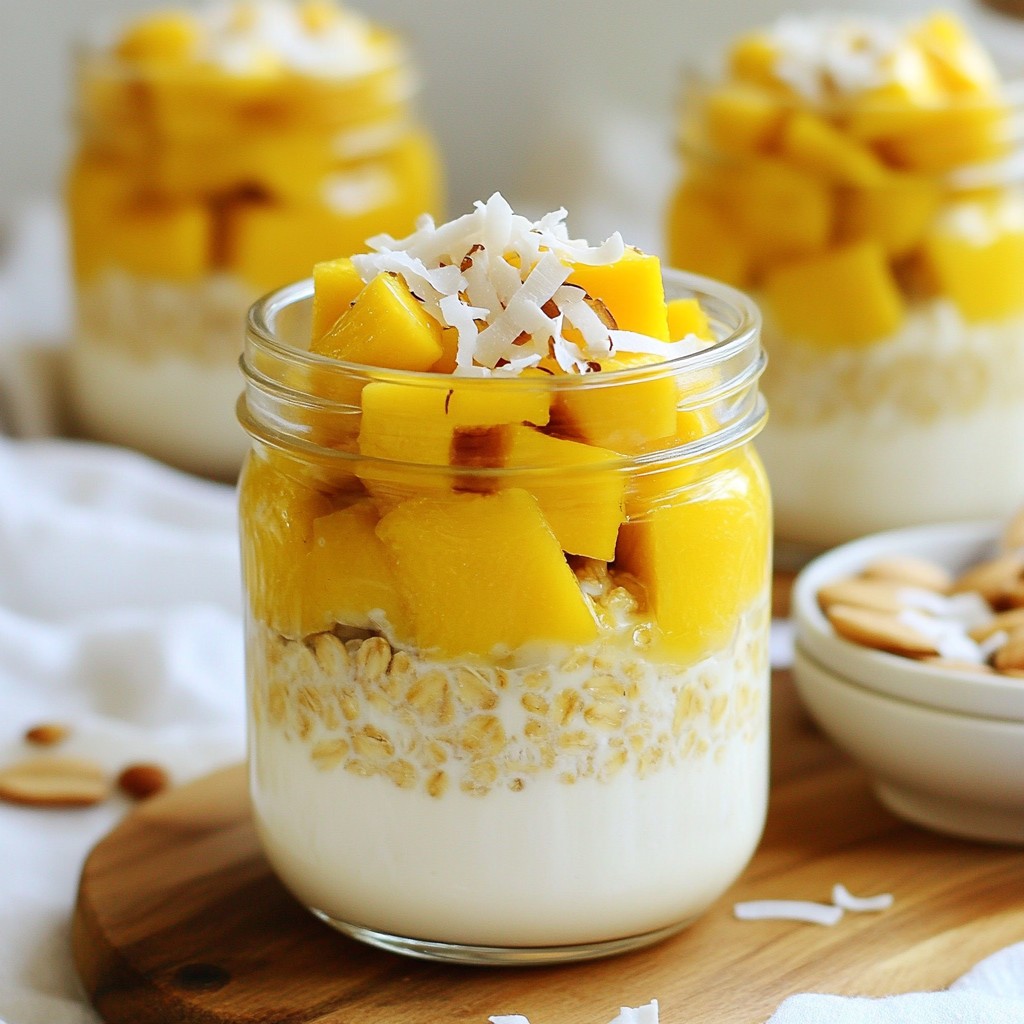
Serving in Individual Portions
Serving your cheesecake in individual portions is fun and easy! Use small cups or jars to layer the crust and cheesecake filling. This makes it perfect for parties or gatherings. It also gives each guest their own little treat. You can even let them add their own toppings. This way, each person can customize their dessert. Plus, it looks great on a table!
Storage Info
Proper Refrigeration
To keep your no bake Nutella cheesecake fresh, store it in the fridge. Use an airtight container or cover it tightly with plastic wrap. This helps prevent it from absorbing other flavors in the fridge. Proper refrigeration also keeps it firm and tasty. Aim to eat it within three days for the best taste and texture.
Freezing Instructions
You can freeze the cheesecake if you want to keep it longer. First, let it set in the fridge for at least four hours. After that, remove it from the springform pan. Wrap it tightly in plastic wrap, then in aluminum foil. This extra layer protects it from freezer burn. When you’re ready to eat, thaw it in the fridge overnight before serving.
Shelf Life Tips
The no bake Nutella cheesecake can last up to one week in the fridge. Watch for any signs of spoilage, like off smells or changes in texture. If you see any, it’s best to toss it out. For the best experience, enjoy it fresh or within a week. This cheesecake is a delight, and you want to savor it at its best!
FAQs
Can I use a different type of chocolate?
Yes, you can! If you want a twist, try dark or milk chocolate. Each type brings its own flavor. For a lighter taste, use white chocolate. Just melt it and mix it into the cream cheese. This will change the feel but keep it tasty.
How long does the cheesecake need to set?
The cheesecake needs at least 4 hours to set. For the best texture, let it chill overnight. This helps it firm up and makes slicing easier. Be patient! The wait is worth it for that perfect slice.
Is it possible to make this cheesecake vegan?
Absolutely! To make a vegan version, swap cream cheese for vegan cream cheese. Use coconut cream instead of heavy cream. For the crust, ensure your graham crackers are vegan. You can also use maple syrup in place of powdered sugar. This way, everyone can enjoy a slice!
You learned about the key ingredients and their measurements. We covered how to prepare, assemble, and present your cheesecake. You now have tips to avoid mistakes and variations to try. Remember to store your cheesecake properly to enjoy later. With these insights, you can bake a delicious cheesecake. Enjoy experimenting with flavors and sharing your results. Happy baking!