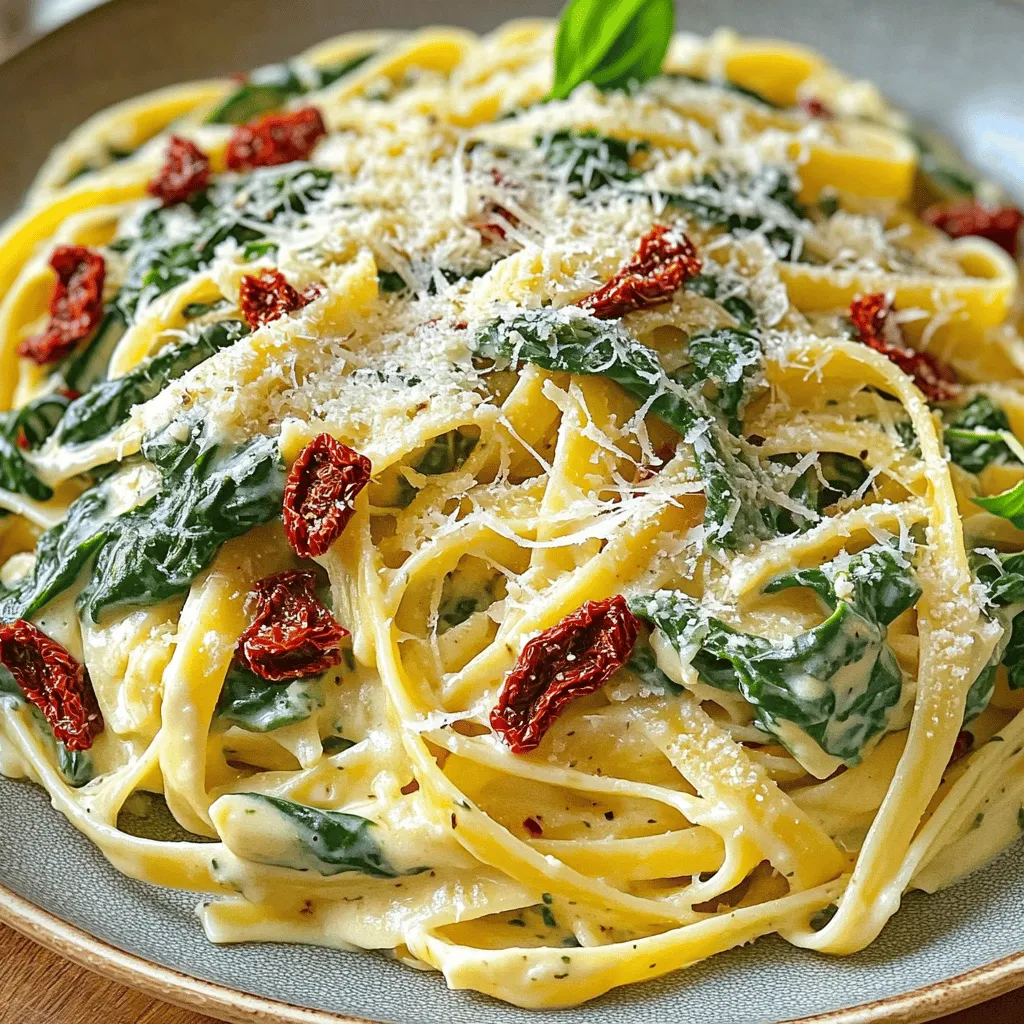
Sun-Dried Tomato Spinach Alfredo Creamy Delight
Are you ready to elevate your dinner game with a tasty twist? This Sun-Dried Tomato Spinach Alfredo Creamy Delight mixes
Are you ready to elevate your dinner game with a tasty twist? This Sun-Dried Tomato Spinach Alfredo Creamy Delight mixes

Get ready to whip up a fall favorite: Pumpkin Cream Cheese Muffins! These soft, moist treats blend warm spices with

Are you ready for a sweet, healthy treat? Chocolate-covered banana bites are the perfect choice! With just a few simple
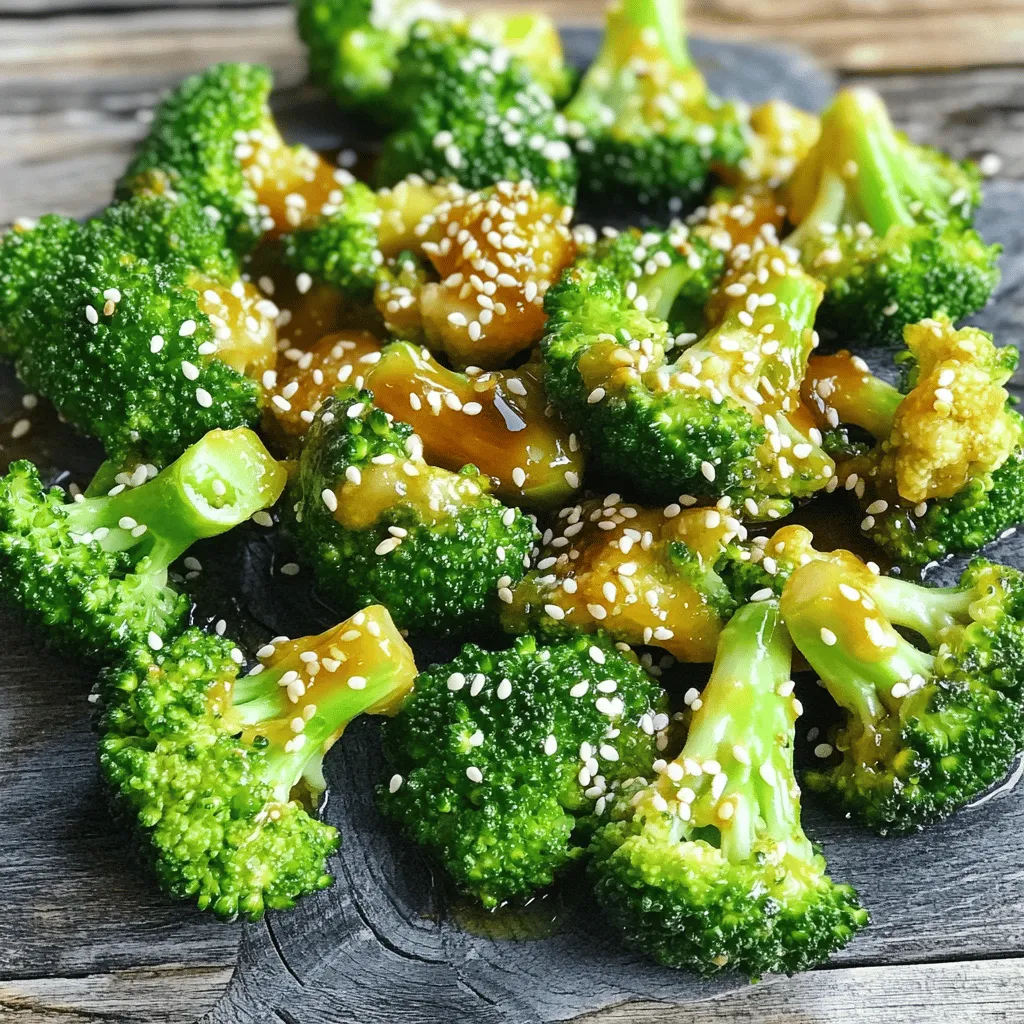
Are you ready to make dinner exciting with a simple yet delicious side? Honey Garlic Broccoli is not just packed
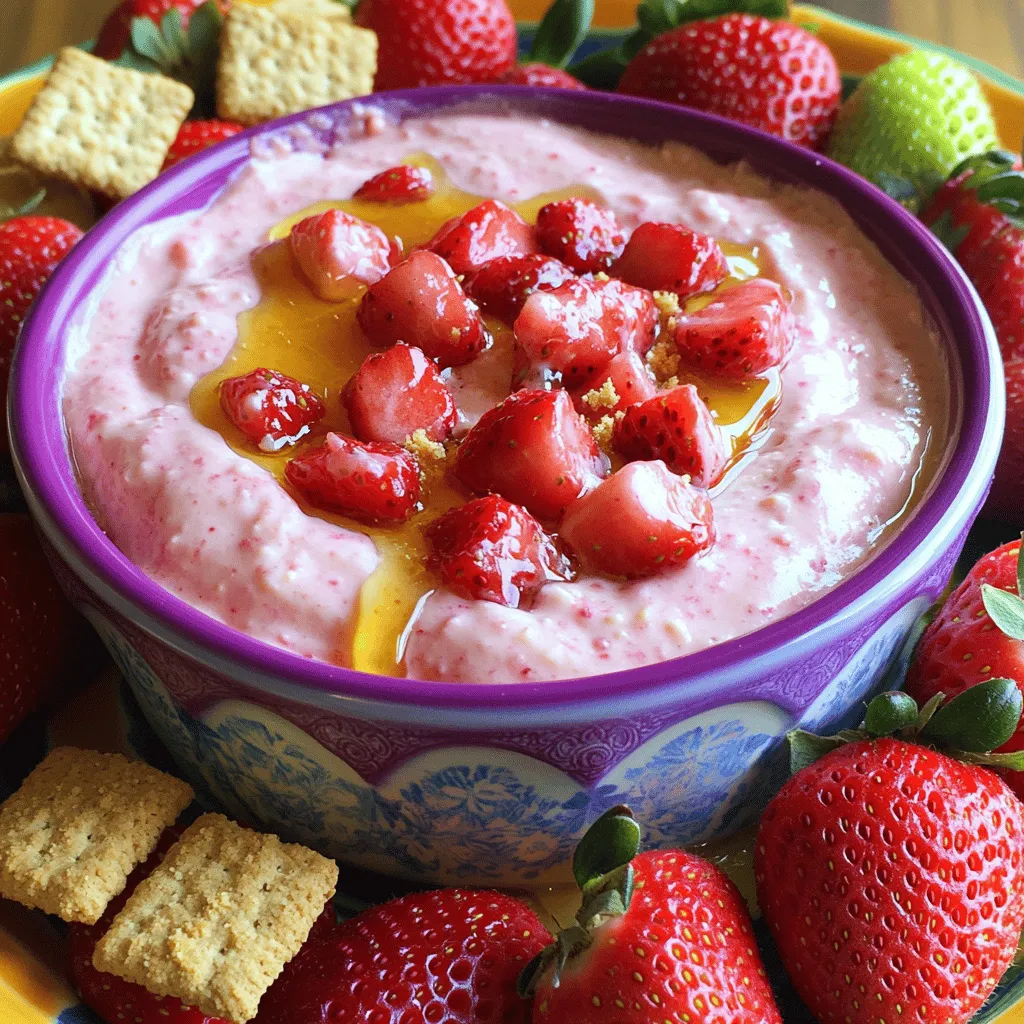
Are you ready to indulge in a creamy treat? Strawberry Cheesecake Dip is easy to make and perfect for sharing.
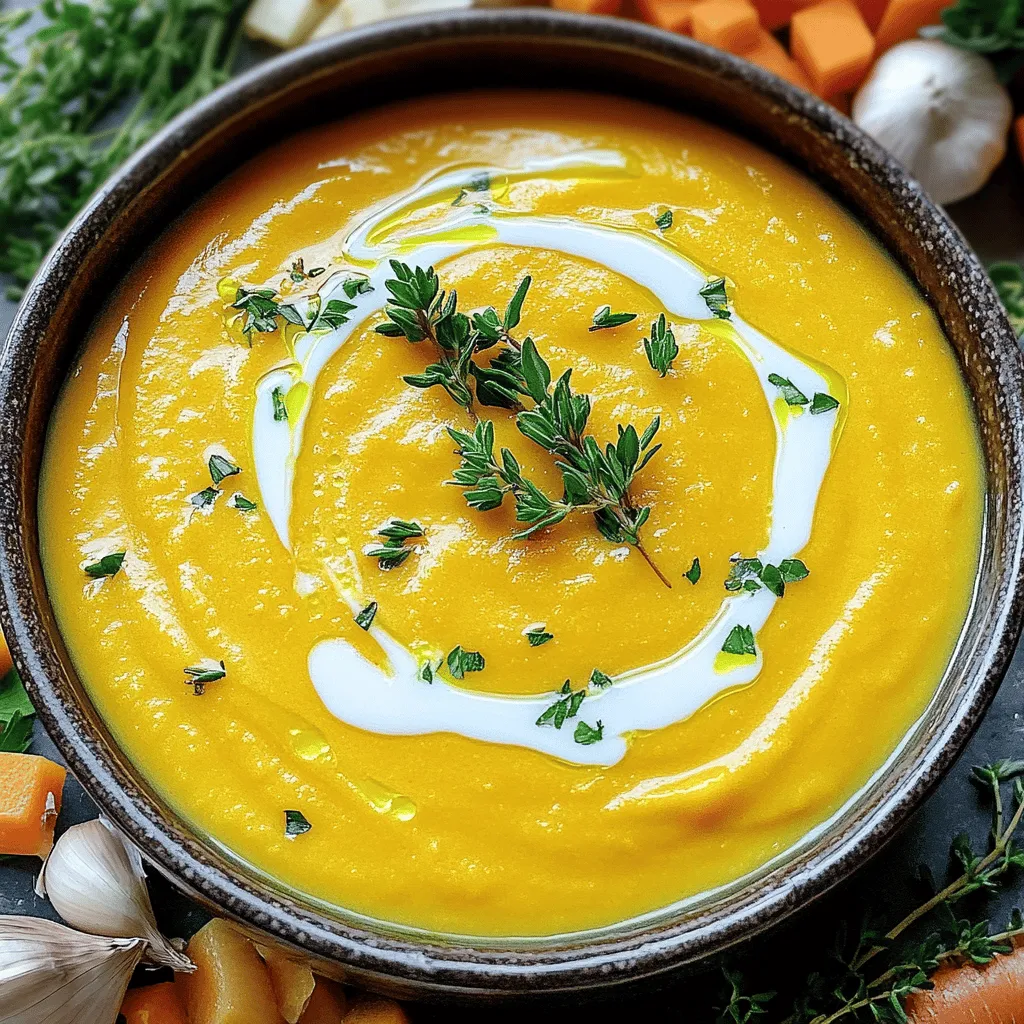
Craving a cozy bowl of comfort? This creamy butternut squash soup is simple to make and packed with flavor! With
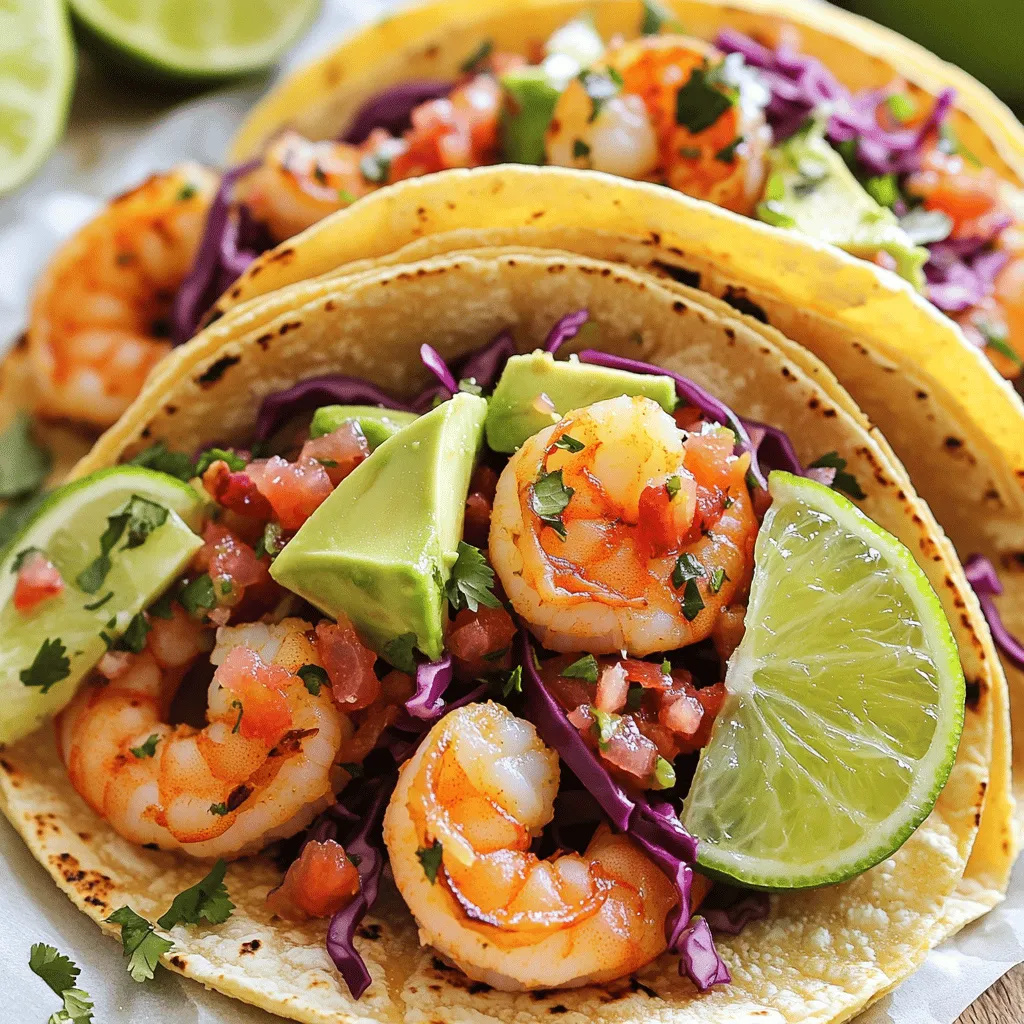
Get ready for a burst of flavor with my Cilantro Lime Shrimp Tacos! These tacos are fresh, simple, and oh-so-delicious.

Are you ready to indulge in a rich, creamy delight? This Chocolate Peanut Butter Fudge recipe is simple and will
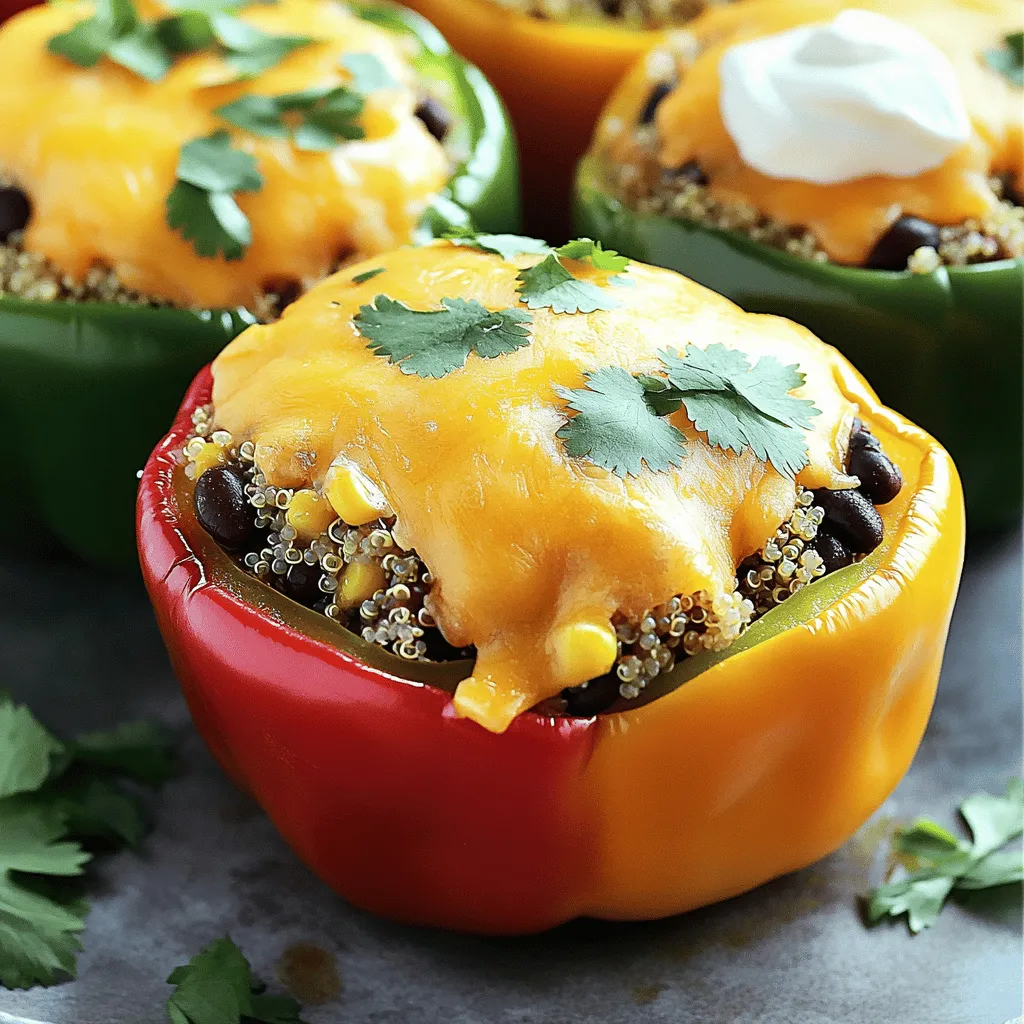
Looking for a delicious meal that’s both tasty and healthy? You’ve found it! Southwest Quinoa Stuffed Peppers are packed with

Get ready for a sweet treat that will make your breakfast unforgettable! My Chocolate Hazelnut Stuffed French Toast Delight combines
