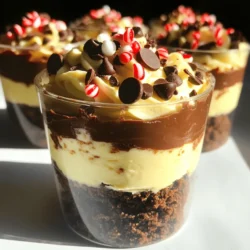
No-Bake Chocolate Peppermint Cheesecake Cups
Indulge in these delightful No-Bake Chocolate Peppermint Cheesecake Cups that are perfect for any occasion! With a rich chocolate cookie crust, creamy peppermint filling, and topped with festive crushed peppermint candies, these treats are easy to make and sure to impress. Follow our simple step-by-step recipe to create these delicious dessert cups. Click through now to explore this scrumptious recipe and treat yourself!