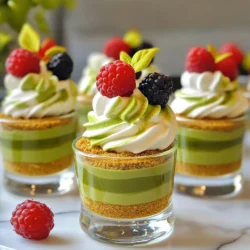
No Bake Matcha Cheesecake Cups
Indulge in these delicious No Bake Matcha Cheesecake Cups, a perfect dessert for any occasion! With a buttery graham cracker crust and a creamy matcha filling, this recipe is both easy and irresistible. Discover how to make these delightful treats in just 20 minutes, plus chill time. Ideal for matcha lovers, they are topped with fresh berries for a burst of flavor. Click through to explore the full recipe and impress your friends and family!