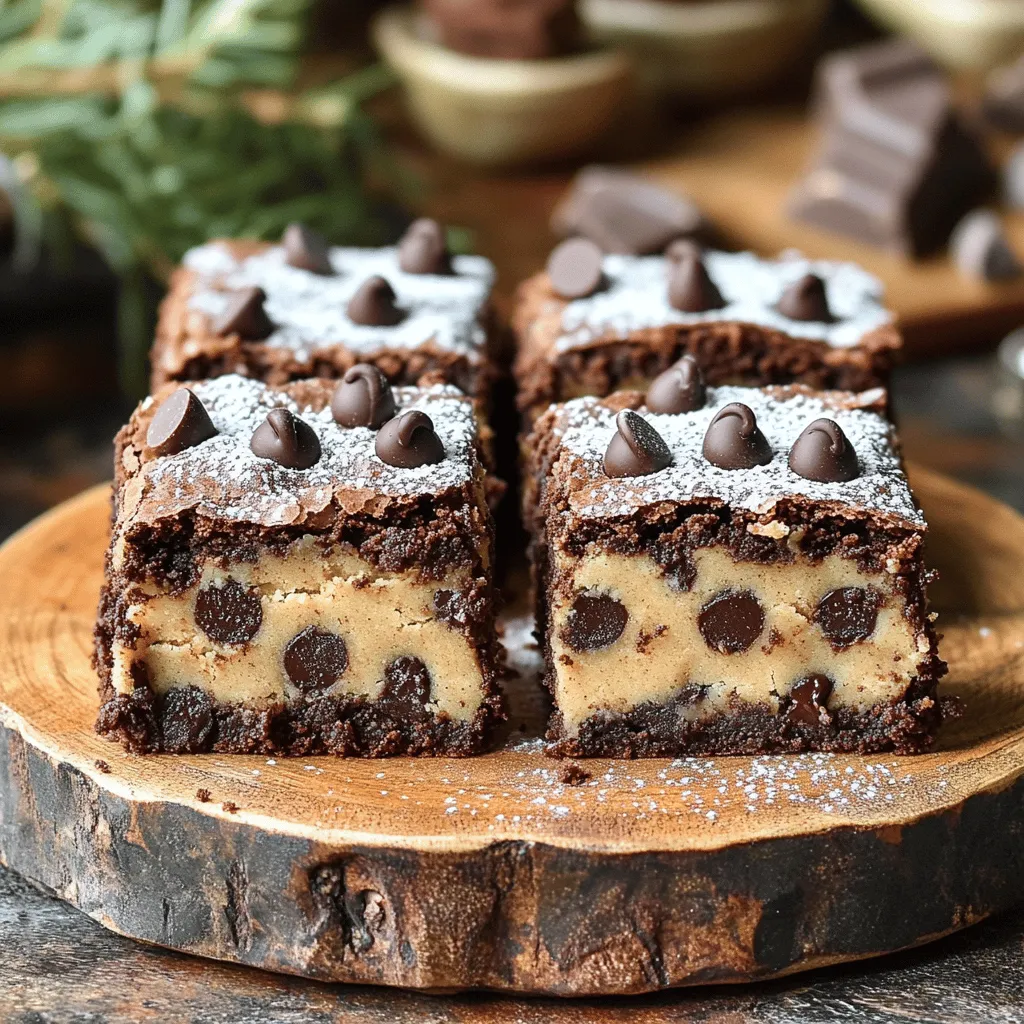
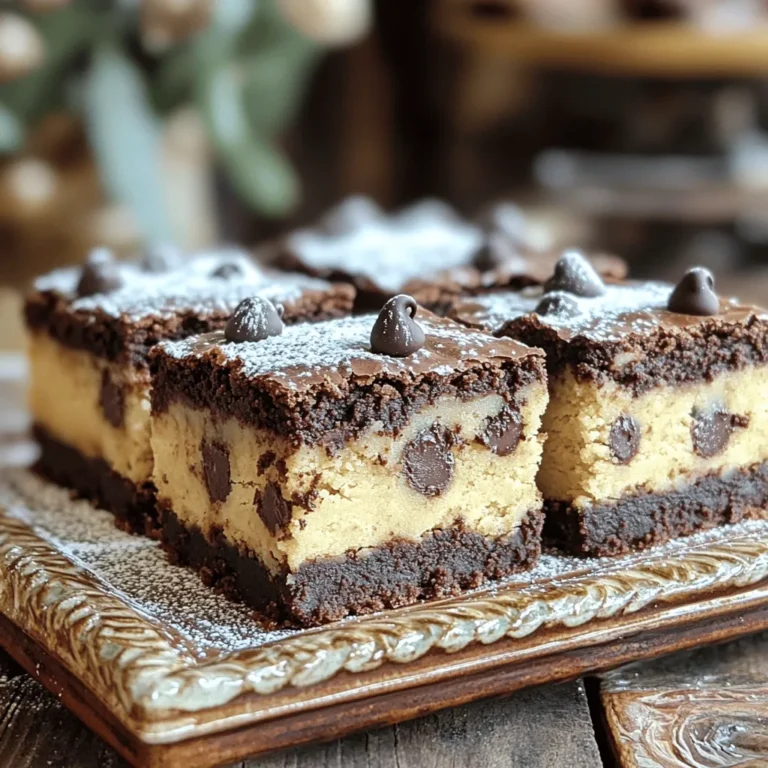
Craving something sweet and indulgent? You’ll love my simple recipe for Chocolate Chip Cookie Dough Brownies! Imagine soft, chewy brownies layered with rich cookie dough, all in one treat. This recipe is easy to follow and great for anyone, from novice bakers to pros. Get ready to bake a delicious dessert that will wow your friends and family! Let’s dive into the fun of creating this tasty treat together.
Ingredients
Main Ingredients for Brownies
To make the brownies, you need:
- 1 cup unsalted butter, melted
- 2 cups granulated sugar
- 1 cup packed brown sugar
- 4 large eggs
- 2 teaspoons vanilla extract
- 1 cup all-purpose flour
- 1 cup unsweetened cocoa powder
- 1/2 teaspoon baking powder
- 1/4 teaspoon salt
- 1 cup semi-sweet chocolate chips
These ingredients create rich, fudgy brownies. The butter and sugars blend well, giving a nice texture.
Cookie Dough Layer Ingredients
For the cookie dough layer, gather:
- 1/2 cup unsalted butter, softened
- 3/4 cup granulated sugar
- 1/4 cup packed brown sugar
- 2 tablespoons milk
- 1 teaspoon vanilla extract
- 1 cup all-purpose flour
- 1/2 cup semi-sweet chocolate chips
This layer adds a sweet, chewy contrast. The dough stays soft, making each bite a treat.
Tools and Equipment Needed
You will need:
- A 9×13 inch baking pan
- Parchment paper
- Two mixing bowls
- A whisk or electric mixer
- A spatula
- A toothpick
These tools make the process smooth and enjoyable. The parchment paper helps with easy removal.
Step-by-Step Instructions
Preparation of the Brownie Batter
To start, gather your ingredients for the brownie batter. You will need melted butter, granulated sugar, brown sugar, eggs, vanilla extract, flour, cocoa powder, baking powder, salt, and semi-sweet chocolate chips. First, preheat your oven to 350°F (175°C). Grease a 9×13 inch baking pan and line it with parchment paper. This makes it easy to lift the brownies out later.
In a large bowl, mix the melted butter, granulated sugar, and brown sugar until smooth. Add the eggs one at a time. Mix well after each egg. Then stir in the vanilla extract. In another bowl, whisk the flour, cocoa powder, baking powder, and salt together. Gradually add this dry mix to the wet mix until combined. Finally, fold in the chocolate chips.
Making the Cookie Dough Layer
Next, we will make the cookie dough layer. You will need softened butter, granulated sugar, brown sugar, milk, vanilla extract, flour, and more chocolate chips. In a separate bowl, cream together the softened butter, granulated sugar, and brown sugar until it is fluffy. Then add the milk and vanilla extract. Mix until it is smooth.
Now, gradually add the flour, mixing until it is just combined. Fold in the chocolate chips. Spoon the cookie dough mixture over the brownie batter in the pan. Spread it out a bit, but do not mix it in completely.
Baking Process and Tips
After layering the cookie dough, pour the rest of the brownie batter over the cookie dough layer. Spread it evenly. Now, place the pan in the oven and bake for 30-35 minutes. The edges should set, while the center remains soft. Use a toothpick to check; it should come out with moist crumbs, not wet batter.
Once baked, cool the brownies in the pan on a wire rack for about 15 minutes. Use the parchment paper overhang to lift the brownies out. Allow them to cool completely before slicing them into squares. For extra flair, serve them on a decorative platter. Dust them with powdered sugar or drizzle melted chocolate on top for a beautiful finish.
Tips & Tricks
Ensuring the Perfect Texture
To get the best texture in your brownies, use melted butter. It gives them a rich, fudgy feel. Mix the sugars and butter well until creamy. Don’t overmix the brownie batter after adding the flour. Just stir until combined. This keeps the brownies soft and chewy.
Recommended Baking Times
Bake your brownies at 350°F for about 30 to 35 minutes. Check them at 30 minutes. The edges should be firm, and the center should look slightly soft. A toothpick should come out with moist crumbs, not wet batter. If it comes out clean, they may be overbaked.
Common Mistakes to Avoid
One mistake is using cold butter. Always melt it first for rich flavor. Another error is using too much flour. Measure it correctly to avoid dry brownies. Don’t skip cooling time. Let them rest in the pan for about 15 minutes. This helps them set and makes slicing easier.

Variations
Adding Nuts or Additional Chocolate
You can make your brownies even better by adding nuts or more chocolate. Walnuts or pecans work great for crunch. Just chop them up and mix them in. If you love chocolate, add more chocolate chips to the cookie dough layer. It gives a rich taste and texture. You can also sprinkle chocolate chips on top before baking. This makes them look fancy.
Gluten-Free Substitutions
If you need a gluten-free option, you can swap regular flour for gluten-free flour. Look for a blend that works well for baking. This keeps the brownies tasty and moist. Just check that your chocolate chips are also gluten-free, as some brands may have gluten.
Flavoring Options (e.g., mint, peanut butter)
Getting creative with flavors is easy! You can add a few drops of mint extract for a fresh twist. If you love peanut butter, mix in some peanut butter chips or swirl peanut butter into the brownie batter. This adds a creamy, nutty flavor that pairs well with chocolate. You can also try adding a sprinkle of sea salt on top for a sweet and salty mix.
Explore these variations to find your favorite mix. Each option can make your chocolate chip cookie dough brownies unique and fun.
Storage Info
Best Practices for Keeping Brownies Fresh
To keep your brownies fresh, store them in an airtight container. This helps prevent them from drying out. You can place parchment paper between layers to avoid sticking. Keep them at room temperature for up to five days. If you want to keep them longer, refrigeration works too, but they may lose some texture.
Freezing Instructions
If you want to freeze your brownies, first let them cool completely. Cut them into squares, then wrap each piece tightly in plastic wrap. Place the wrapped brownies in a freezer-safe bag or container. They can last up to three months in the freezer. When you’re ready to enjoy them, just thaw them in the fridge overnight.
Reheating Tips for Enjoying Later
To reheat brownies, preheat your oven to 350°F (175°C). Place the brownies on a baking sheet. Cover them with aluminum foil to keep them moist. Heat them for about 10-15 minutes. You can also microwave individual squares for about 15-20 seconds. This makes them warm and gooey, perfect for serving with ice cream!
FAQs
How long do Chocolate Chip Cookie Dough Brownies last?
Chocolate Chip Cookie Dough Brownies last about 4 to 5 days when stored properly. Keep them in an airtight container at room temperature. If you want to keep them longer, they can last up to 3 months in the freezer. Just make sure to wrap them tightly in plastic wrap and foil.
Can I use different types of chocolate chips?
Yes! You can use different types of chocolate chips in this recipe. Dark chocolate, milk chocolate, or even white chocolate chips work great. Mix and match to your taste. Just remember that the flavor will change based on the type you use.
What makes these brownies fudgy versus cakey?
The texture depends on the amount of flour and sugar you use. Fudgy brownies have less flour and more sugar, while cakey brownies have more flour and baking powder. For a fudgier texture, stick to the recipe. It has just the right balance of ingredients to give you that rich, gooey bite you crave.
We covered all key points for making delicious chocolate chip cookie dough brownies. You learned the main ingredients, tools needed, and step-by-step baking instructions. I shared tips for perfect texture and common mistakes to avoid. You can explore fun variations and find storage tips to keep them fresh. These brownies combine rich flavors that everyone will enjoy. Now, it’s your turn to get baking and share these treats with friends and family. Enjoy the process and taste the joy in every bite!
- Chocolate Chip Cookie Dough Brownies

