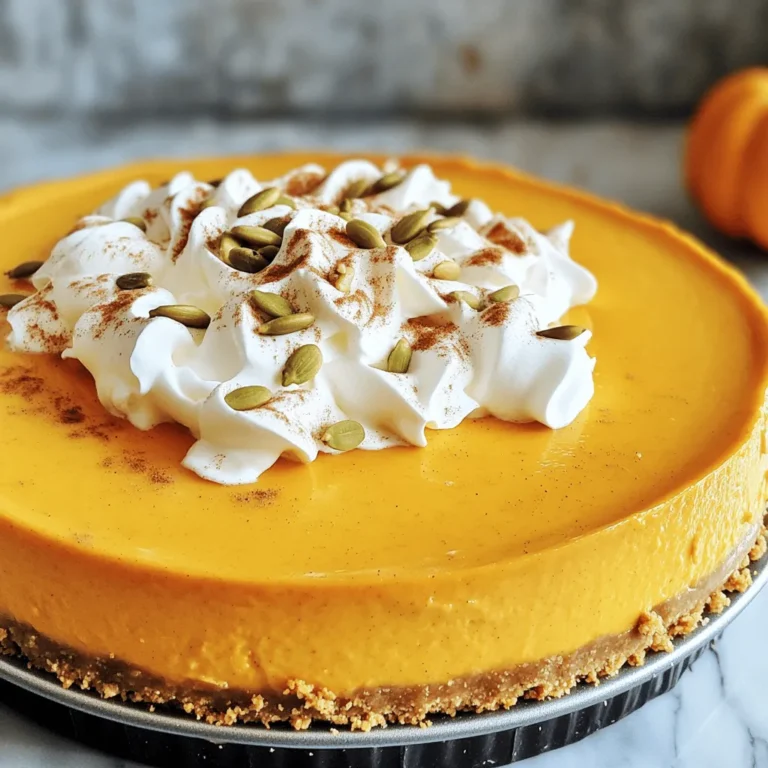
Craving a sweet treat that’s easy to make? My No Bake Pumpkin Cheesecake combines creamy pumpkin flavor with a delicious crust. This recipe is perfect for fall gatherings or cozy nights in. Plus, it requires no baking! Get ready to impress your family and friends with this delightful dessert. Let’s dive into the simple ingredients and steps you need to create a pumpkin cheesecake that everyone will love!
Ingredients
When making a no-bake pumpkin cheesecake, gather these key ingredients. Each plays a vital role in creating the perfect dessert.
- 1 ½ cups graham cracker crumbs
- ½ cup unsalted butter, melted
- 3 tablespoons sugar
- 16 oz cream cheese, softened
- 1 cup pumpkin puree
- 1 cup powdered sugar
- 1 teaspoon vanilla extract
- 1 teaspoon ground cinnamon
- ½ teaspoon ground nutmeg
- ½ teaspoon ground ginger
- 1 cup heavy whipping cream
The graham cracker crumbs serve as the base. They give the cheesecake a nice crunch. The melted butter helps bind the crumbs together, making a sturdy crust.
Cream cheese is the star of this dish. It gives a rich and creamy texture. Pumpkin puree adds the fall flavor we all love. The spices like cinnamon, nutmeg, and ginger enhance the pumpkin’s natural sweetness.
Whipping cream is essential for a light and fluffy filling. It makes the cheesecake feel airy and not too heavy.With these ingredients ready, you’re set to create a delicious dessert that will impress everyone!
Step-by-Step Instructions
Preparation of the Crust
To start, gather your ingredients. In a mixing bowl, combine:
- 1 ½ cups graham cracker crumbs
- ½ cup unsalted butter, melted
- 3 tablespoons sugar
Mix these well until it looks like wet sand. Next, press this mixture into the bottom of a 9-inch springform pan. Make sure it is even and firm. This crust will hold all the tasty filling. Place the pan in the fridge to chill while you make the filling.
Making the Pumpkin Filling
In a large bowl, beat 16 oz of softened cream cheese with a hand mixer until smooth. This step is key for a creamy texture. Now, add:
- 1 cup pumpkin puree
- 1 cup powdered sugar
- 1 teaspoon vanilla extract
- 1 teaspoon ground cinnamon
- ½ teaspoon ground nutmeg
- ½ teaspoon ground ginger
Mix everything until smooth and fully combined. The spices give it that warm, fall flavor we love.
Assembling the Cheesecake
In another bowl, whip 1 cup of heavy whipping cream until soft peaks form. This makes the filling light and airy. Gently fold the whipped cream into the pumpkin mixture. Be careful to keep it fluffy. Once combined, pour the pumpkin filling over the chilled crust. Use a spatula to spread it evenly. Cover the cheesecake with plastic wrap and refrigerate for at least 4 hours, or overnight for the best results. When ready to serve, run a knife around the edges of the pan before removing the springform side. Enjoy your delicious no-bake pumpkin cheesecake!
Tips & Tricks
Achieving the Perfect Texture
To get the best texture, it is key to soften the cream cheese. Let it sit at room temperature for about 30 minutes. This step keeps the filling smooth. If the cream cheese is cold, it can make the mix lumpy. After softening, use a hand mixer to beat it until it is creamy.
Next, when you whip the heavy cream, aim for soft peaks. This means it should hold some shape but still be fluffy. To fold it into the pumpkin mix, use a spatula. Start by adding a small amount of whipped cream to lighten the mixture. Then, gently fold in the rest. Be careful not to stir too hard. You want to keep the air in the whipped cream for a light texture.
Chilling Instructions
Chilling is vital for a great no-bake pumpkin cheesecake. I recommend chilling it for at least 4 hours. However, overnight works best. This extra time helps the flavors meld together. The cheesecake also firms up, making it easier to slice. Keep your fridge at about 40°F for the best results.
Presentation Tips
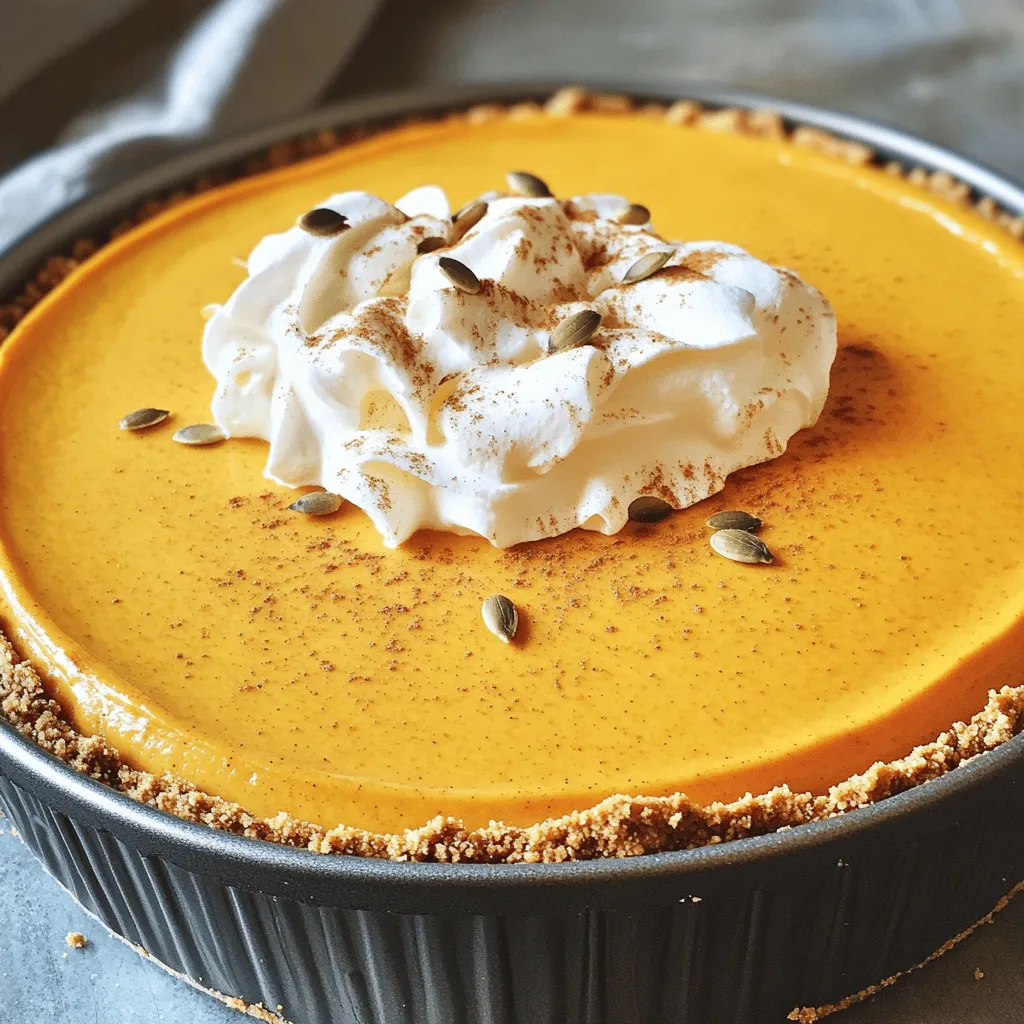
When serving, cut slices and place them on individual plates. A dollop of whipped cream on top adds a nice touch. You can sprinkle some cinnamon or add pumpkin seeds for extra flair. These simple garnishes make the dessert look beautiful. Pay attention to the colors and textures. A well-presented cheesecake makes it even more enjoyable. Enjoy making this no-bake pumpkin cheesecake delightful and easy!
Variations
Flavor Enhancements
You can make this cheesecake even more special. Try adding a chocolate or caramel drizzle on top. This adds a nice sweetness and a fun look. You can also switch up the spices. Instead of the usual cinnamon, nutmeg, and ginger, try a mix of allspice or cardamom for a new taste.
Dietary Modifications
If you need a gluten-free option, you can use almond flour or gluten-free cookies for the crust. This makes it safe for those with gluten issues. For a dairy-free choice, swap cream cheese with a dairy-free cream cheese. This keeps the rich flavor while catering to dietary needs.
Serving Size Adjustments
If you want to make a smaller cheesecake, you can halve the recipe. Use a smaller pan, like an 8-inch round. Just check the chilling time. It may need a bit less time in the fridge. For larger gatherings, you can double the ingredients. This way, you can share more delicious slices with friends and family.
Storage Info
Proper Storage Techniques
To keep your no-bake pumpkin cheesecake fresh, follow these steps. First, always store leftovers in an airtight container. This helps prevent any odors from your fridge affecting the cheesecake’s taste. You should refrigerate the cheesecake within two hours of making it. It can last in the fridge for up to five days. If you notice any change in smell or texture, it’s best to toss it.
Freezing Instructions
You can freeze this cheesecake too! To freeze, wrap it well in plastic wrap, then place it in a freezer-safe container. This keeps moisture out. The cheesecake can stay frozen for up to three months. When you’re ready to enjoy it, move the cheesecake to the fridge for about 8 hours to thaw.
To maintain the best texture and flavor, avoid refreezing. It’s best to cut it into slices before freezing. This way, you can take out just what you need. Enjoy your delicious cheesecake at any time!
FAQs
Can I use fresh pumpkin instead of canned?
Yes, you can use fresh pumpkin. First, cook the pumpkin until soft, then blend it until smooth. This gives a fresh taste. Just make sure to drain excess moisture. Canned pumpkin is easier and saves time. Both will work well in this cheesecake.
How long will the no-bake pumpkin cheesecake last in the refrigerator?
The cheesecake will last about 5 days in the fridge. Keep it covered to prevent drying out. It may taste even better after a day or two, as the flavors blend.
Can I make this cheesecake in advance?
Absolutely! This cheesecake is perfect for making ahead. I suggest making it a day before you plan to serve. This gives it time to set properly and taste its best.
What’s the best way to serve no-bake pumpkin cheesecake?
Serve it chilled for the best flavor. Cut it into slices and add a dollop of whipped cream on top. A sprinkle of cinnamon or a few pumpkin seeds adds a nice touch. This makes it look pretty and taste even better.
You learned how to make a tasty no-bake pumpkin cheesecake. We covered ingredients, step-by-step instructions, and useful tips. I shared variations and storage info to suit your needs. Always remember to chill your cheesecake overnight for the best flavor and texture. With these steps, you can impress friends and family at any gathering. Enjoy your creamy, dreamy dessert!

